NEW YEAR, NEW DOOR
Is Black too Bold for the Blanco Bungalow?
I say not!
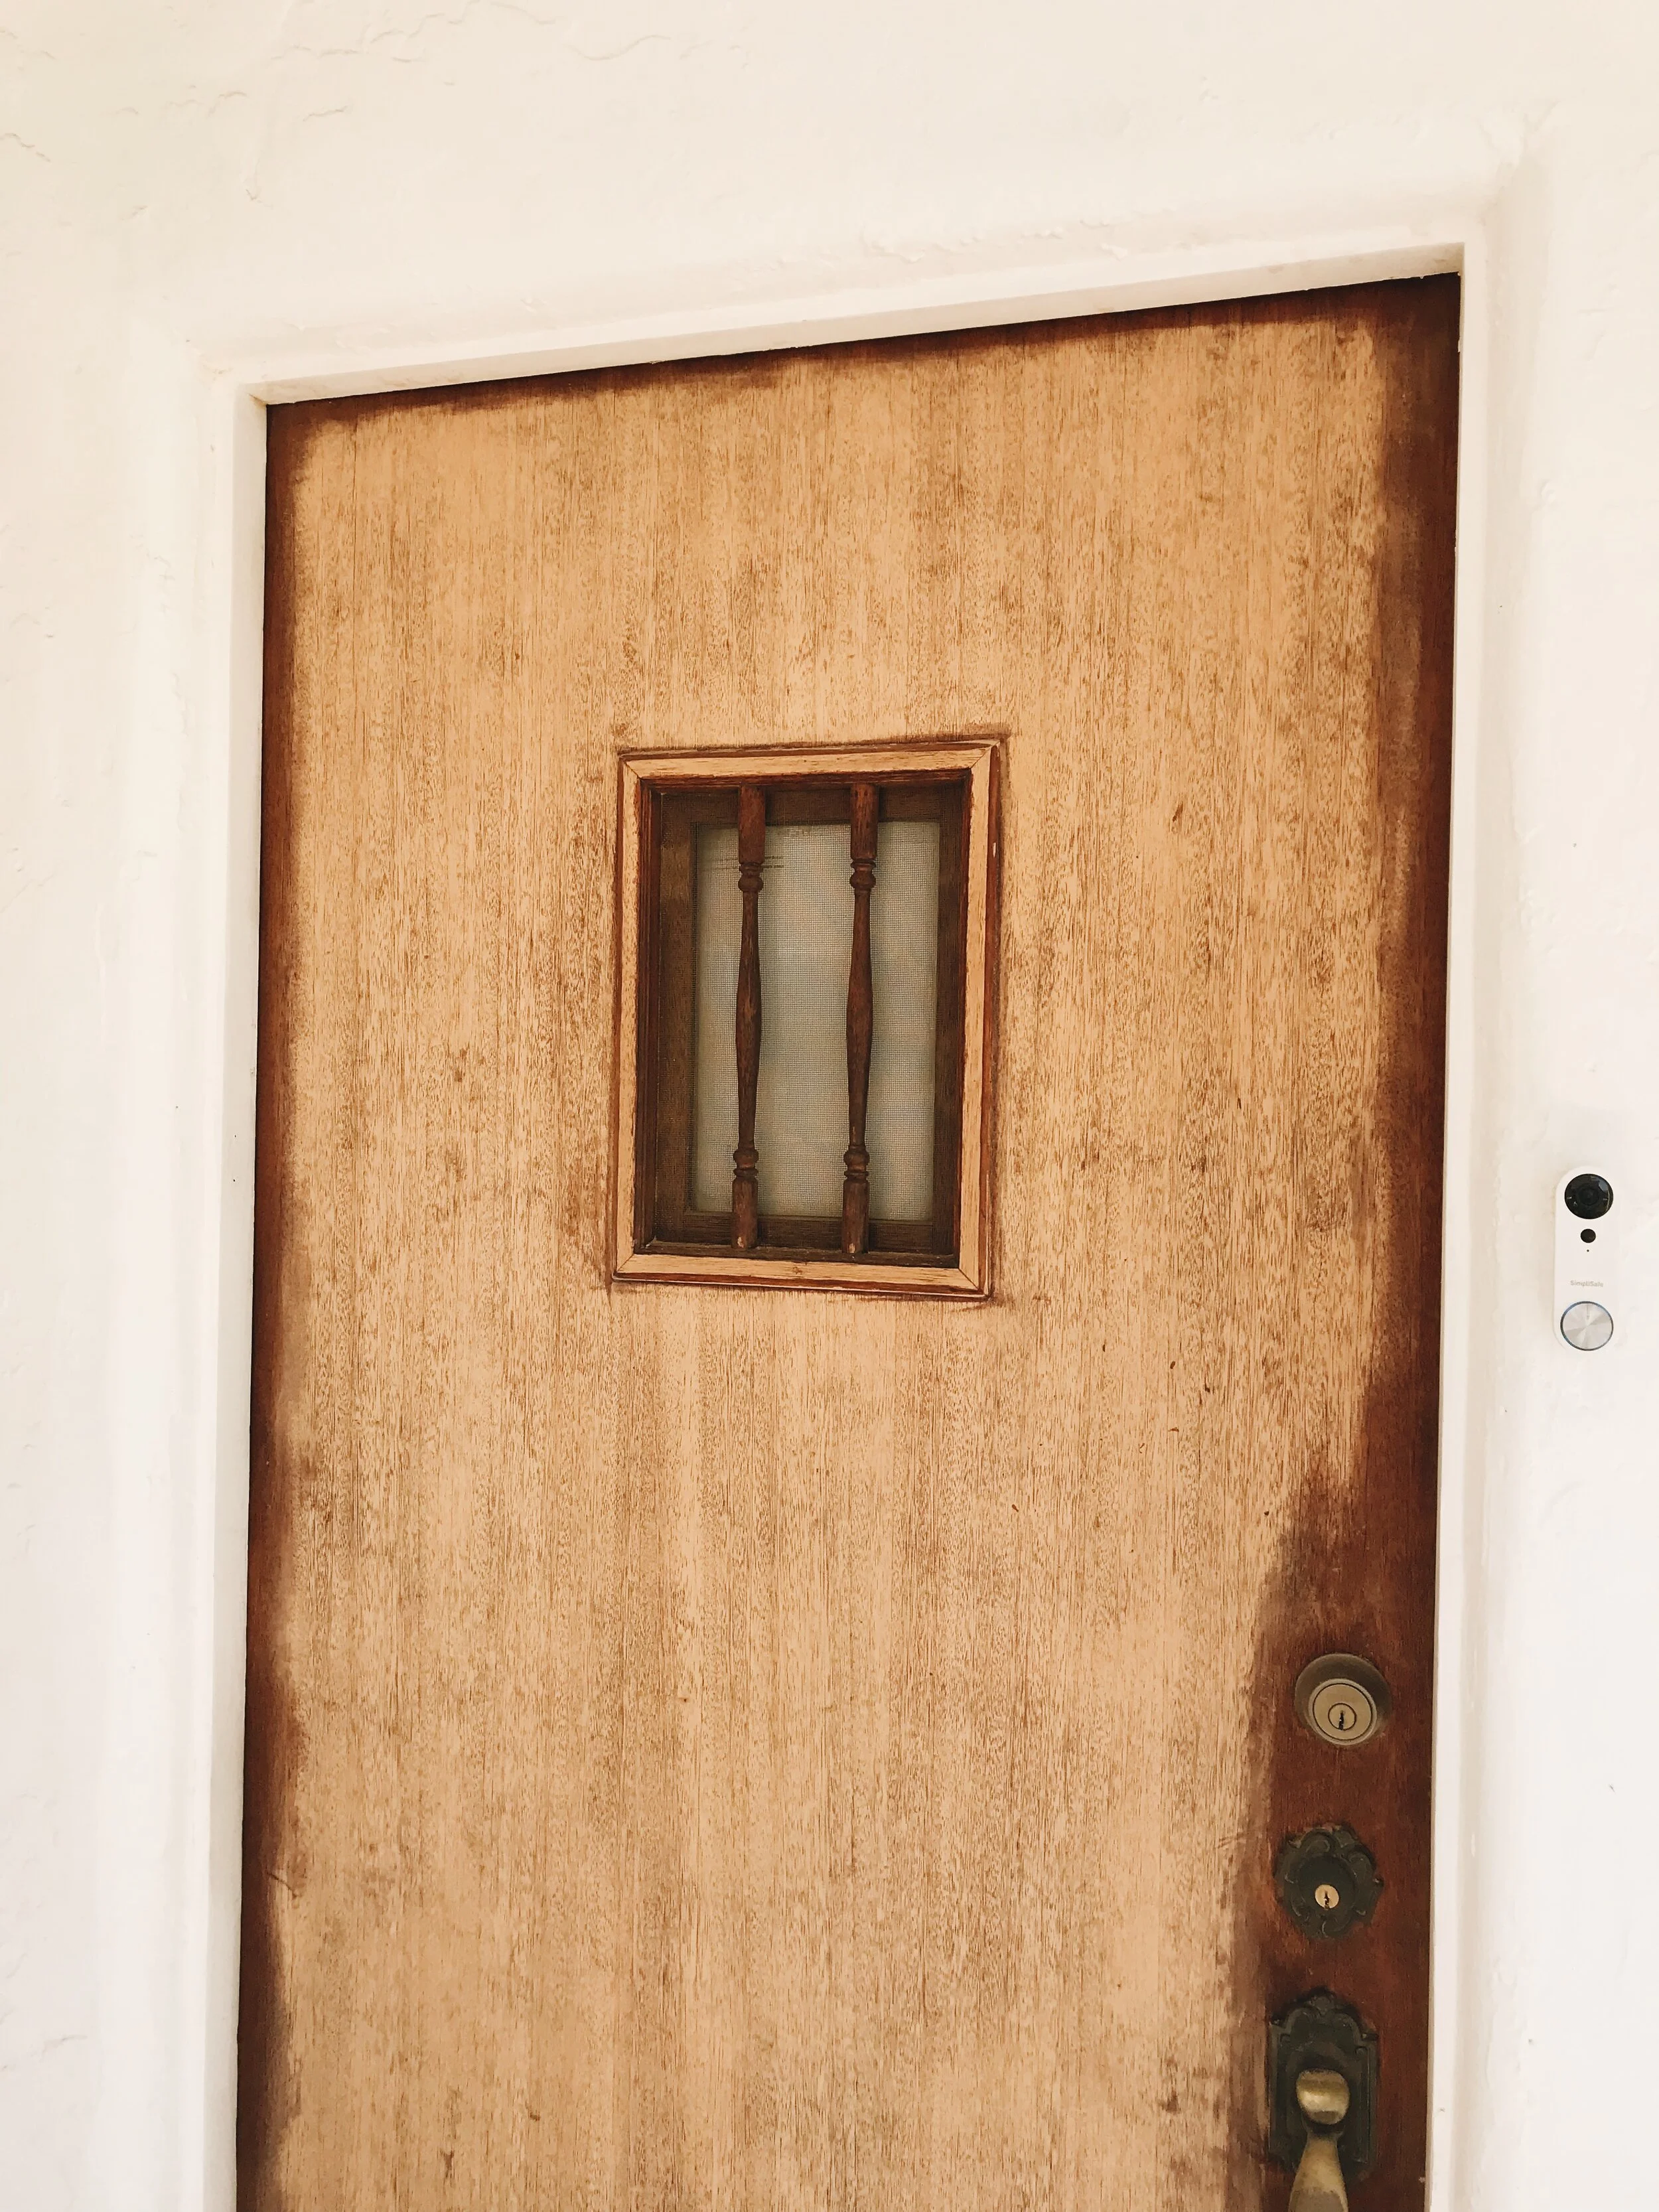
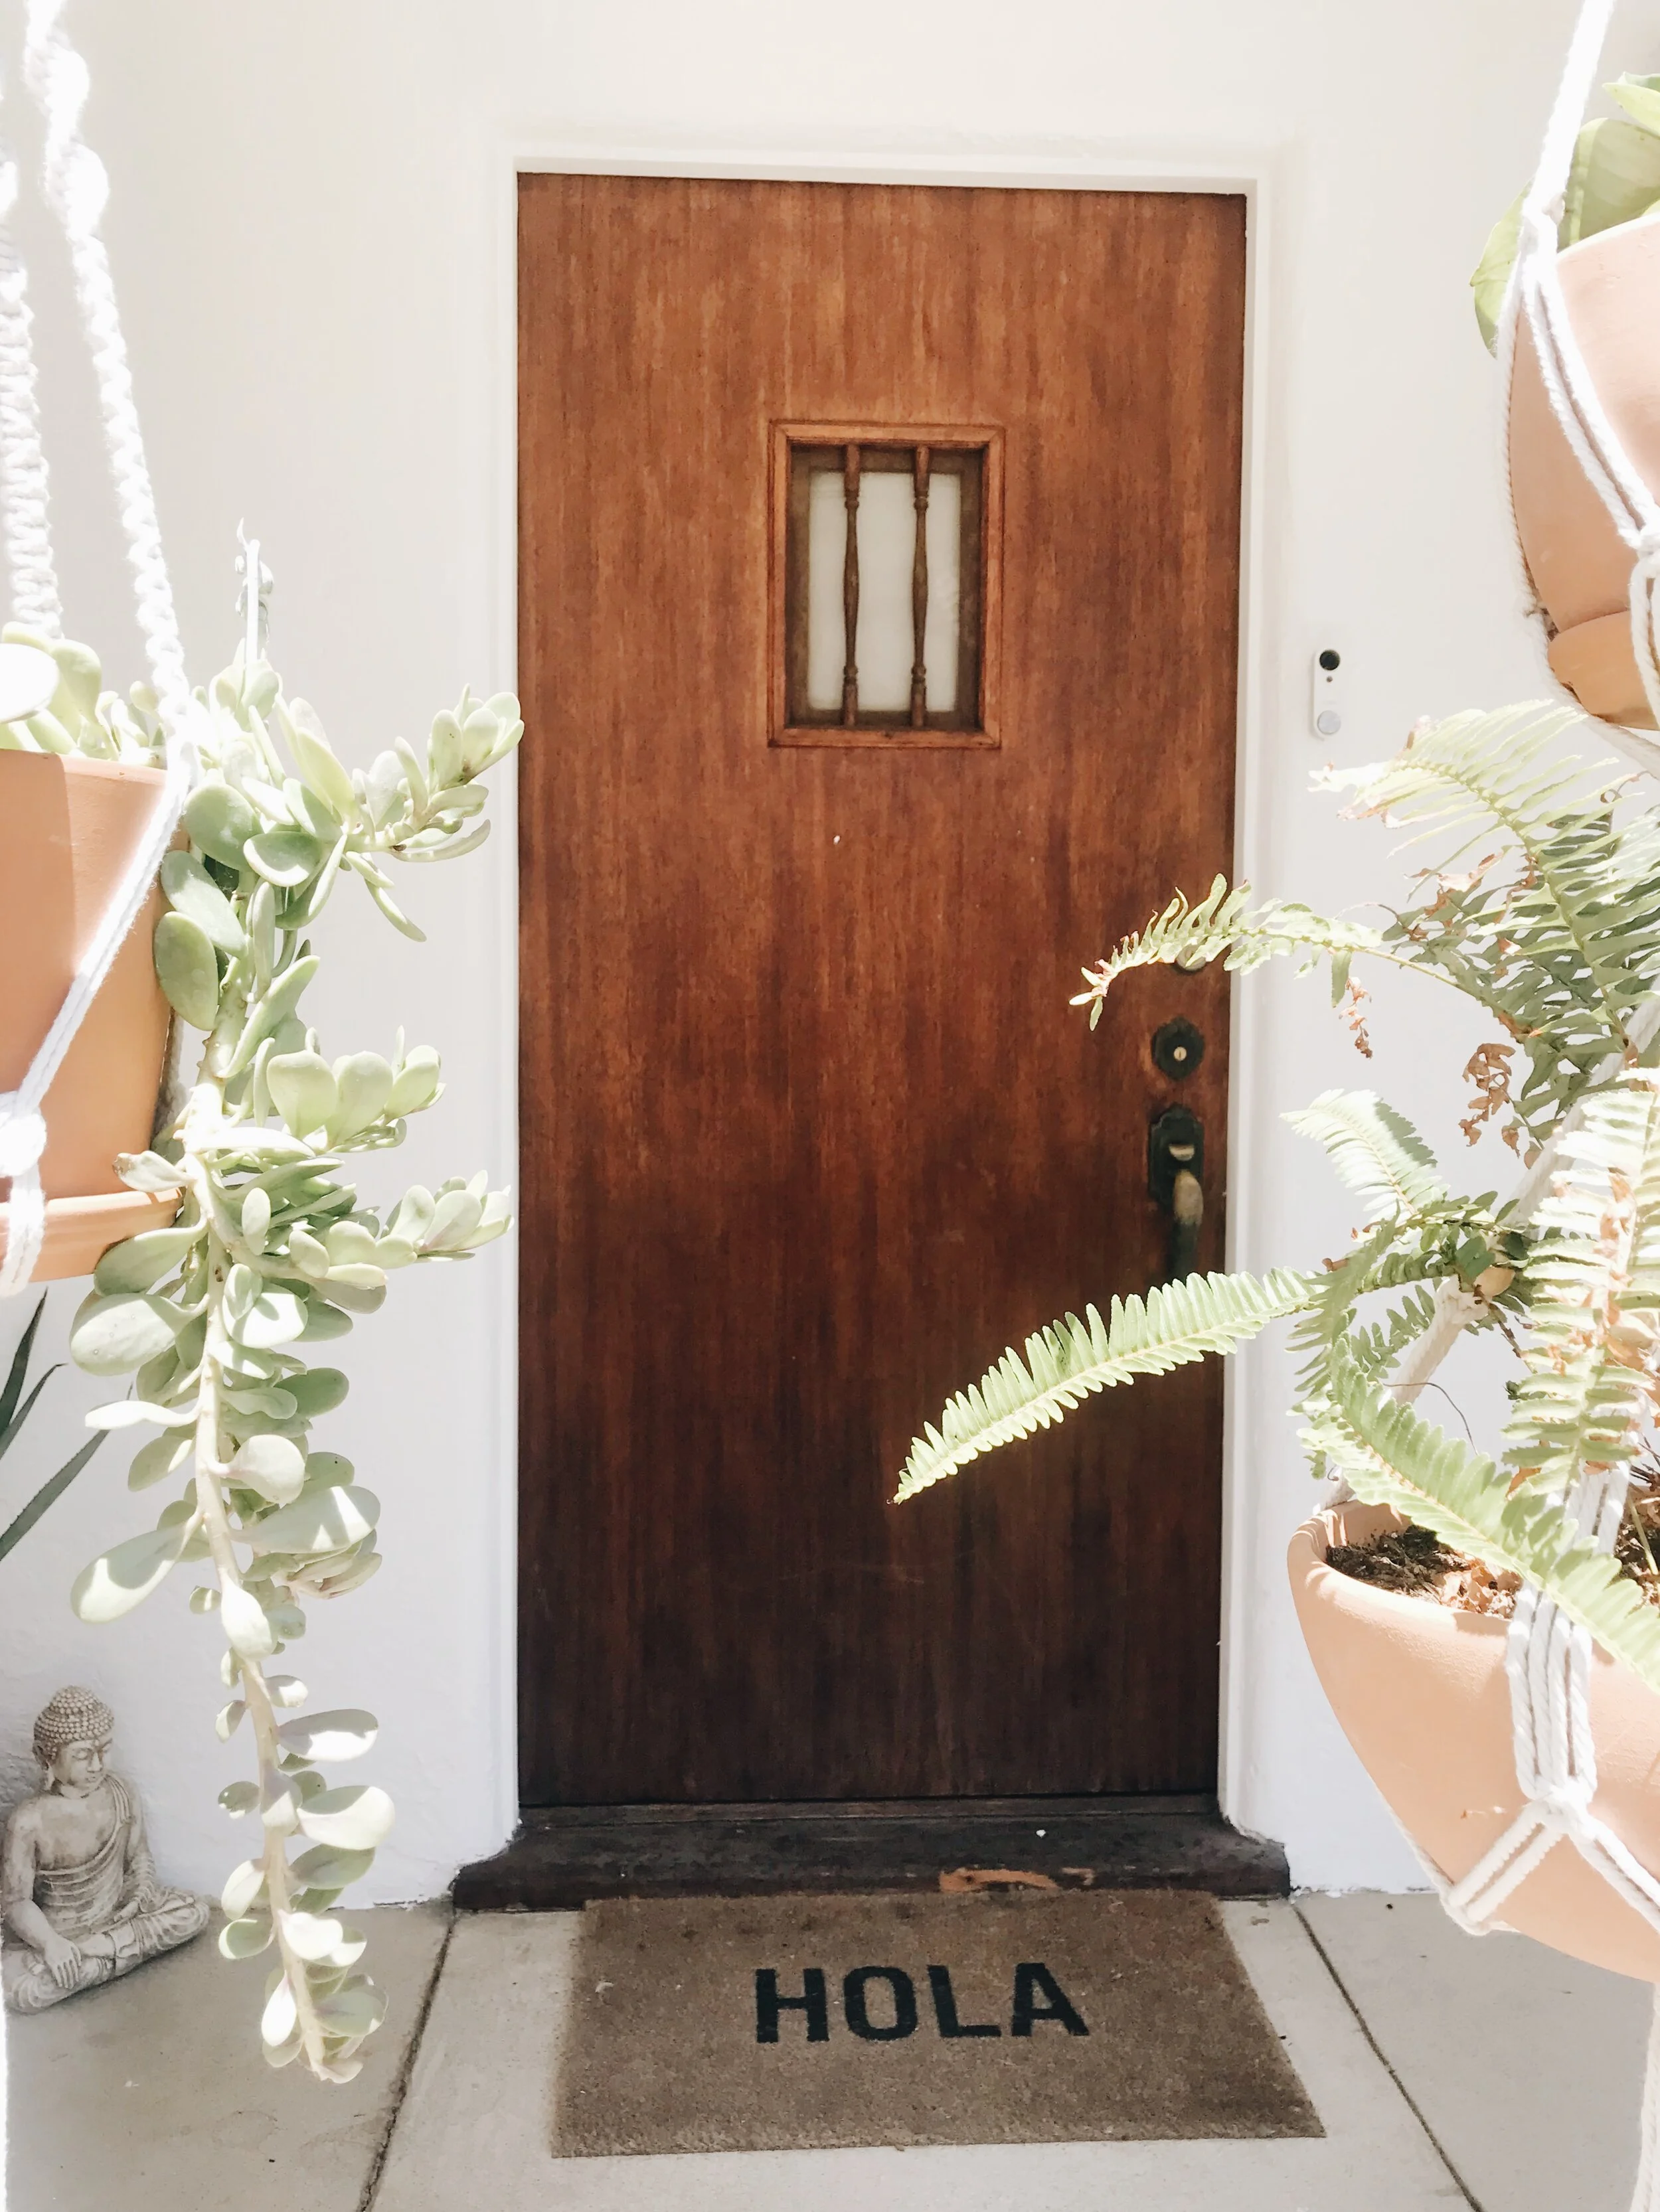
When we painted the exterior of the house white, the old door became impossible to look at every day. The overall condition didn’t match the freshness of our crisp white paint (and I despised the spindles, and the handle. They reminded me of my grandma’s house, but not in a good way:). However, I loved the original door, and wanted to keep it, just give it a little face lift. I mean it is a 100 year old door! We had to keep it.
I’m all about keeping original character, but also breathing in new life.
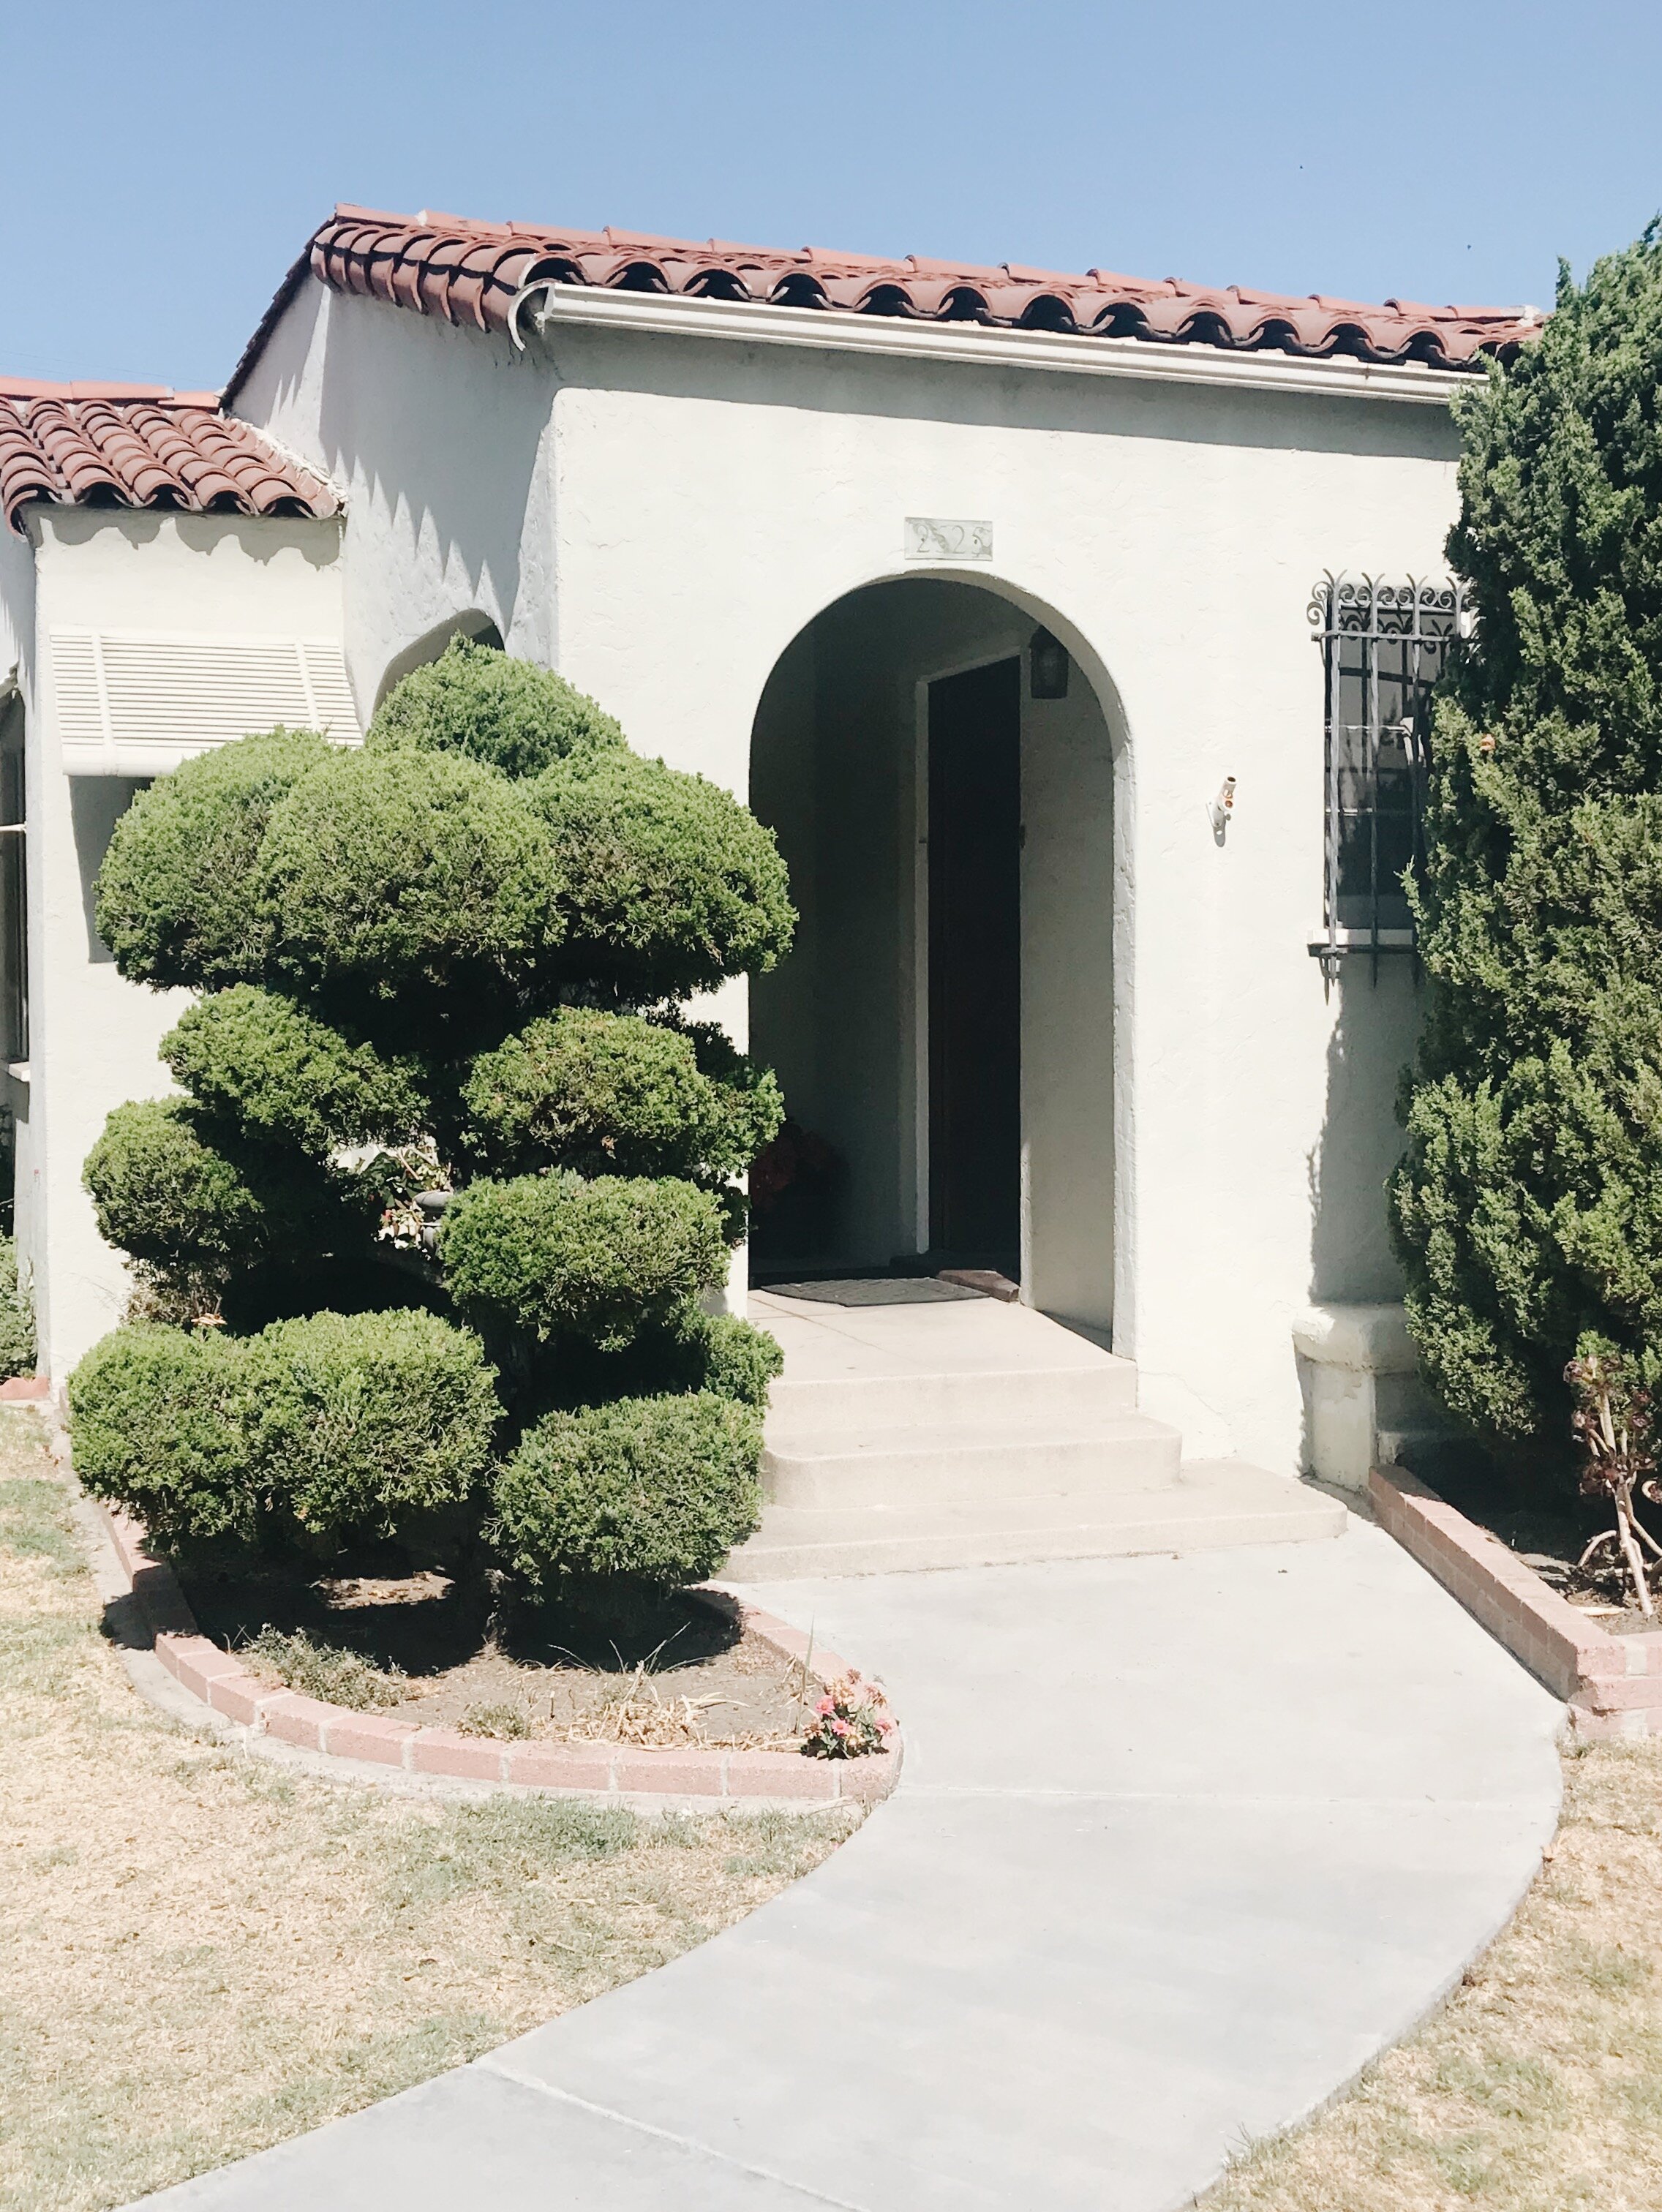
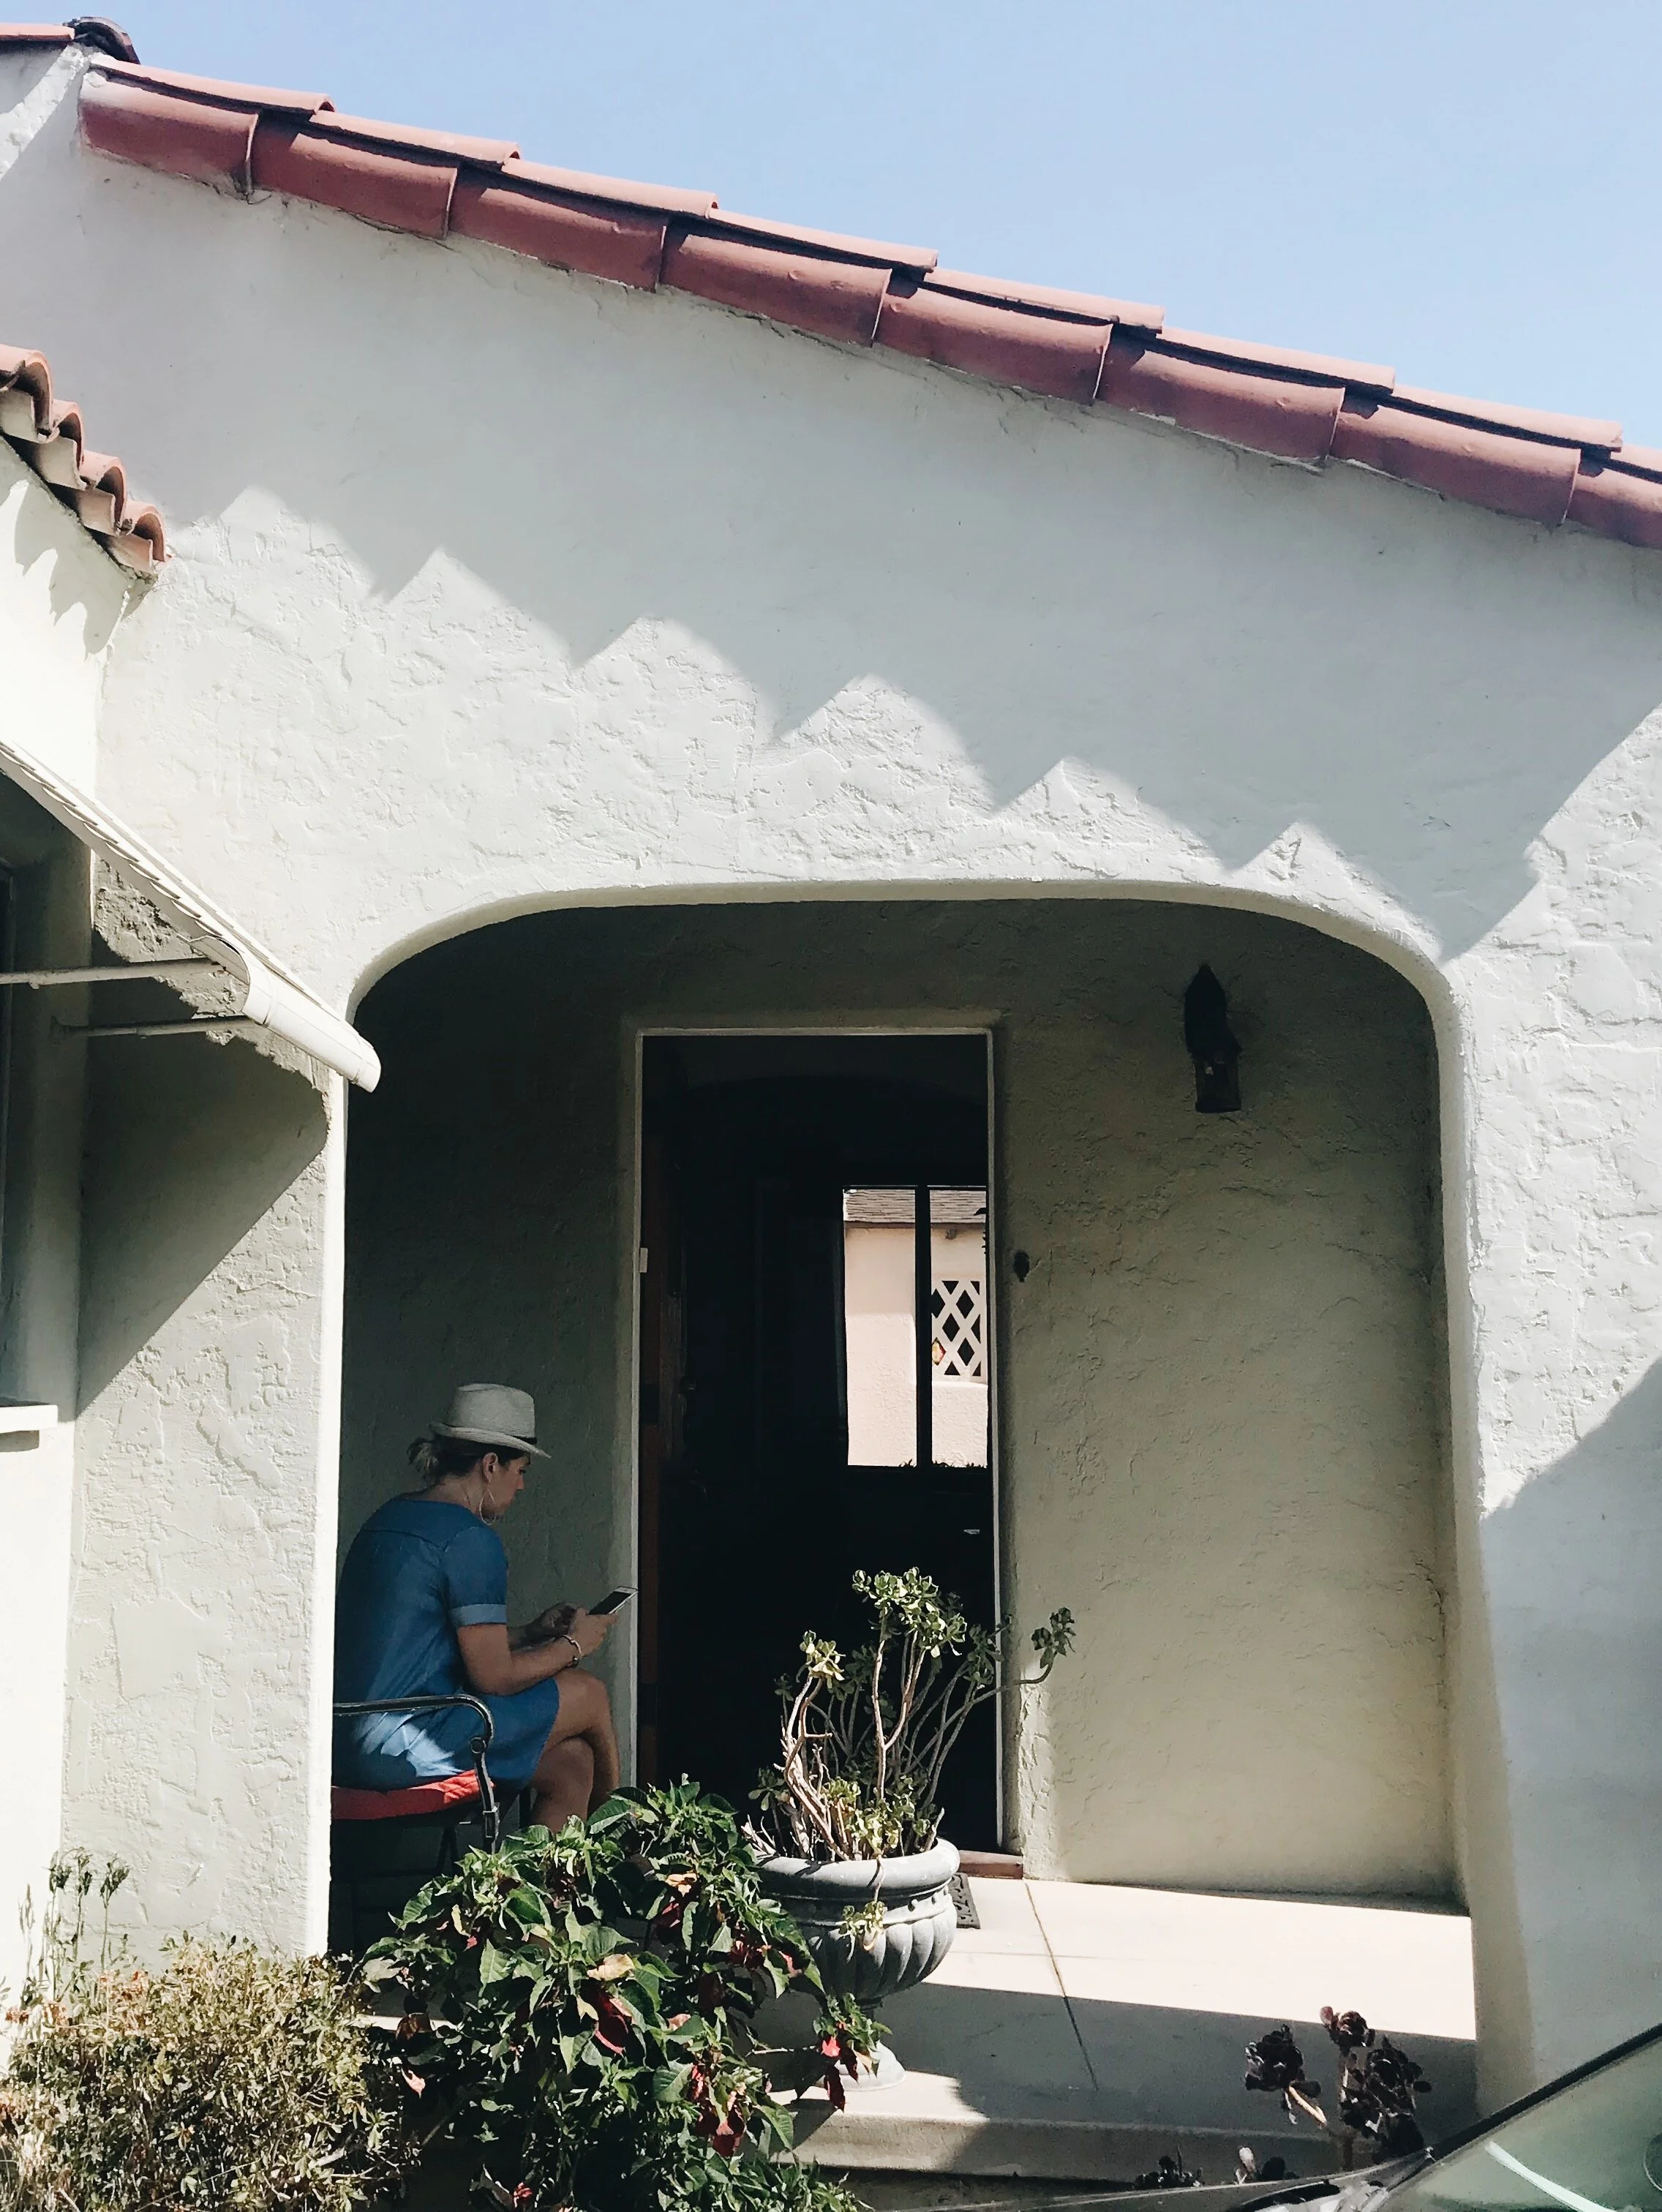
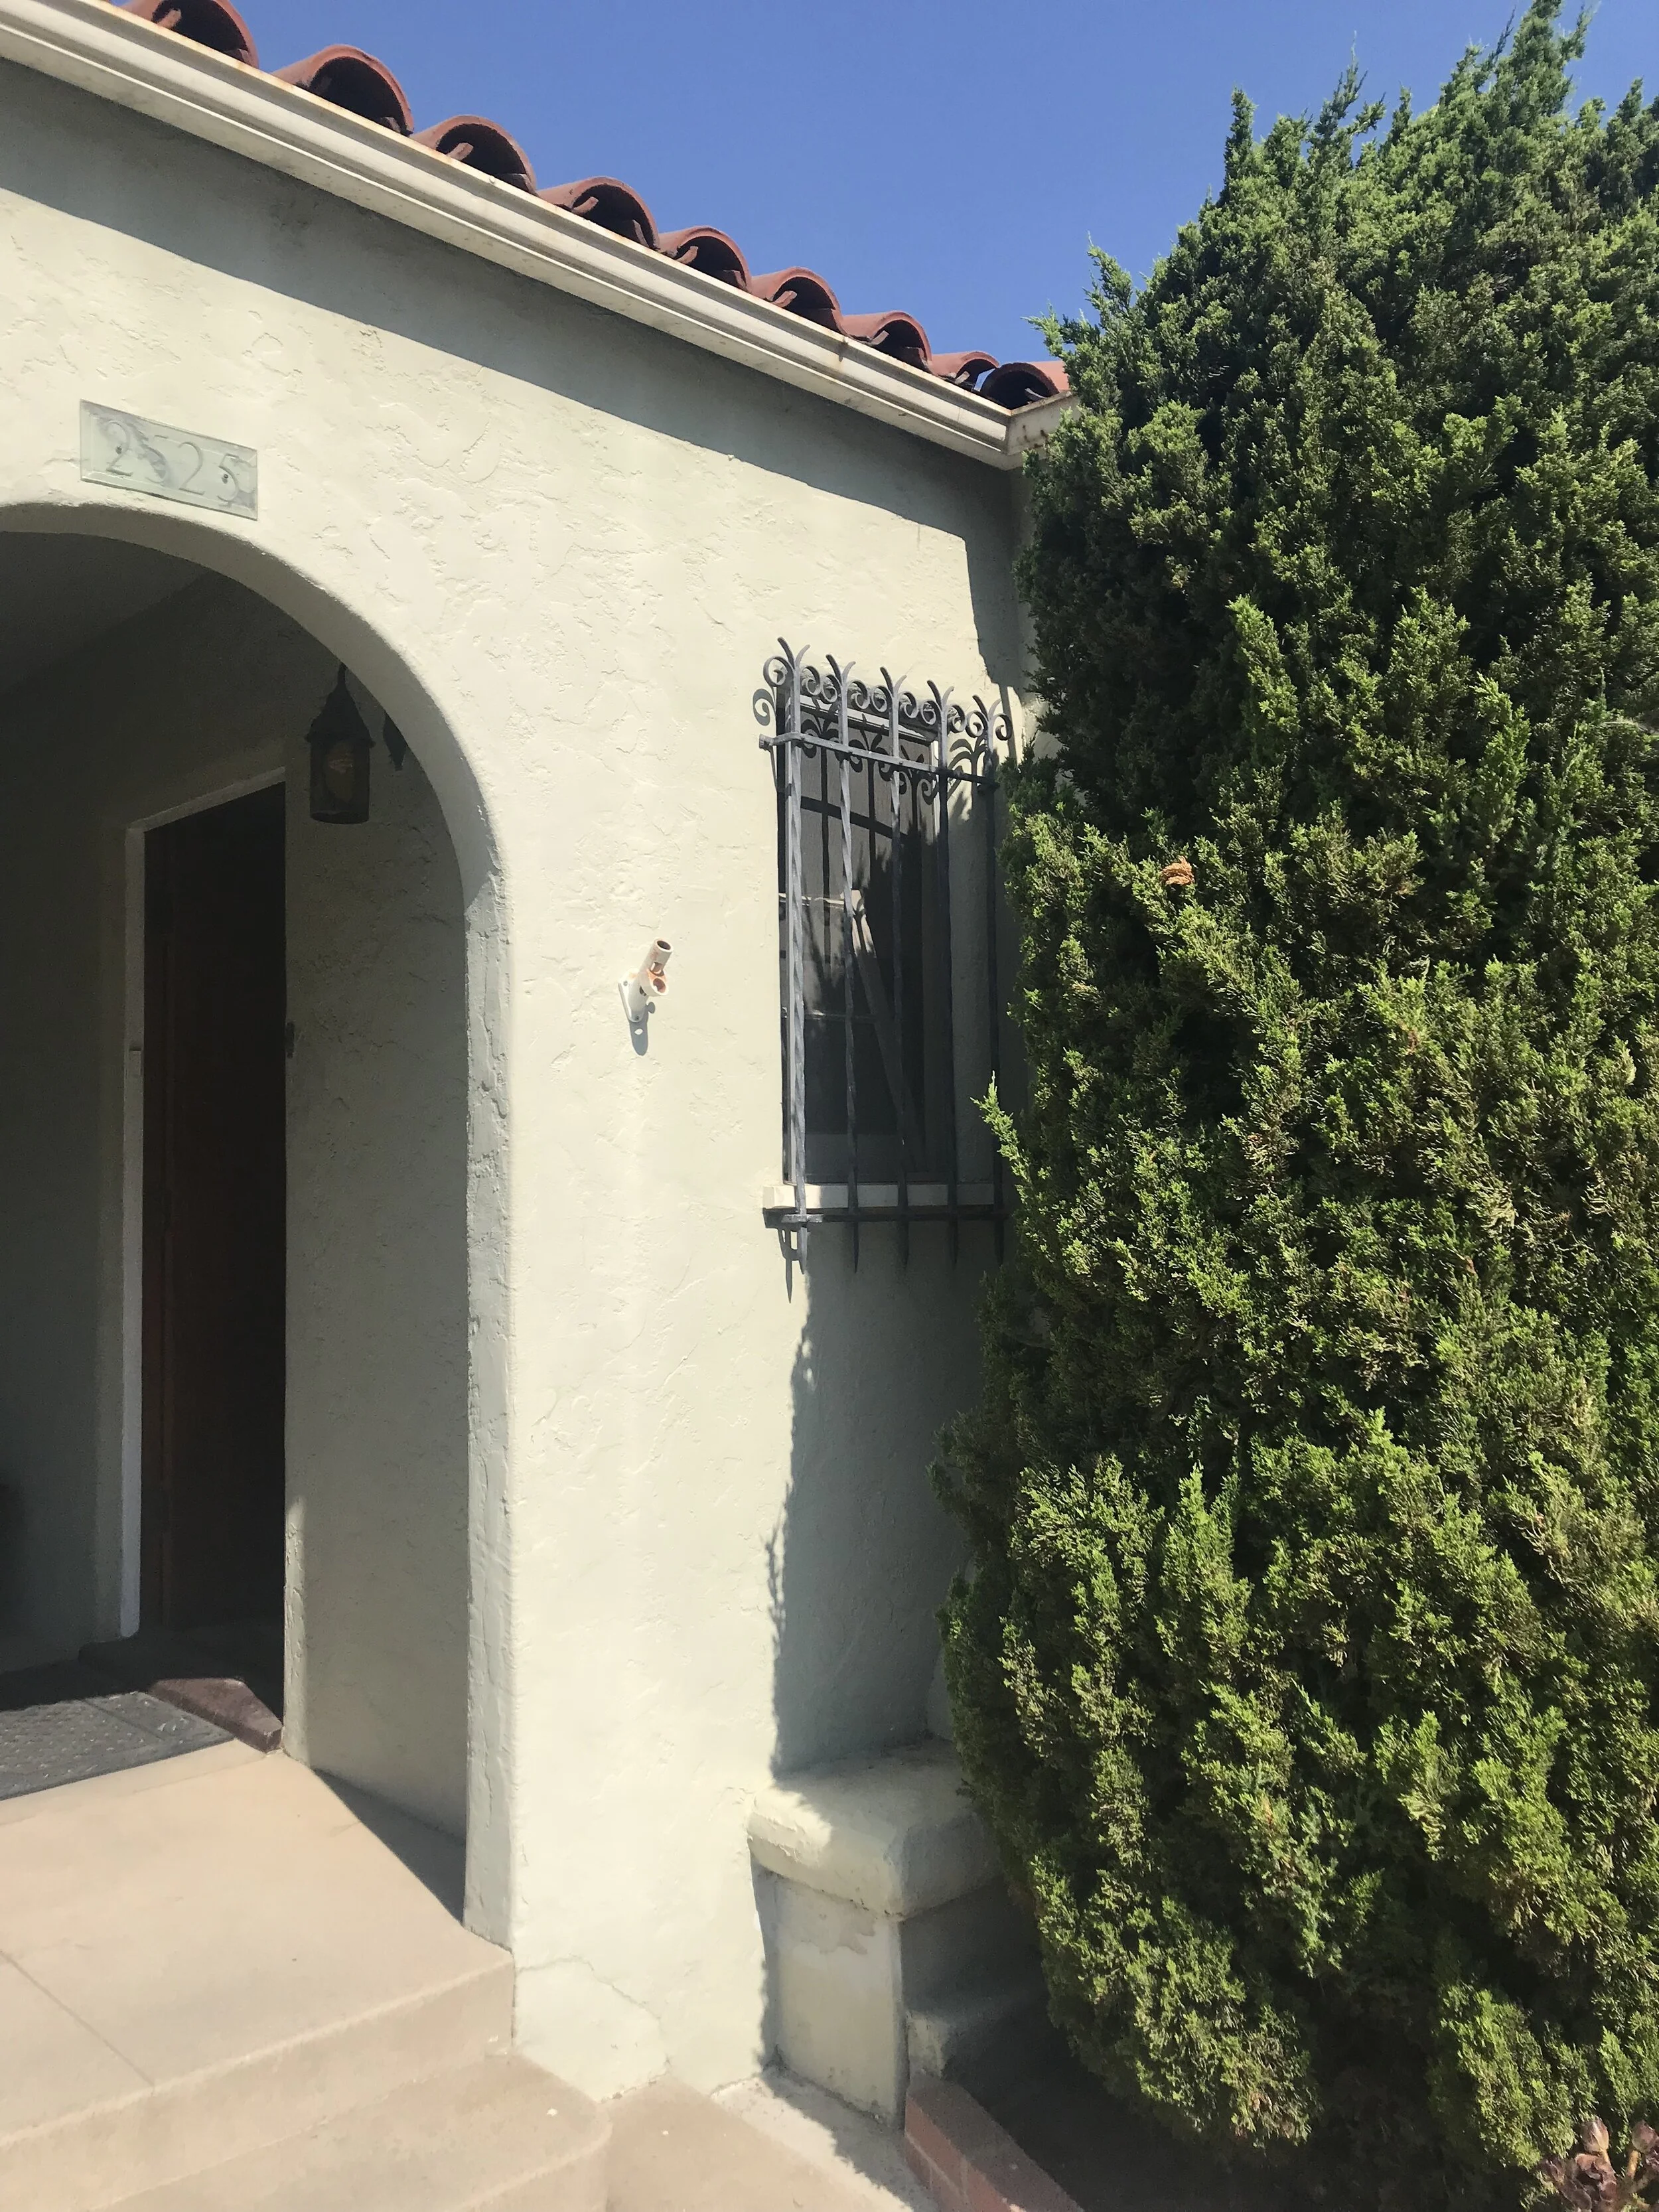
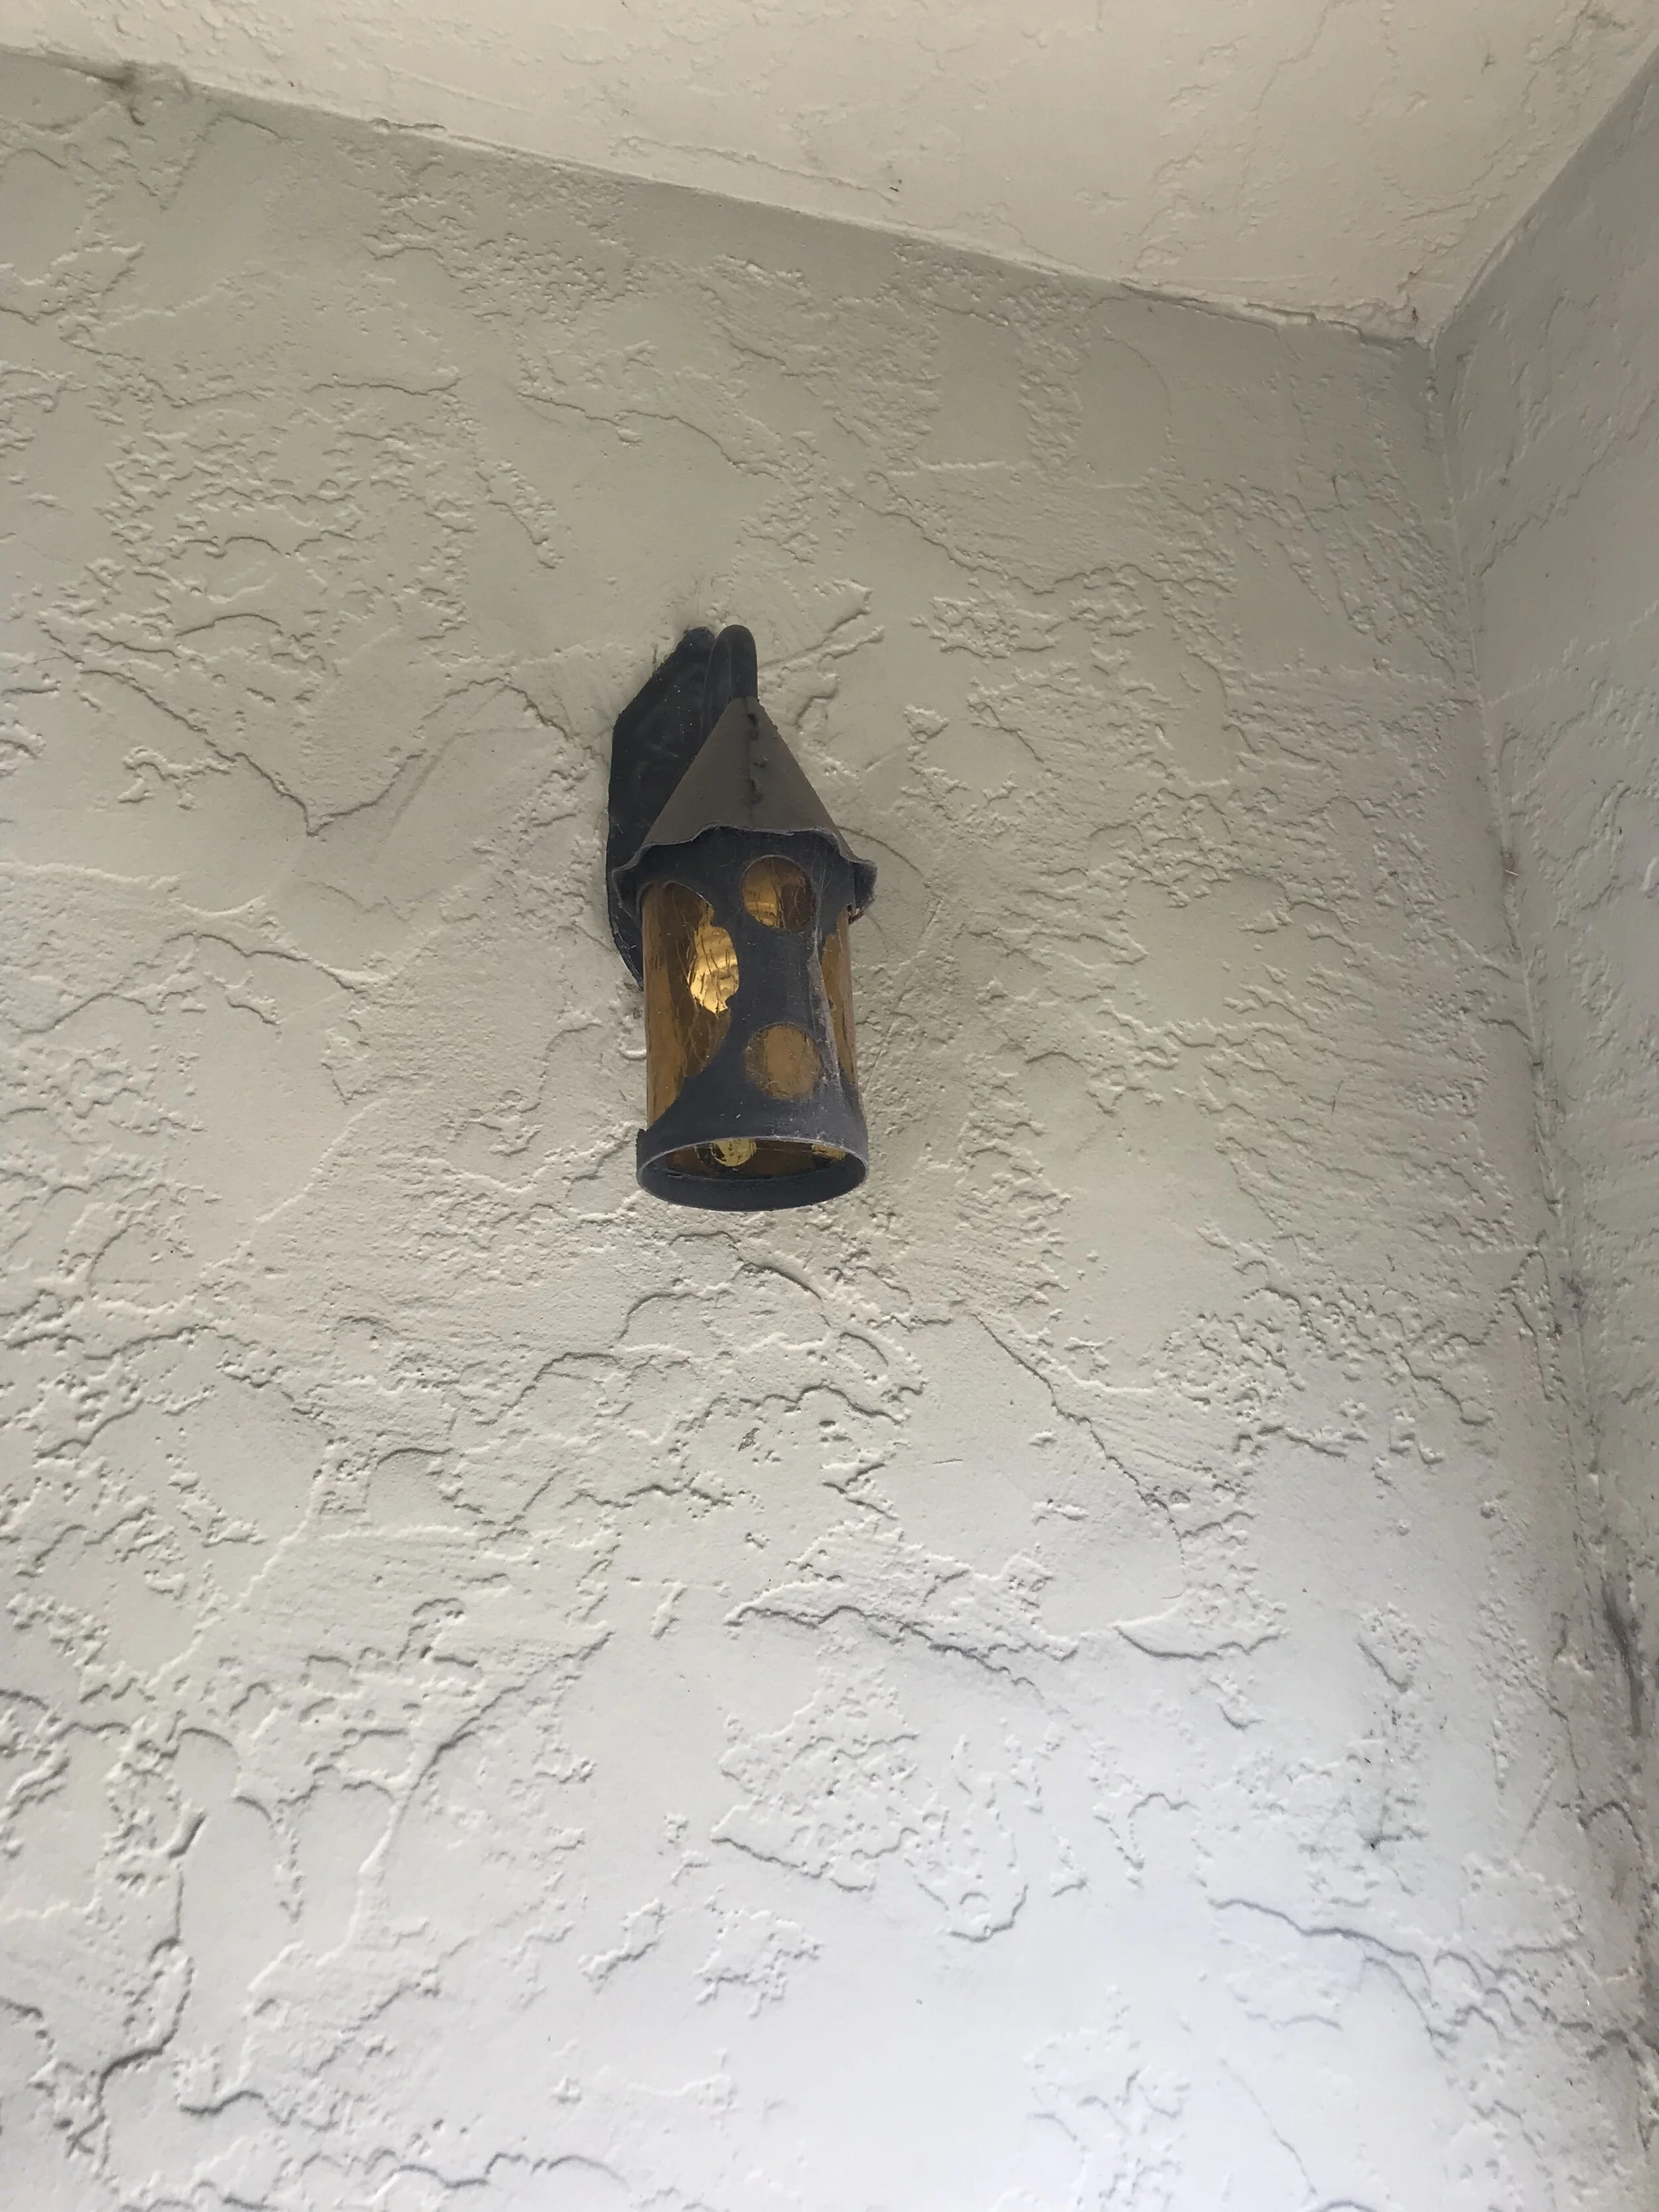
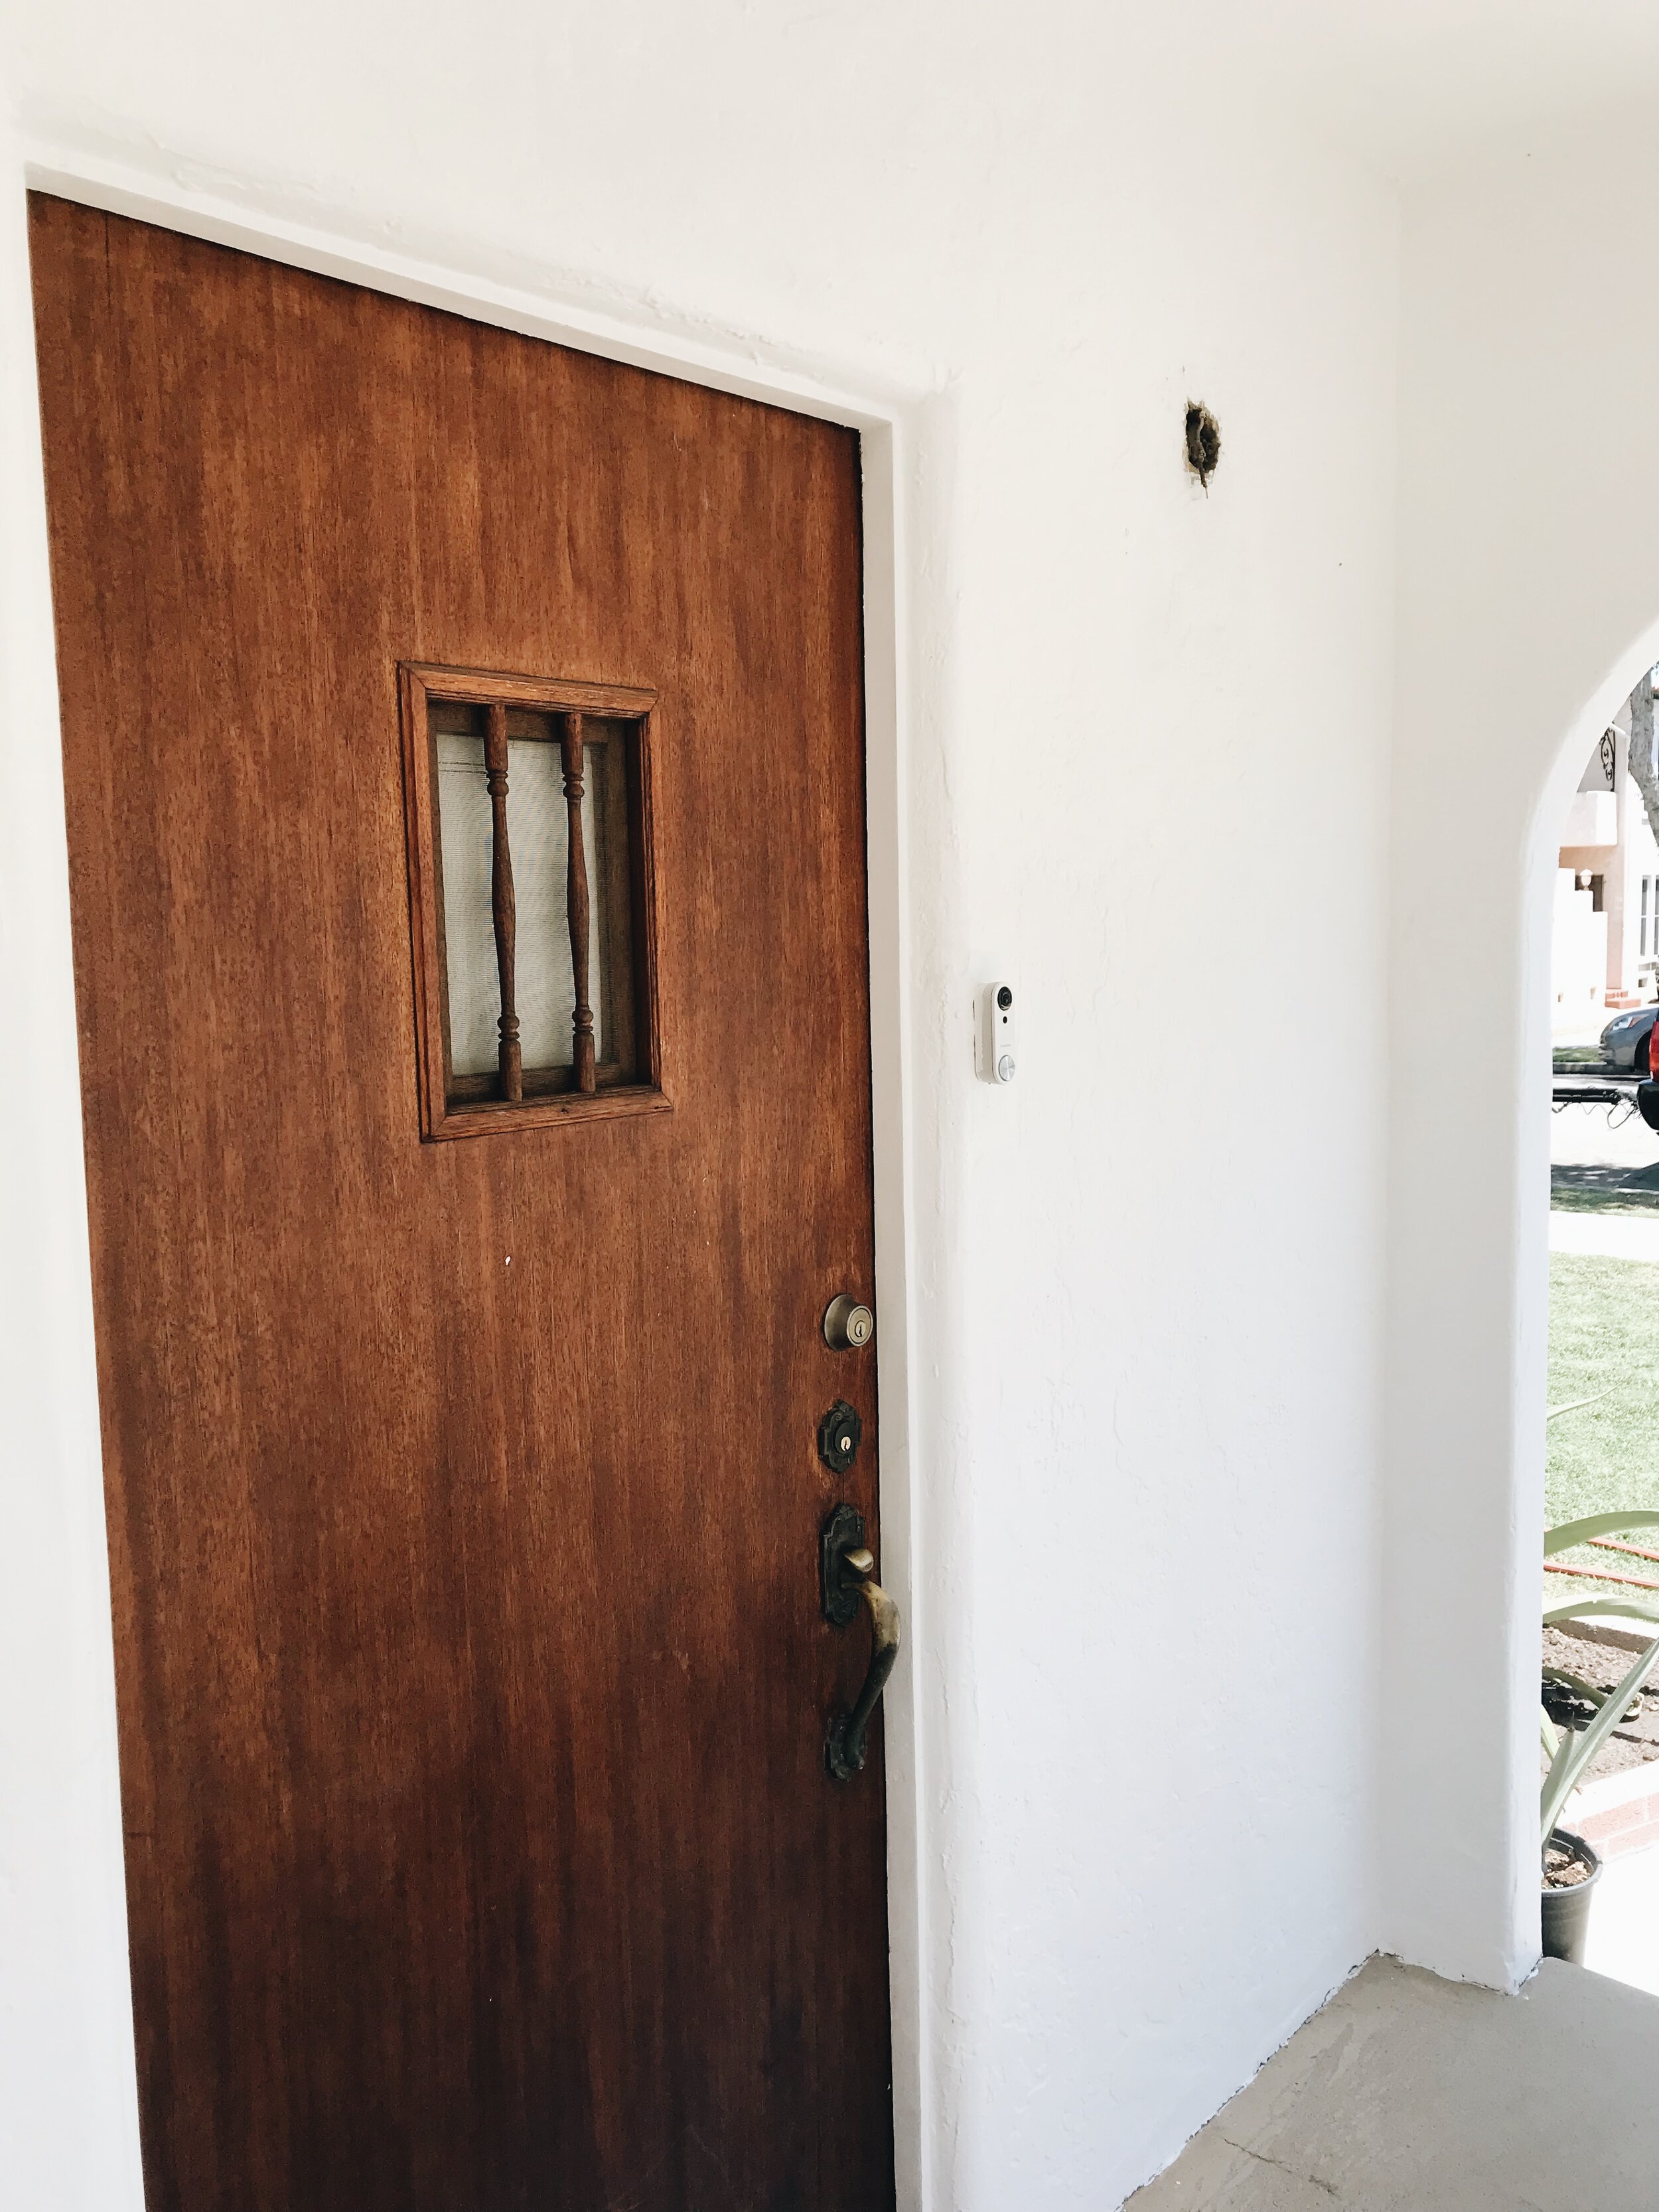
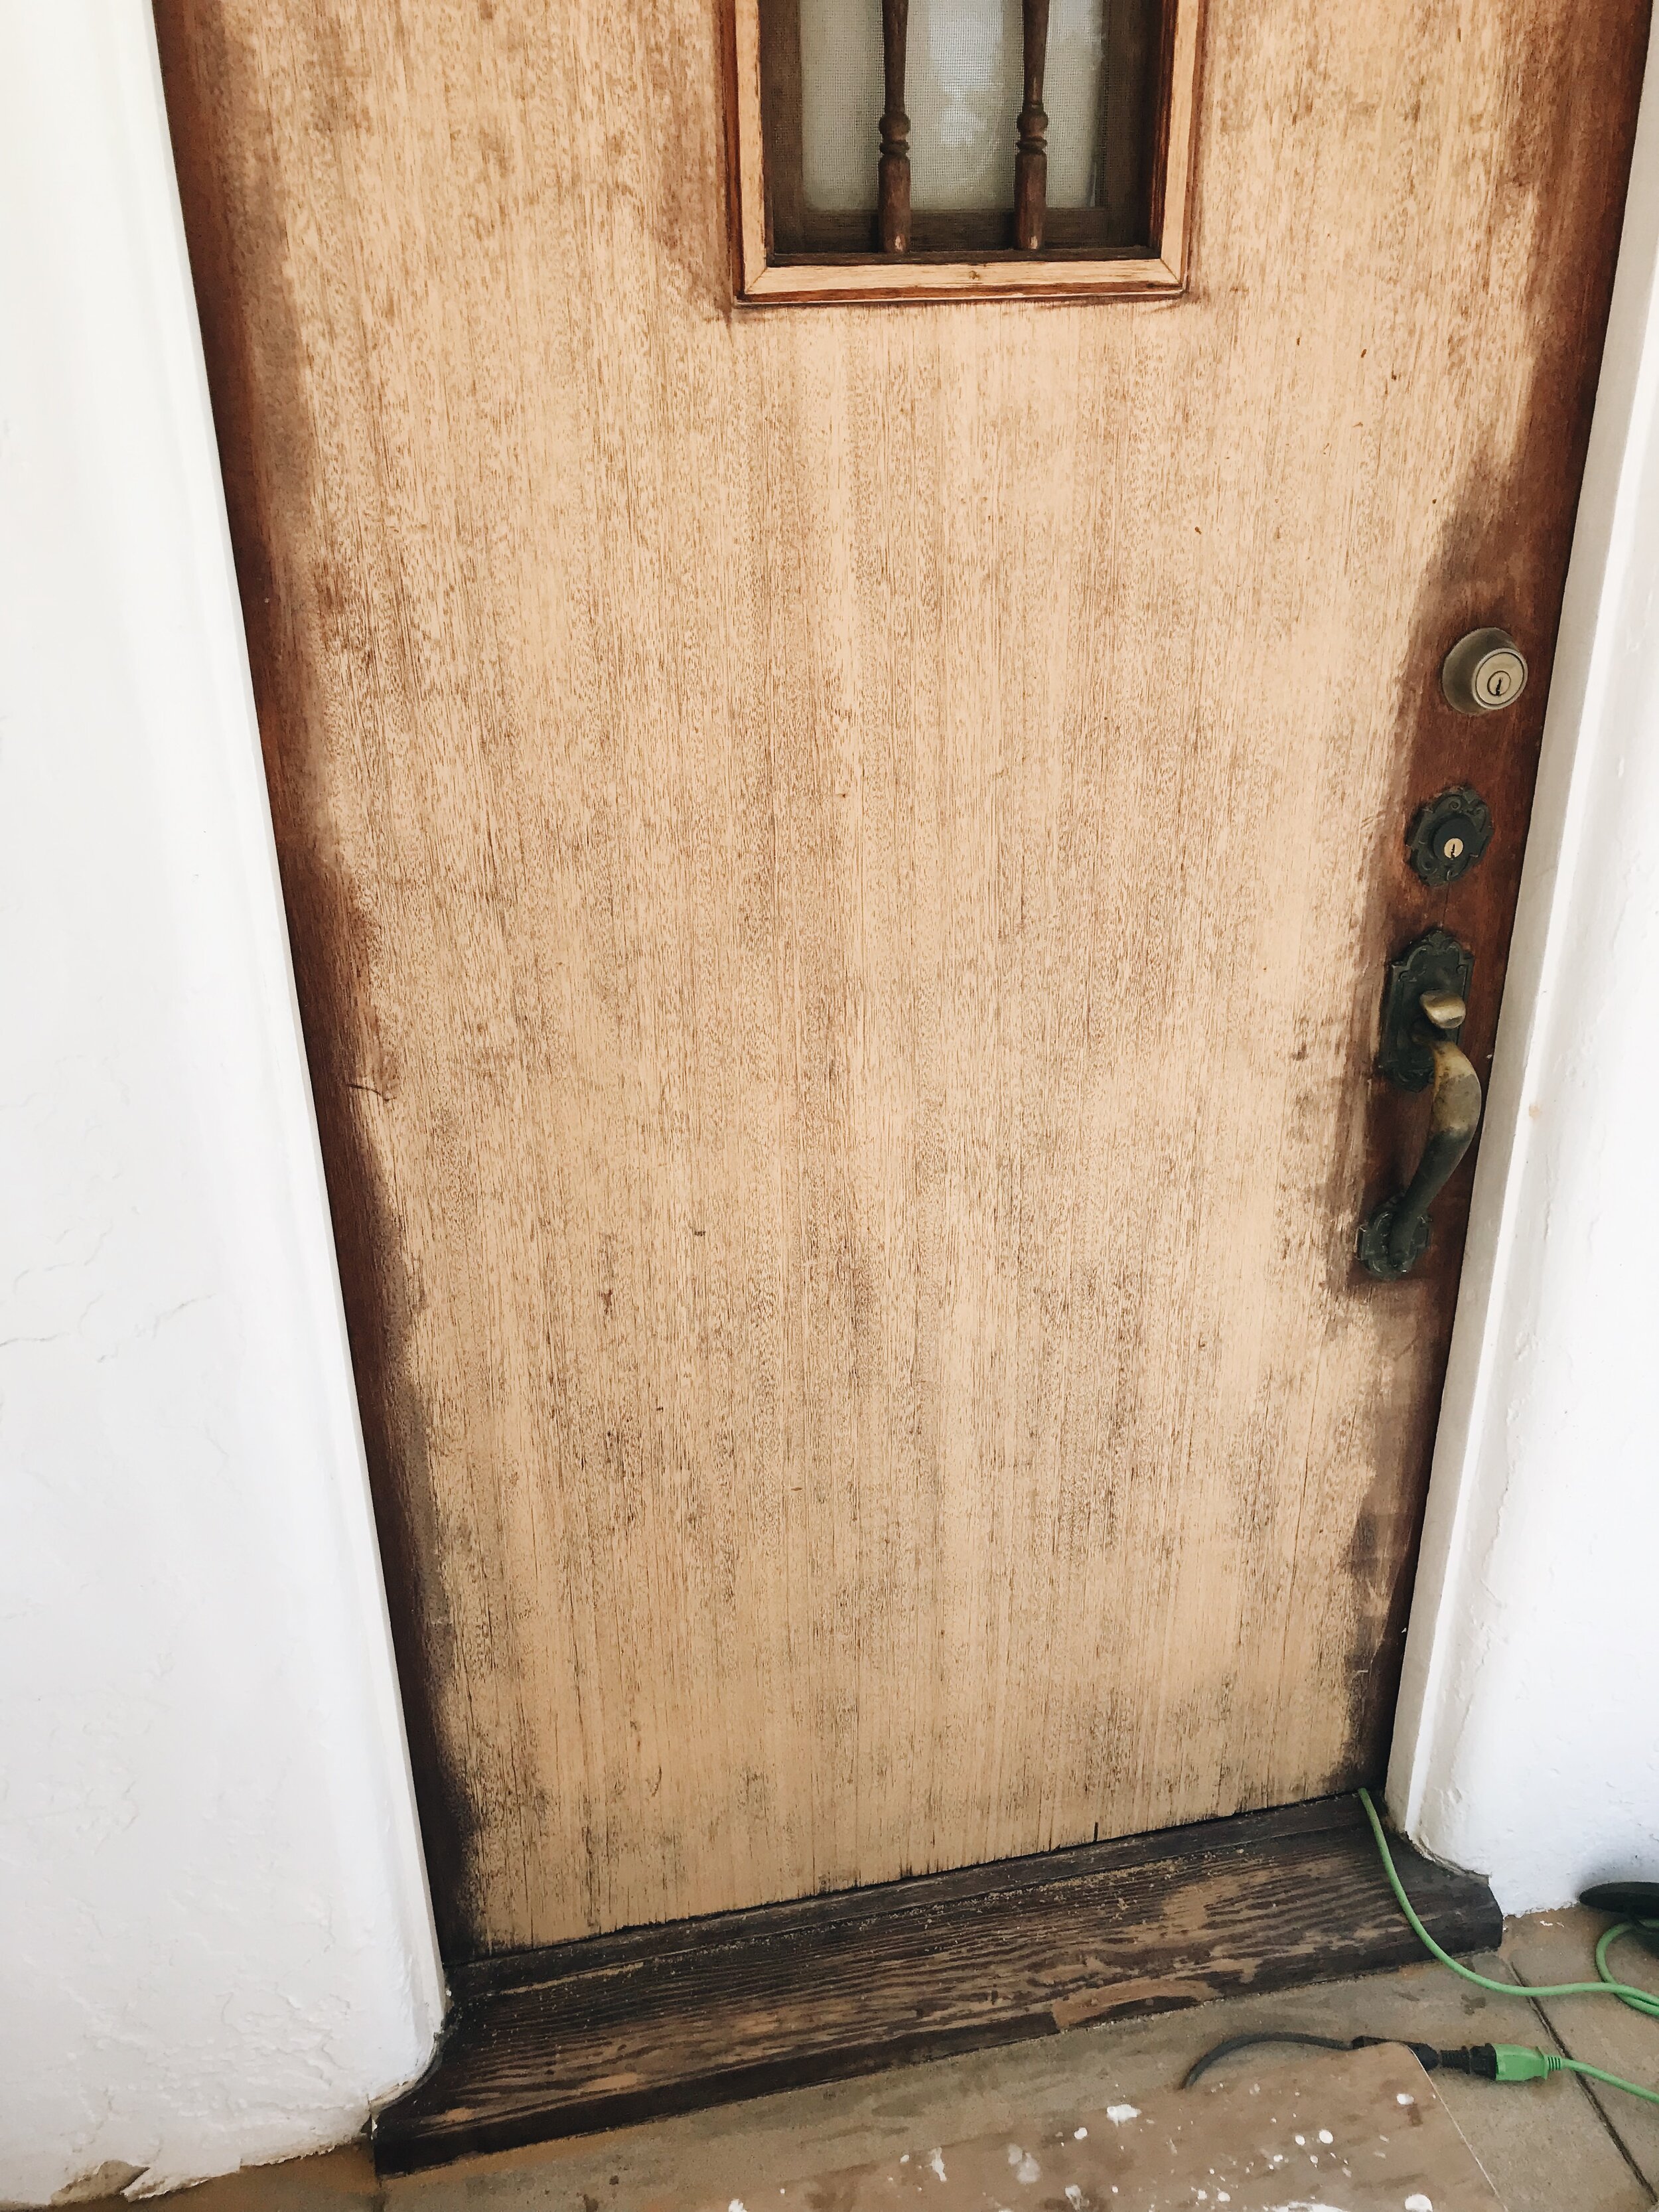
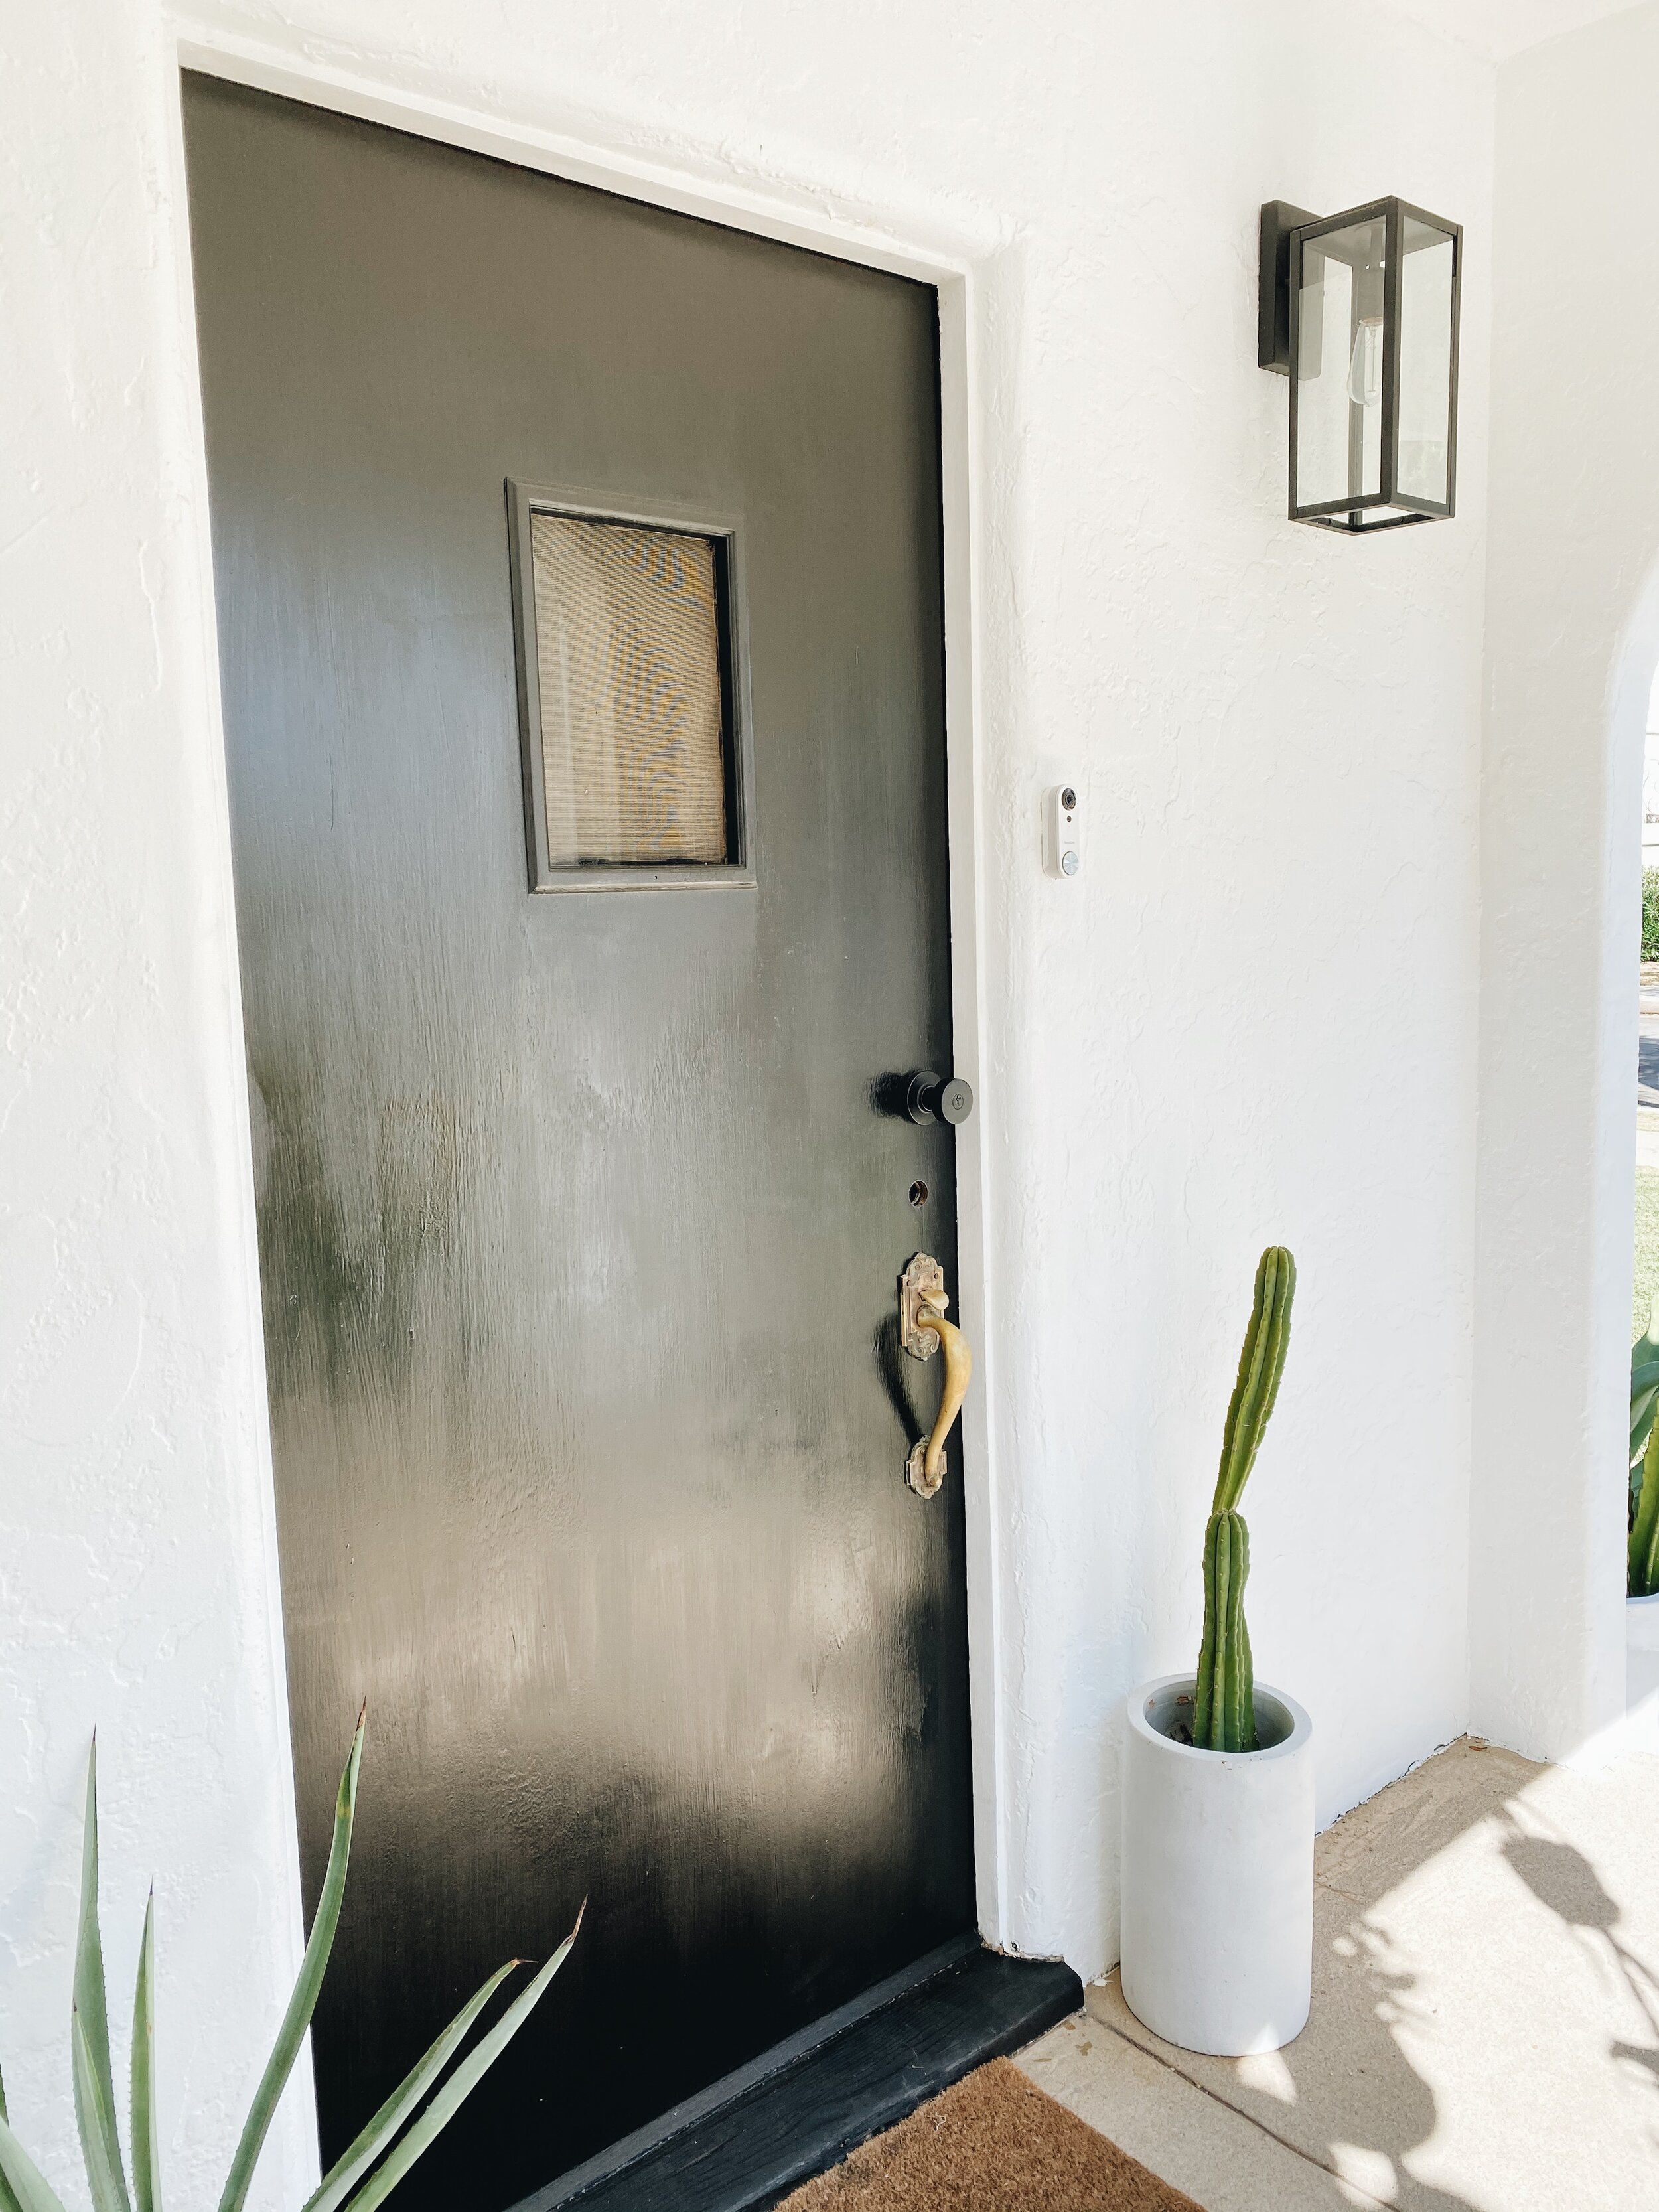
I wish I had better shots of the door & entryway before we painted, but I think you get the idea from these pics.
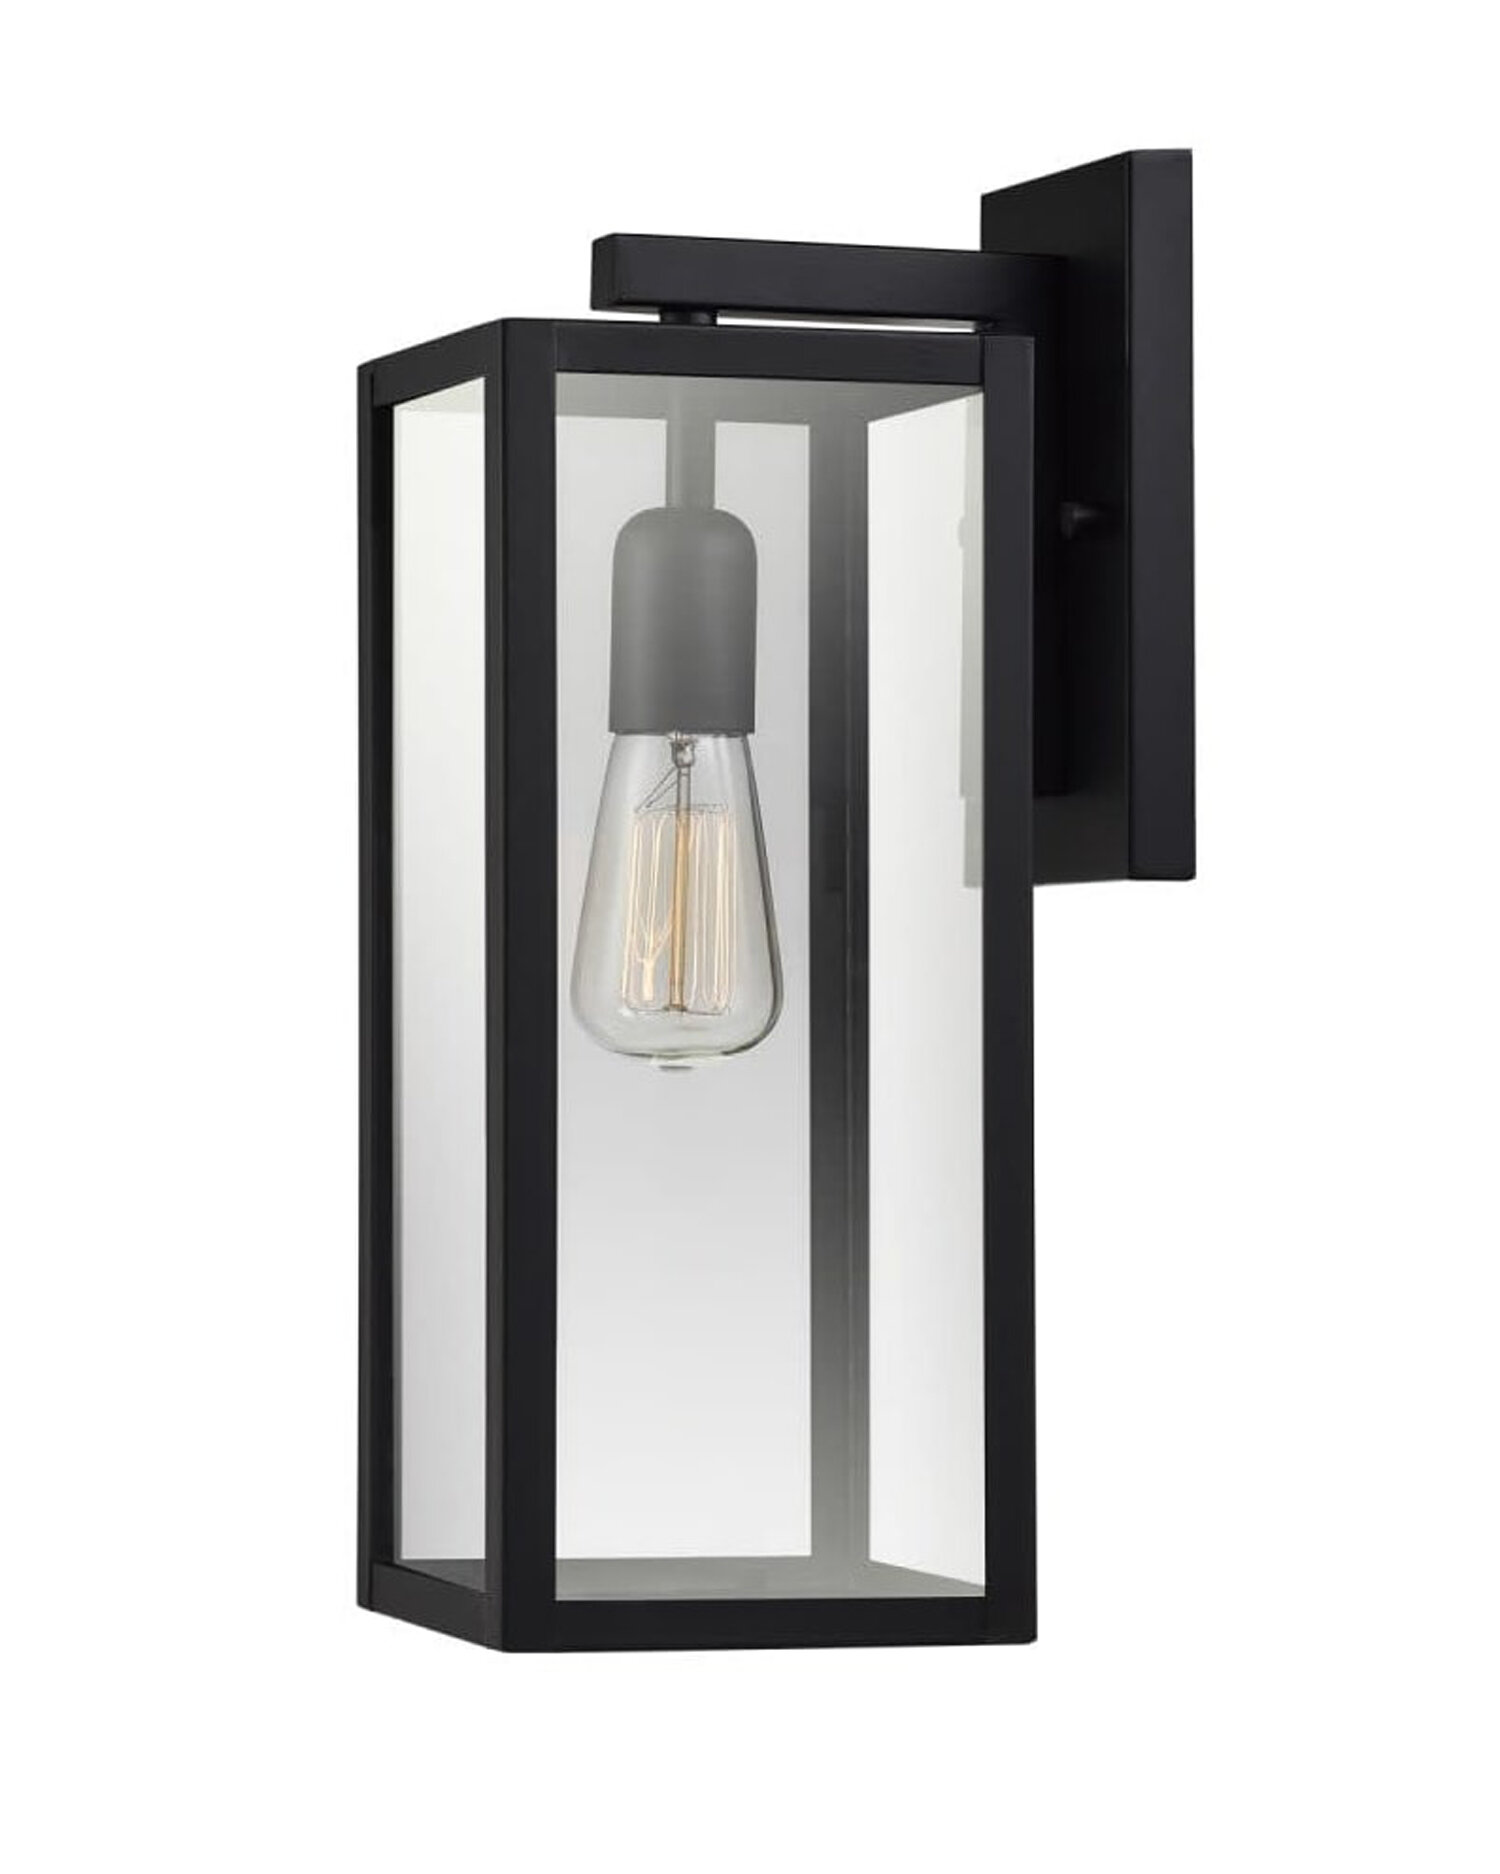
I mean how scary is that sconce!?!
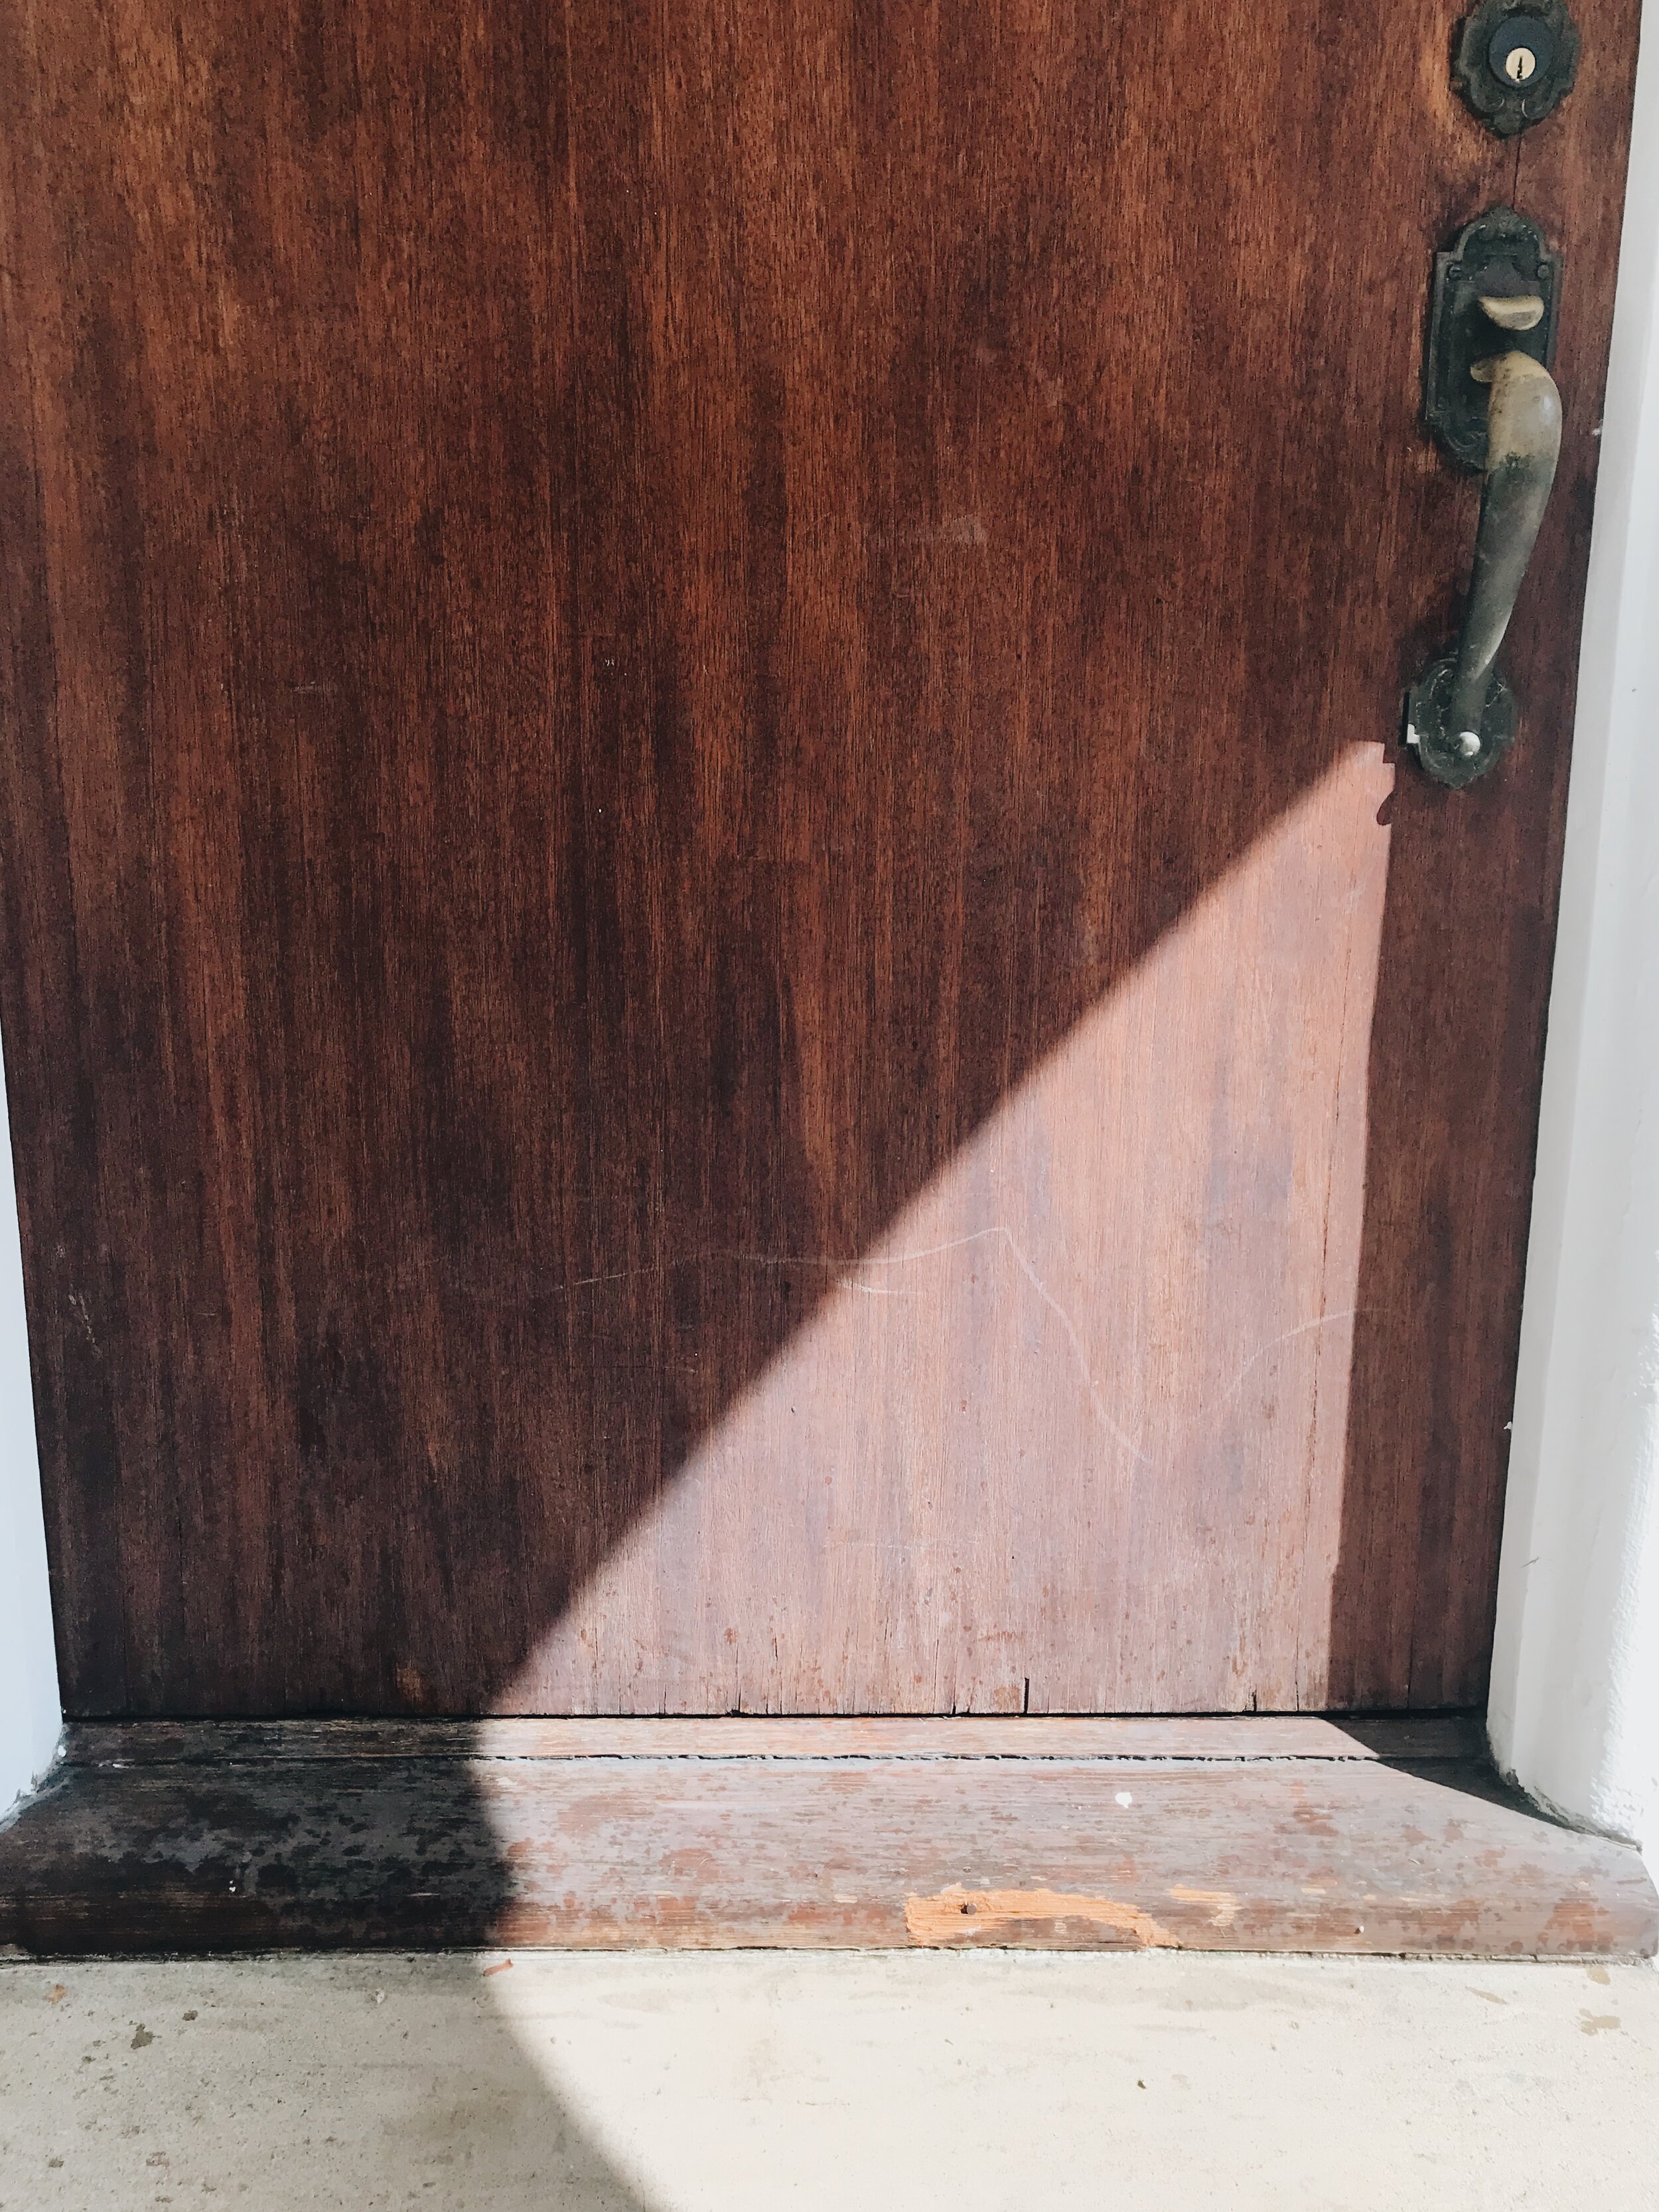
The bottom half of the door was cracking and splintering from years and years of sun and water damage. The baseboard was missing chunks and the door handle didn't exactly function.
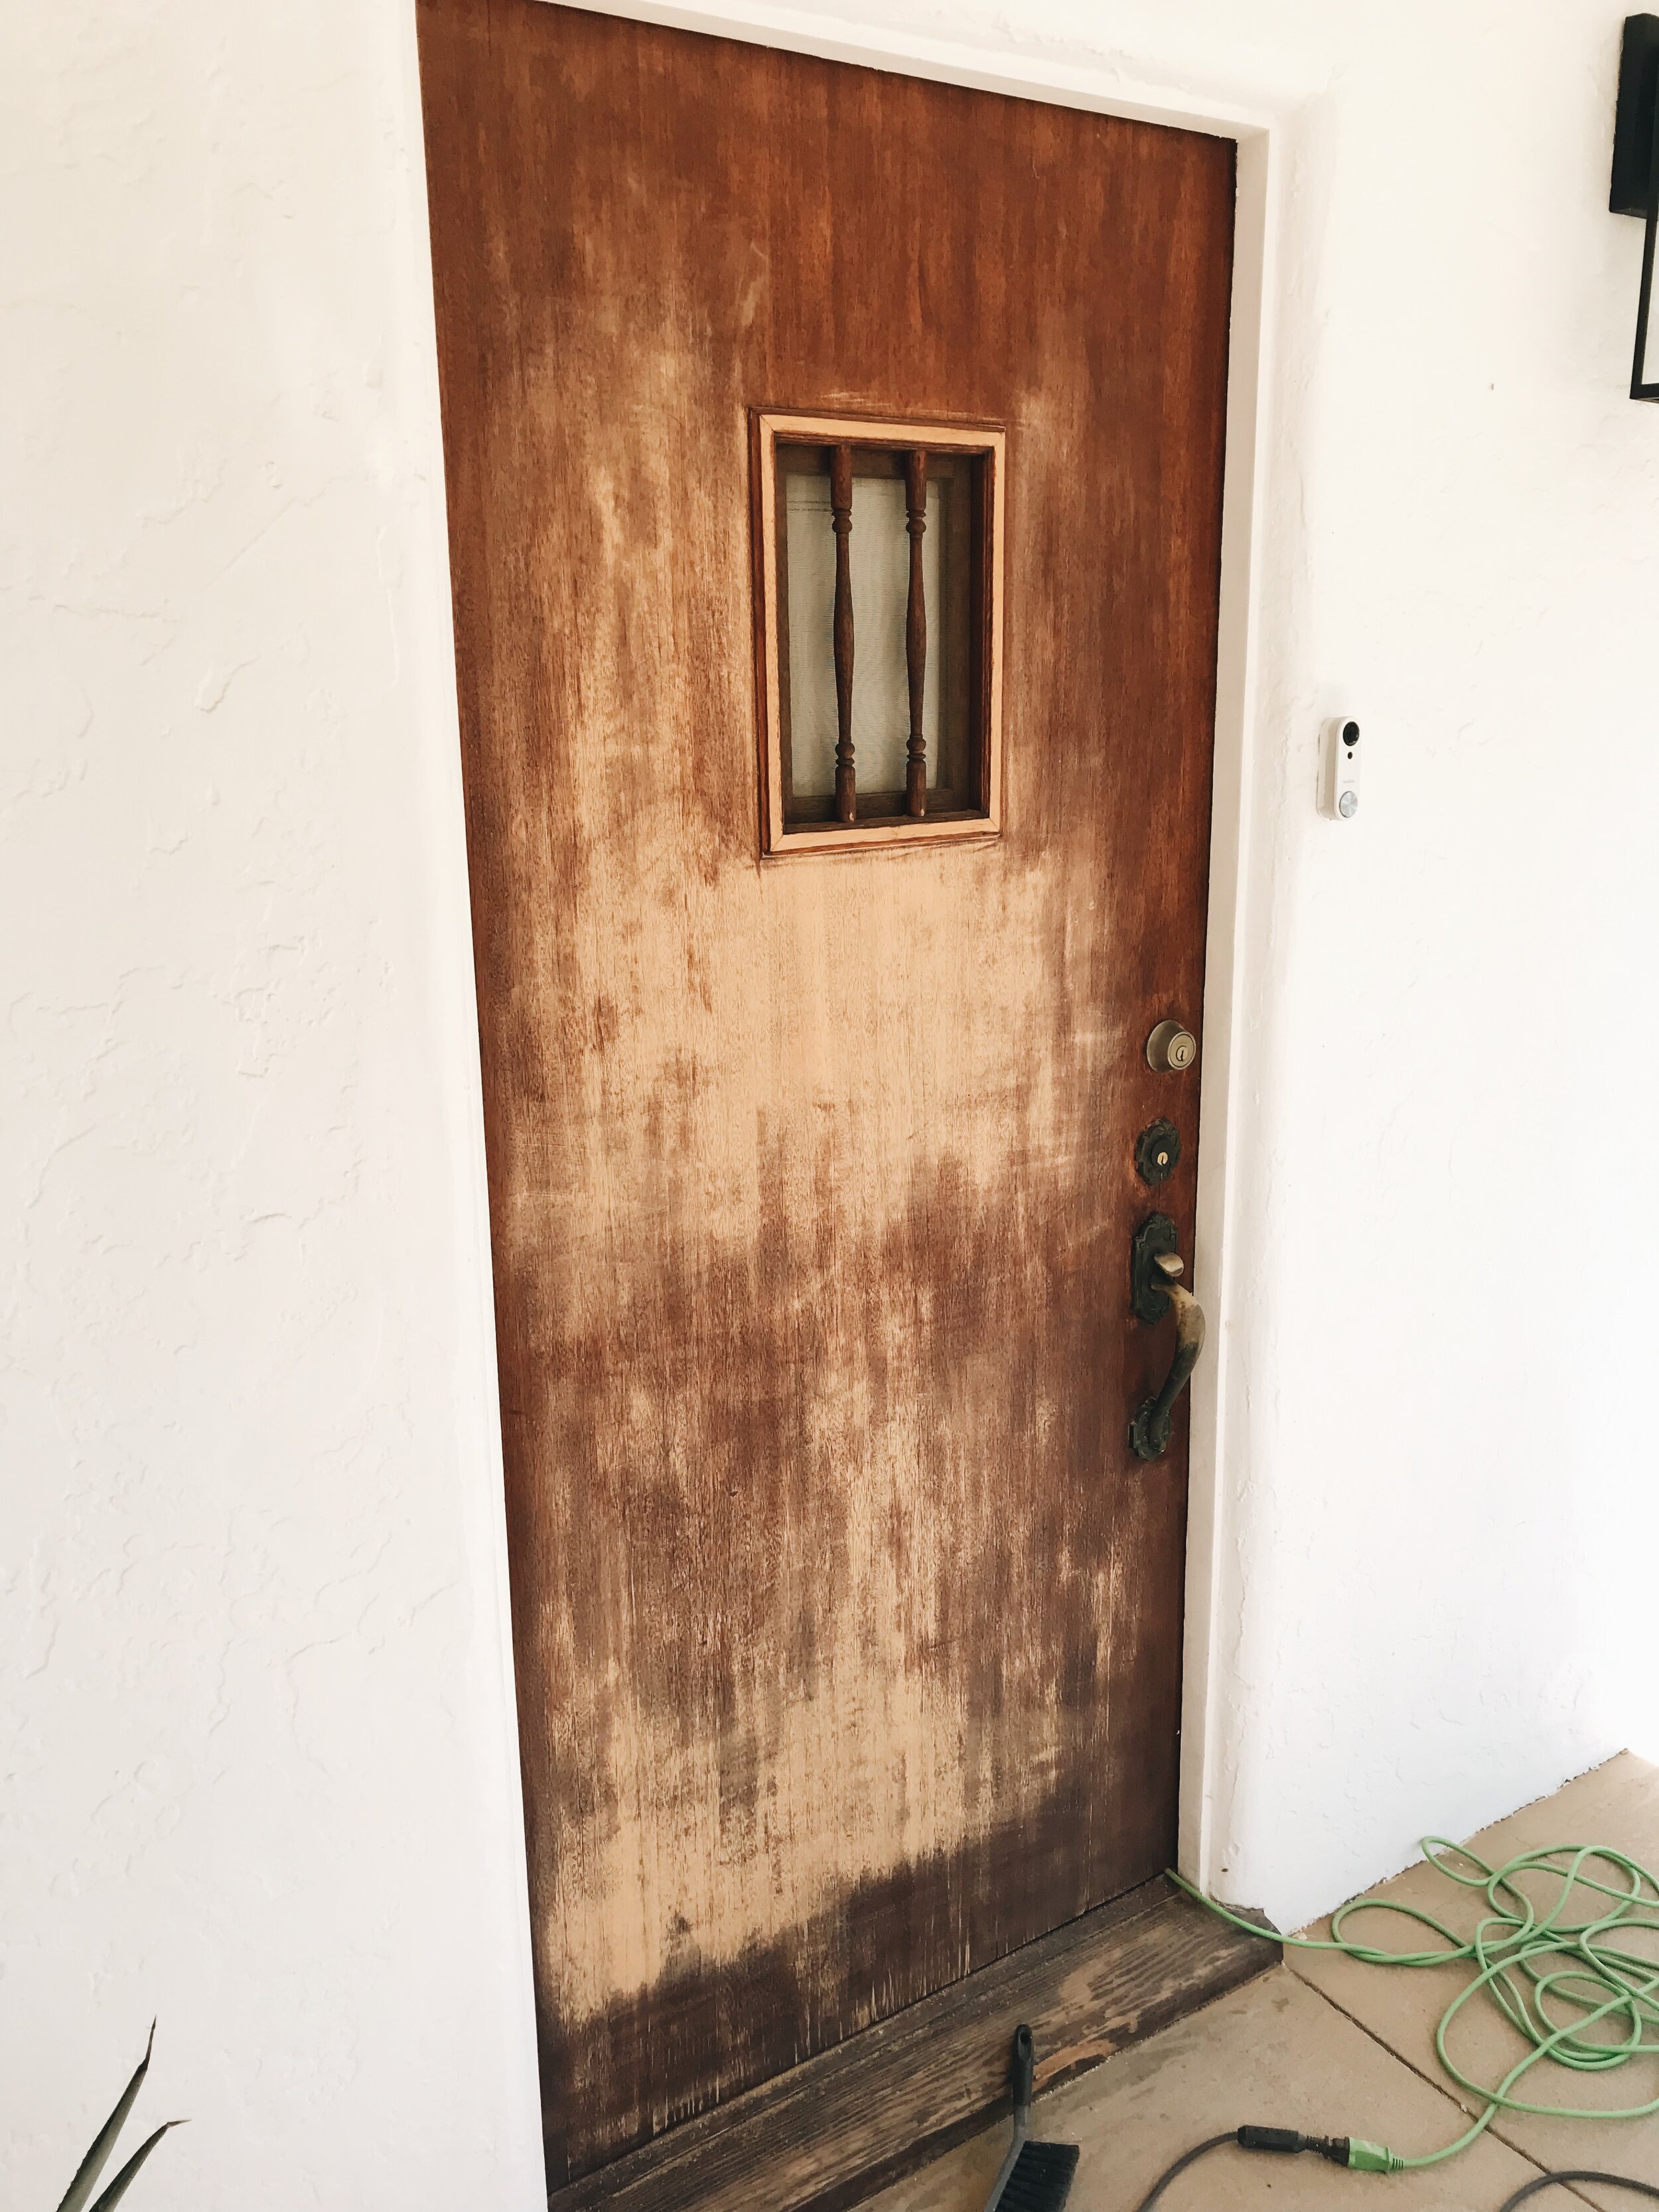
My first attempt at sanding went all wrong. As most “quick projects” go, it involved at least three trips to Home Depot.
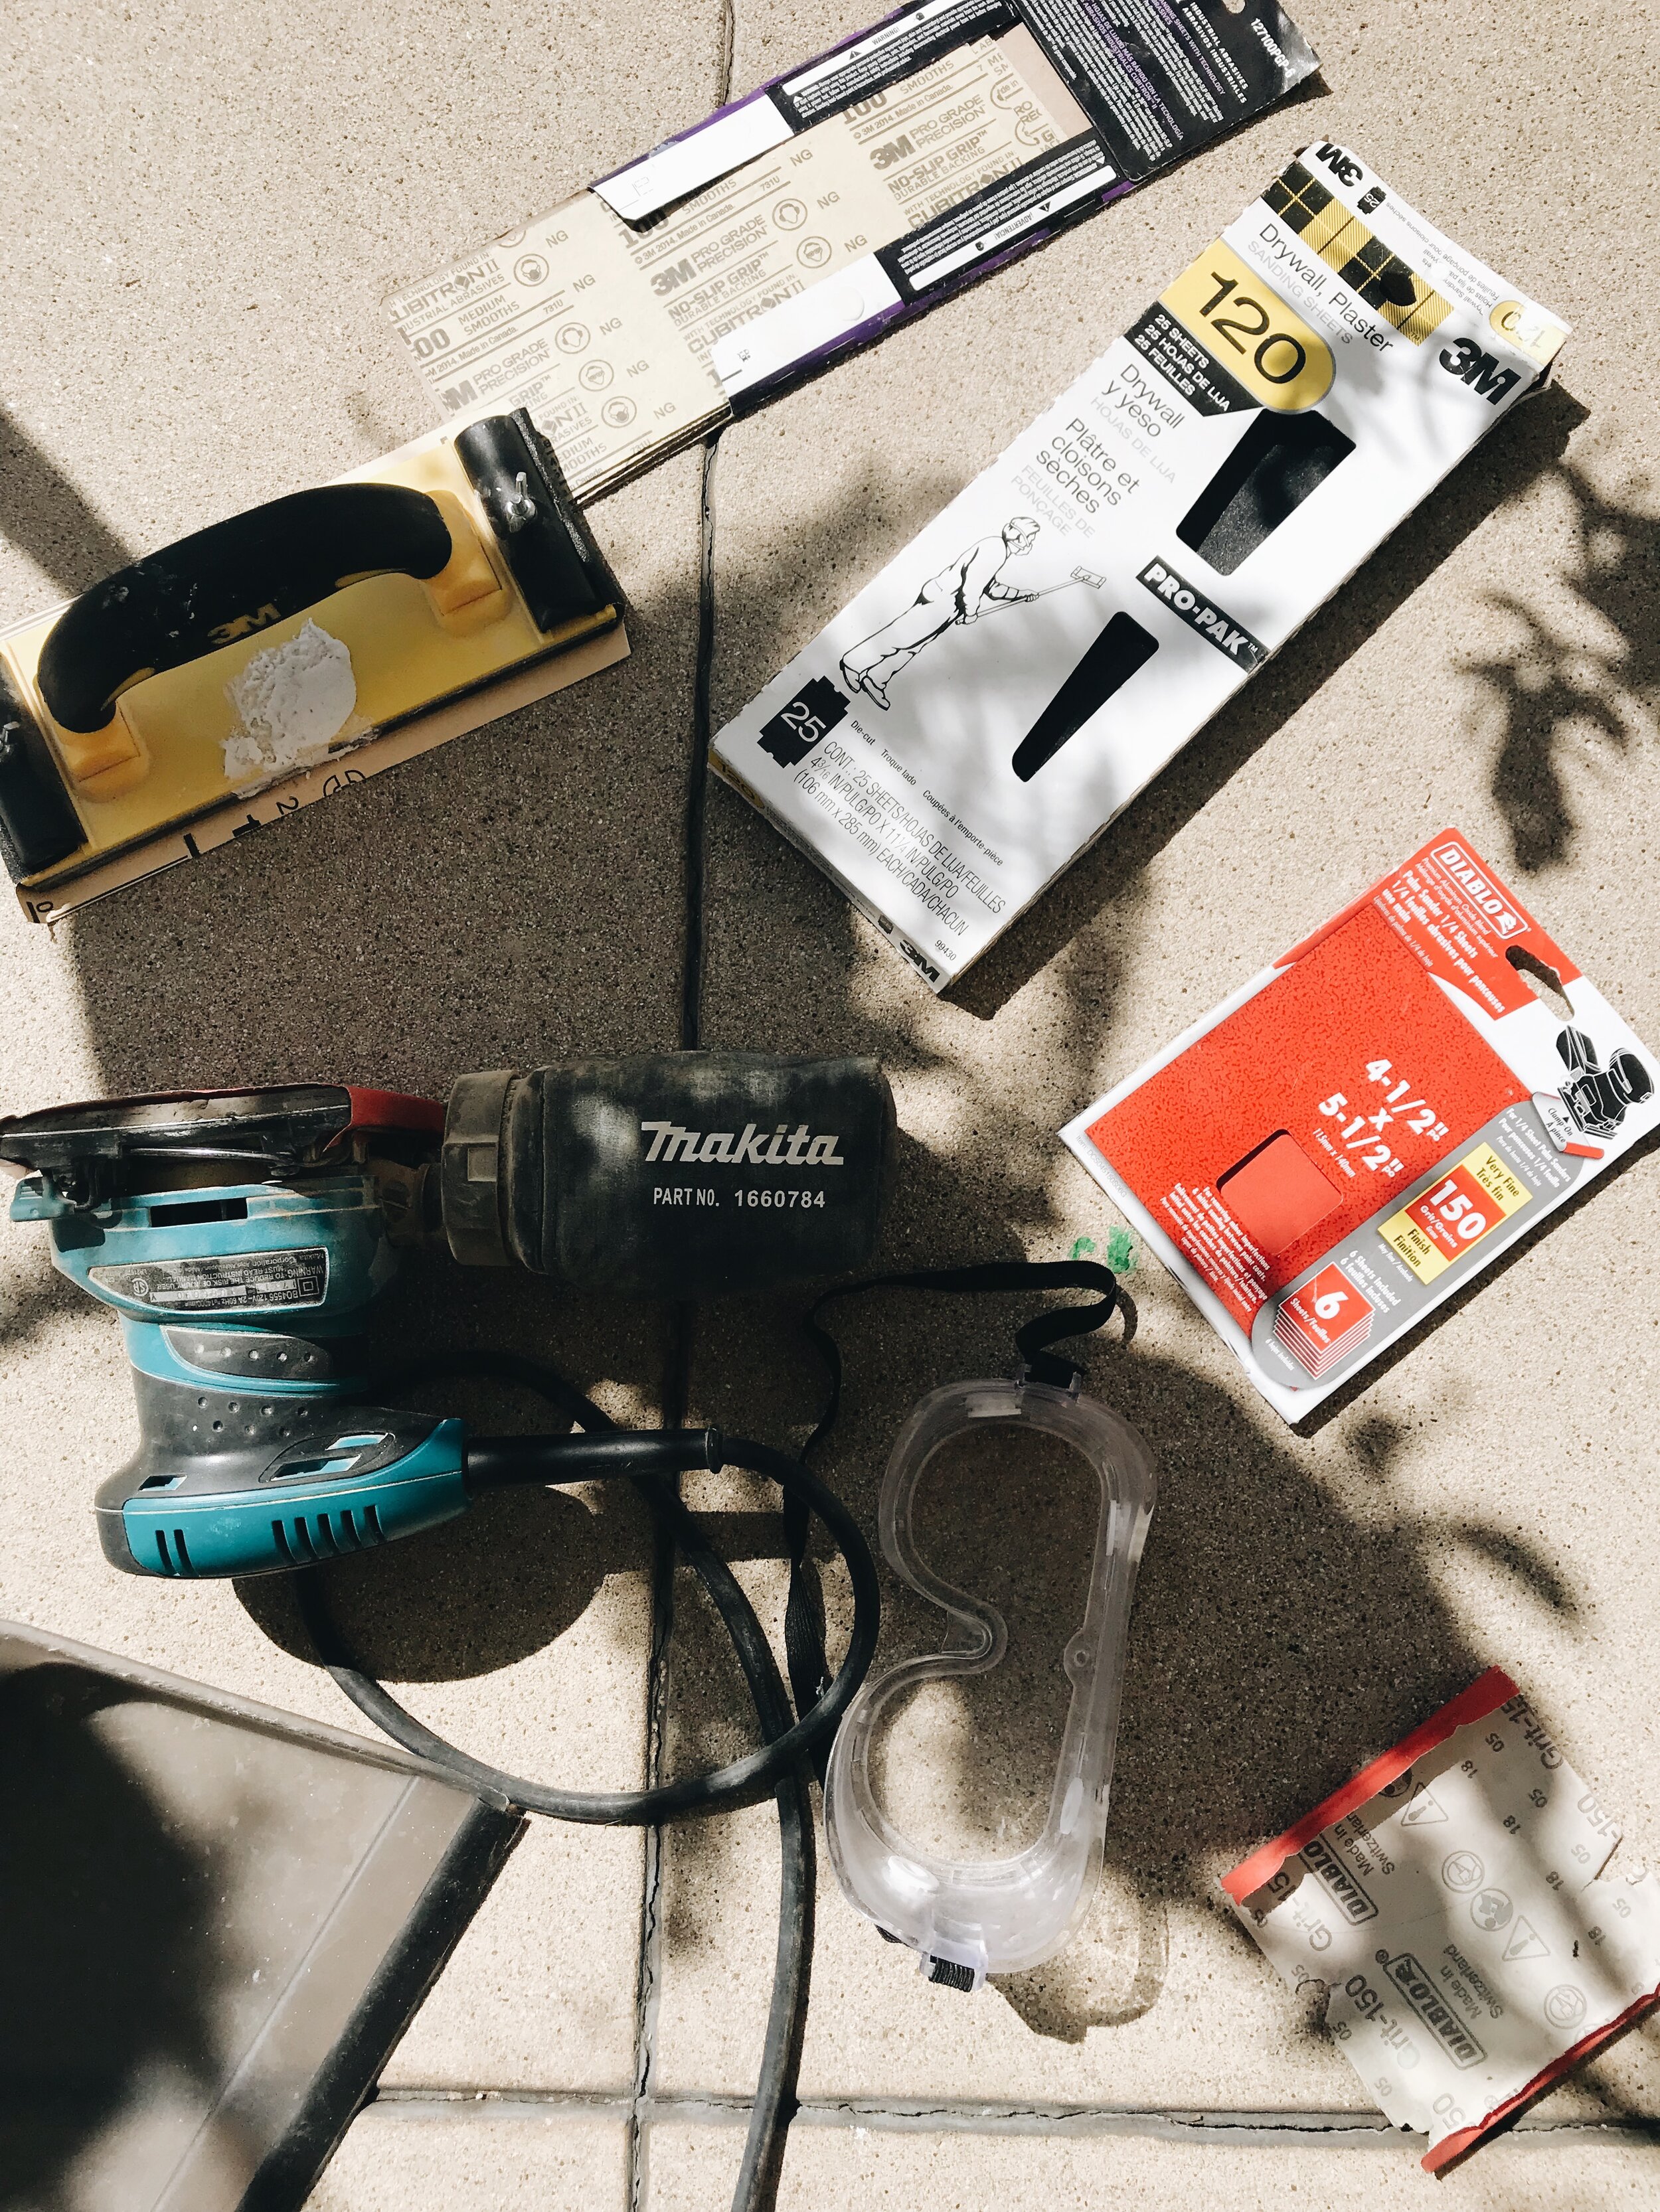
I started with 150 grit sandpaper, and after hours of getting nowhere switched to 100, then 60 grit. Note to self, next time, do that in reverse. Start with 60, then 100, then 150 (and take the door off:). I tried sanding with the door still on the hinges, because keeping our German Shepherd and our toddler inside was virtually impossible with the door off.
However, the next day it was time for it to come off.
There must have been at least an inch of dust on everything inside our living room. Oops!
Like my makeshift sawhorse?
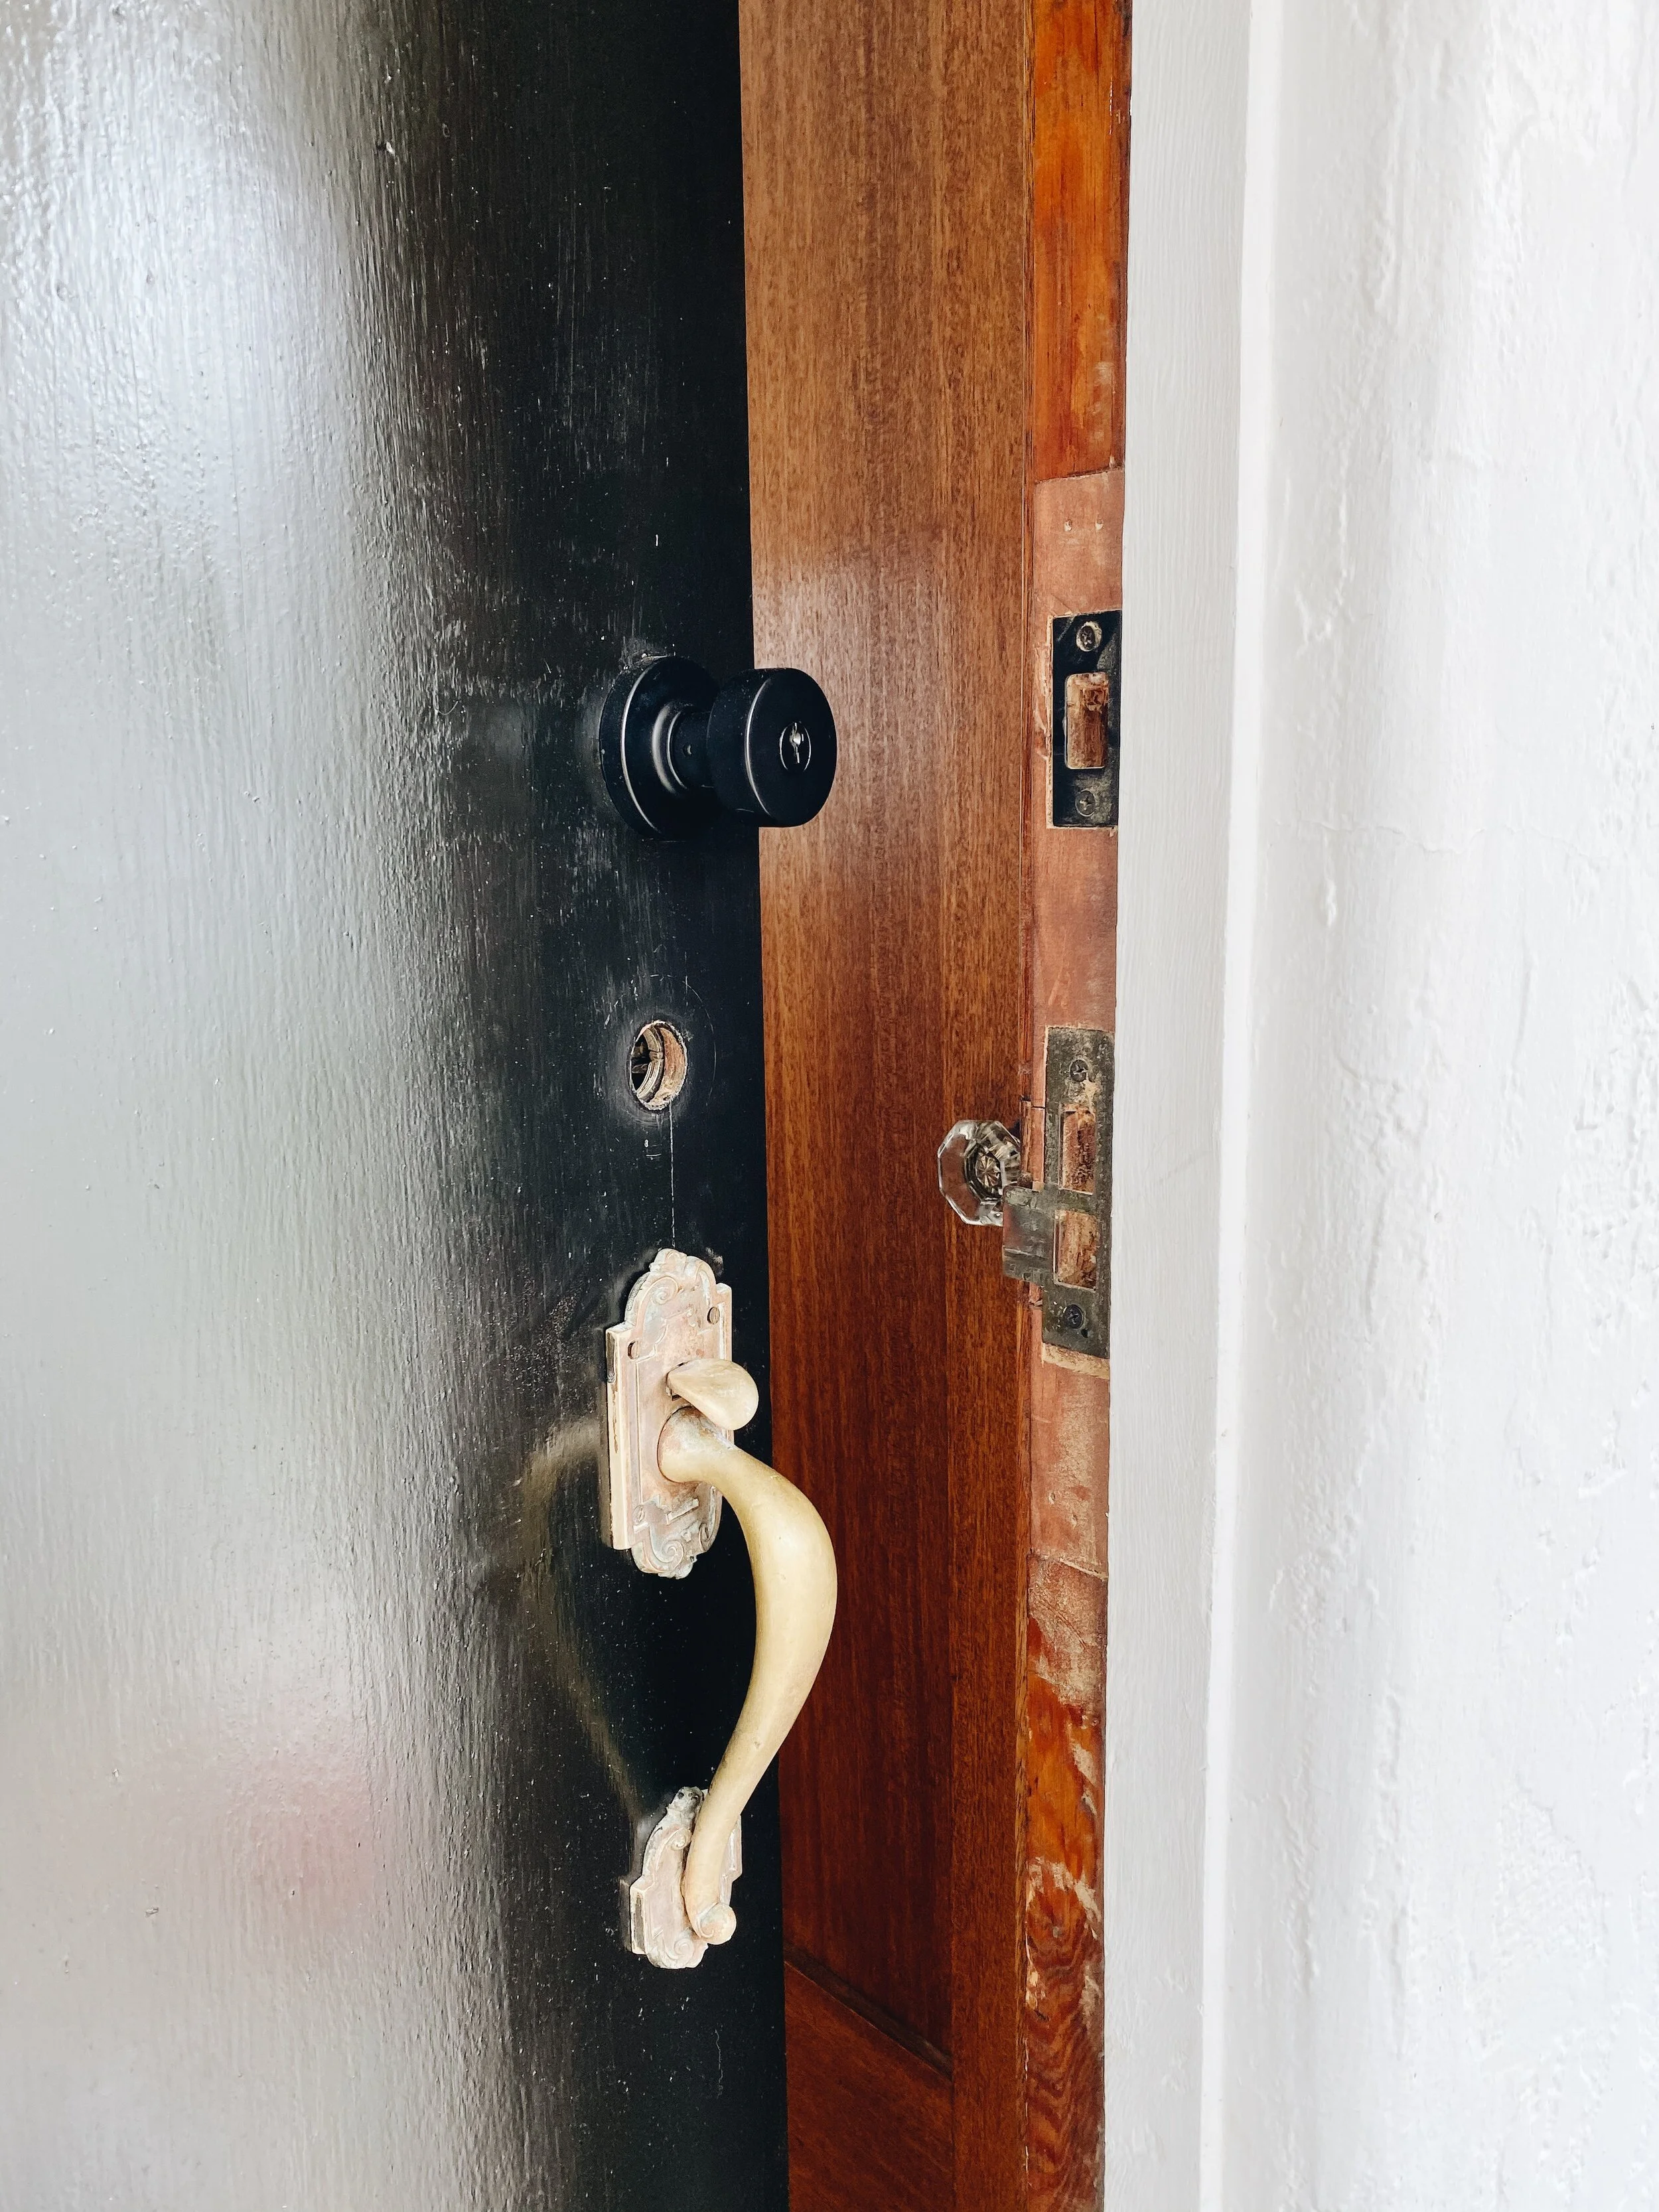
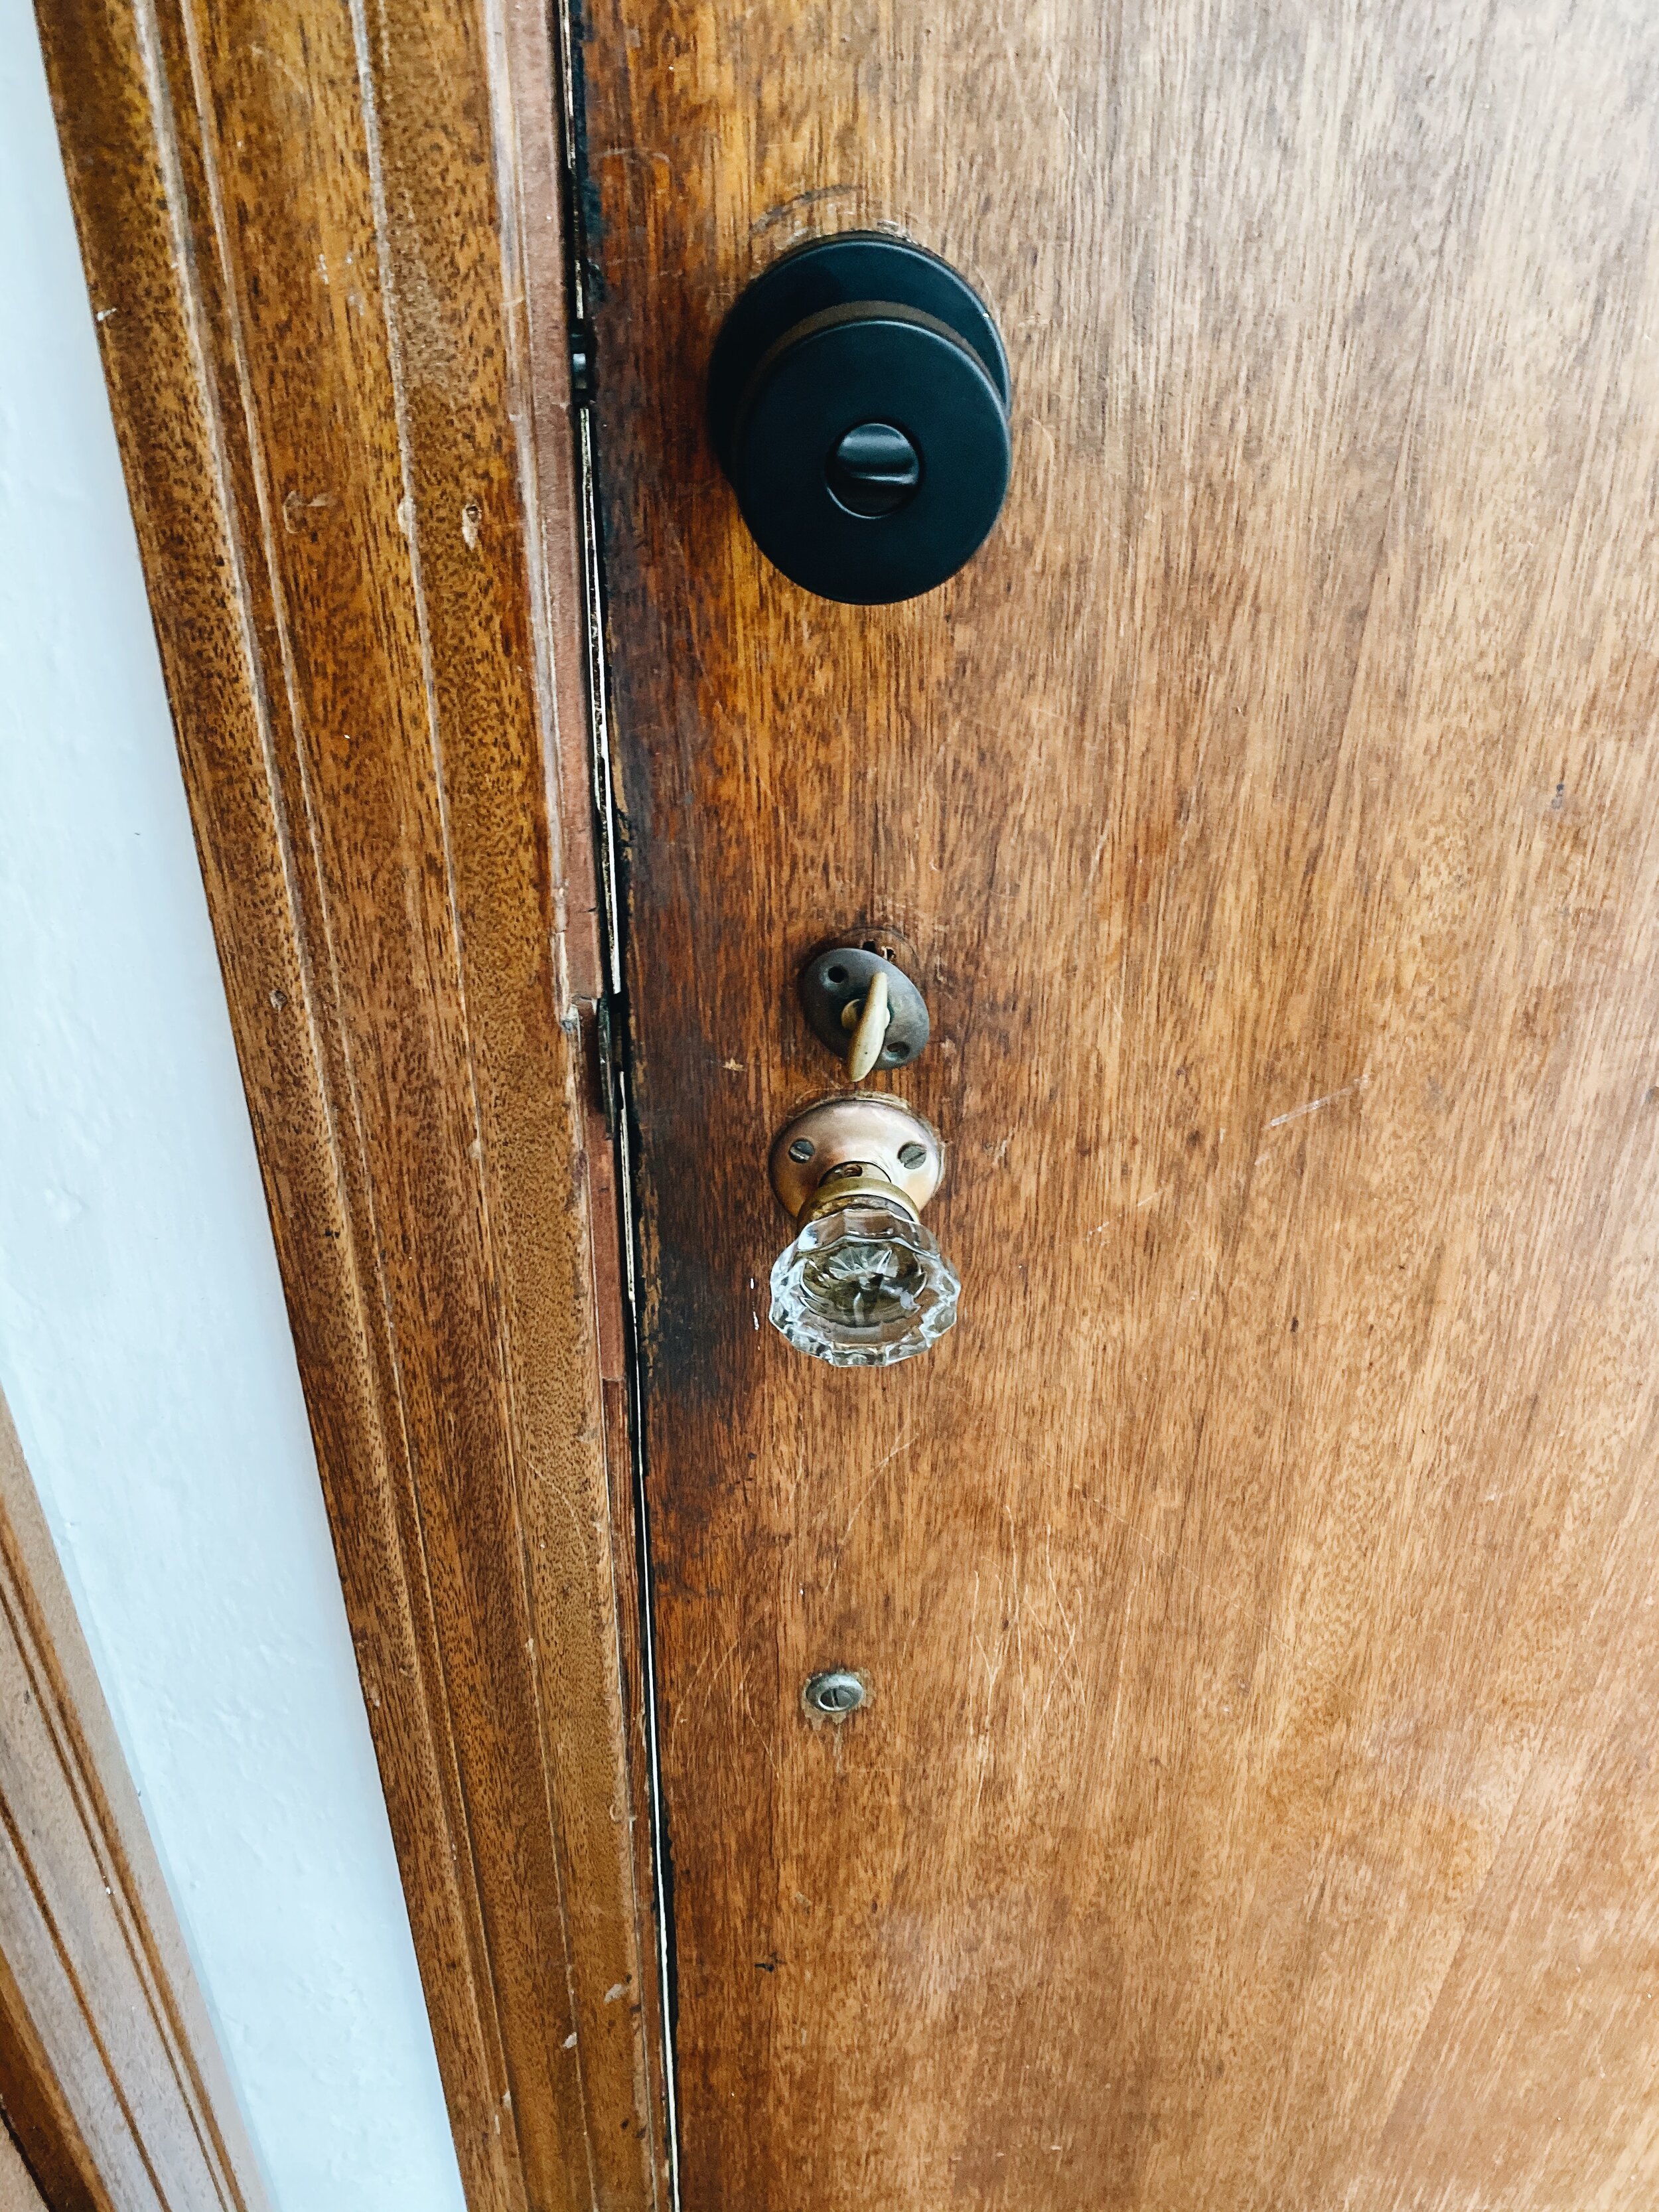
Once we got the door off the hinges and all the hardware off the real progress began.
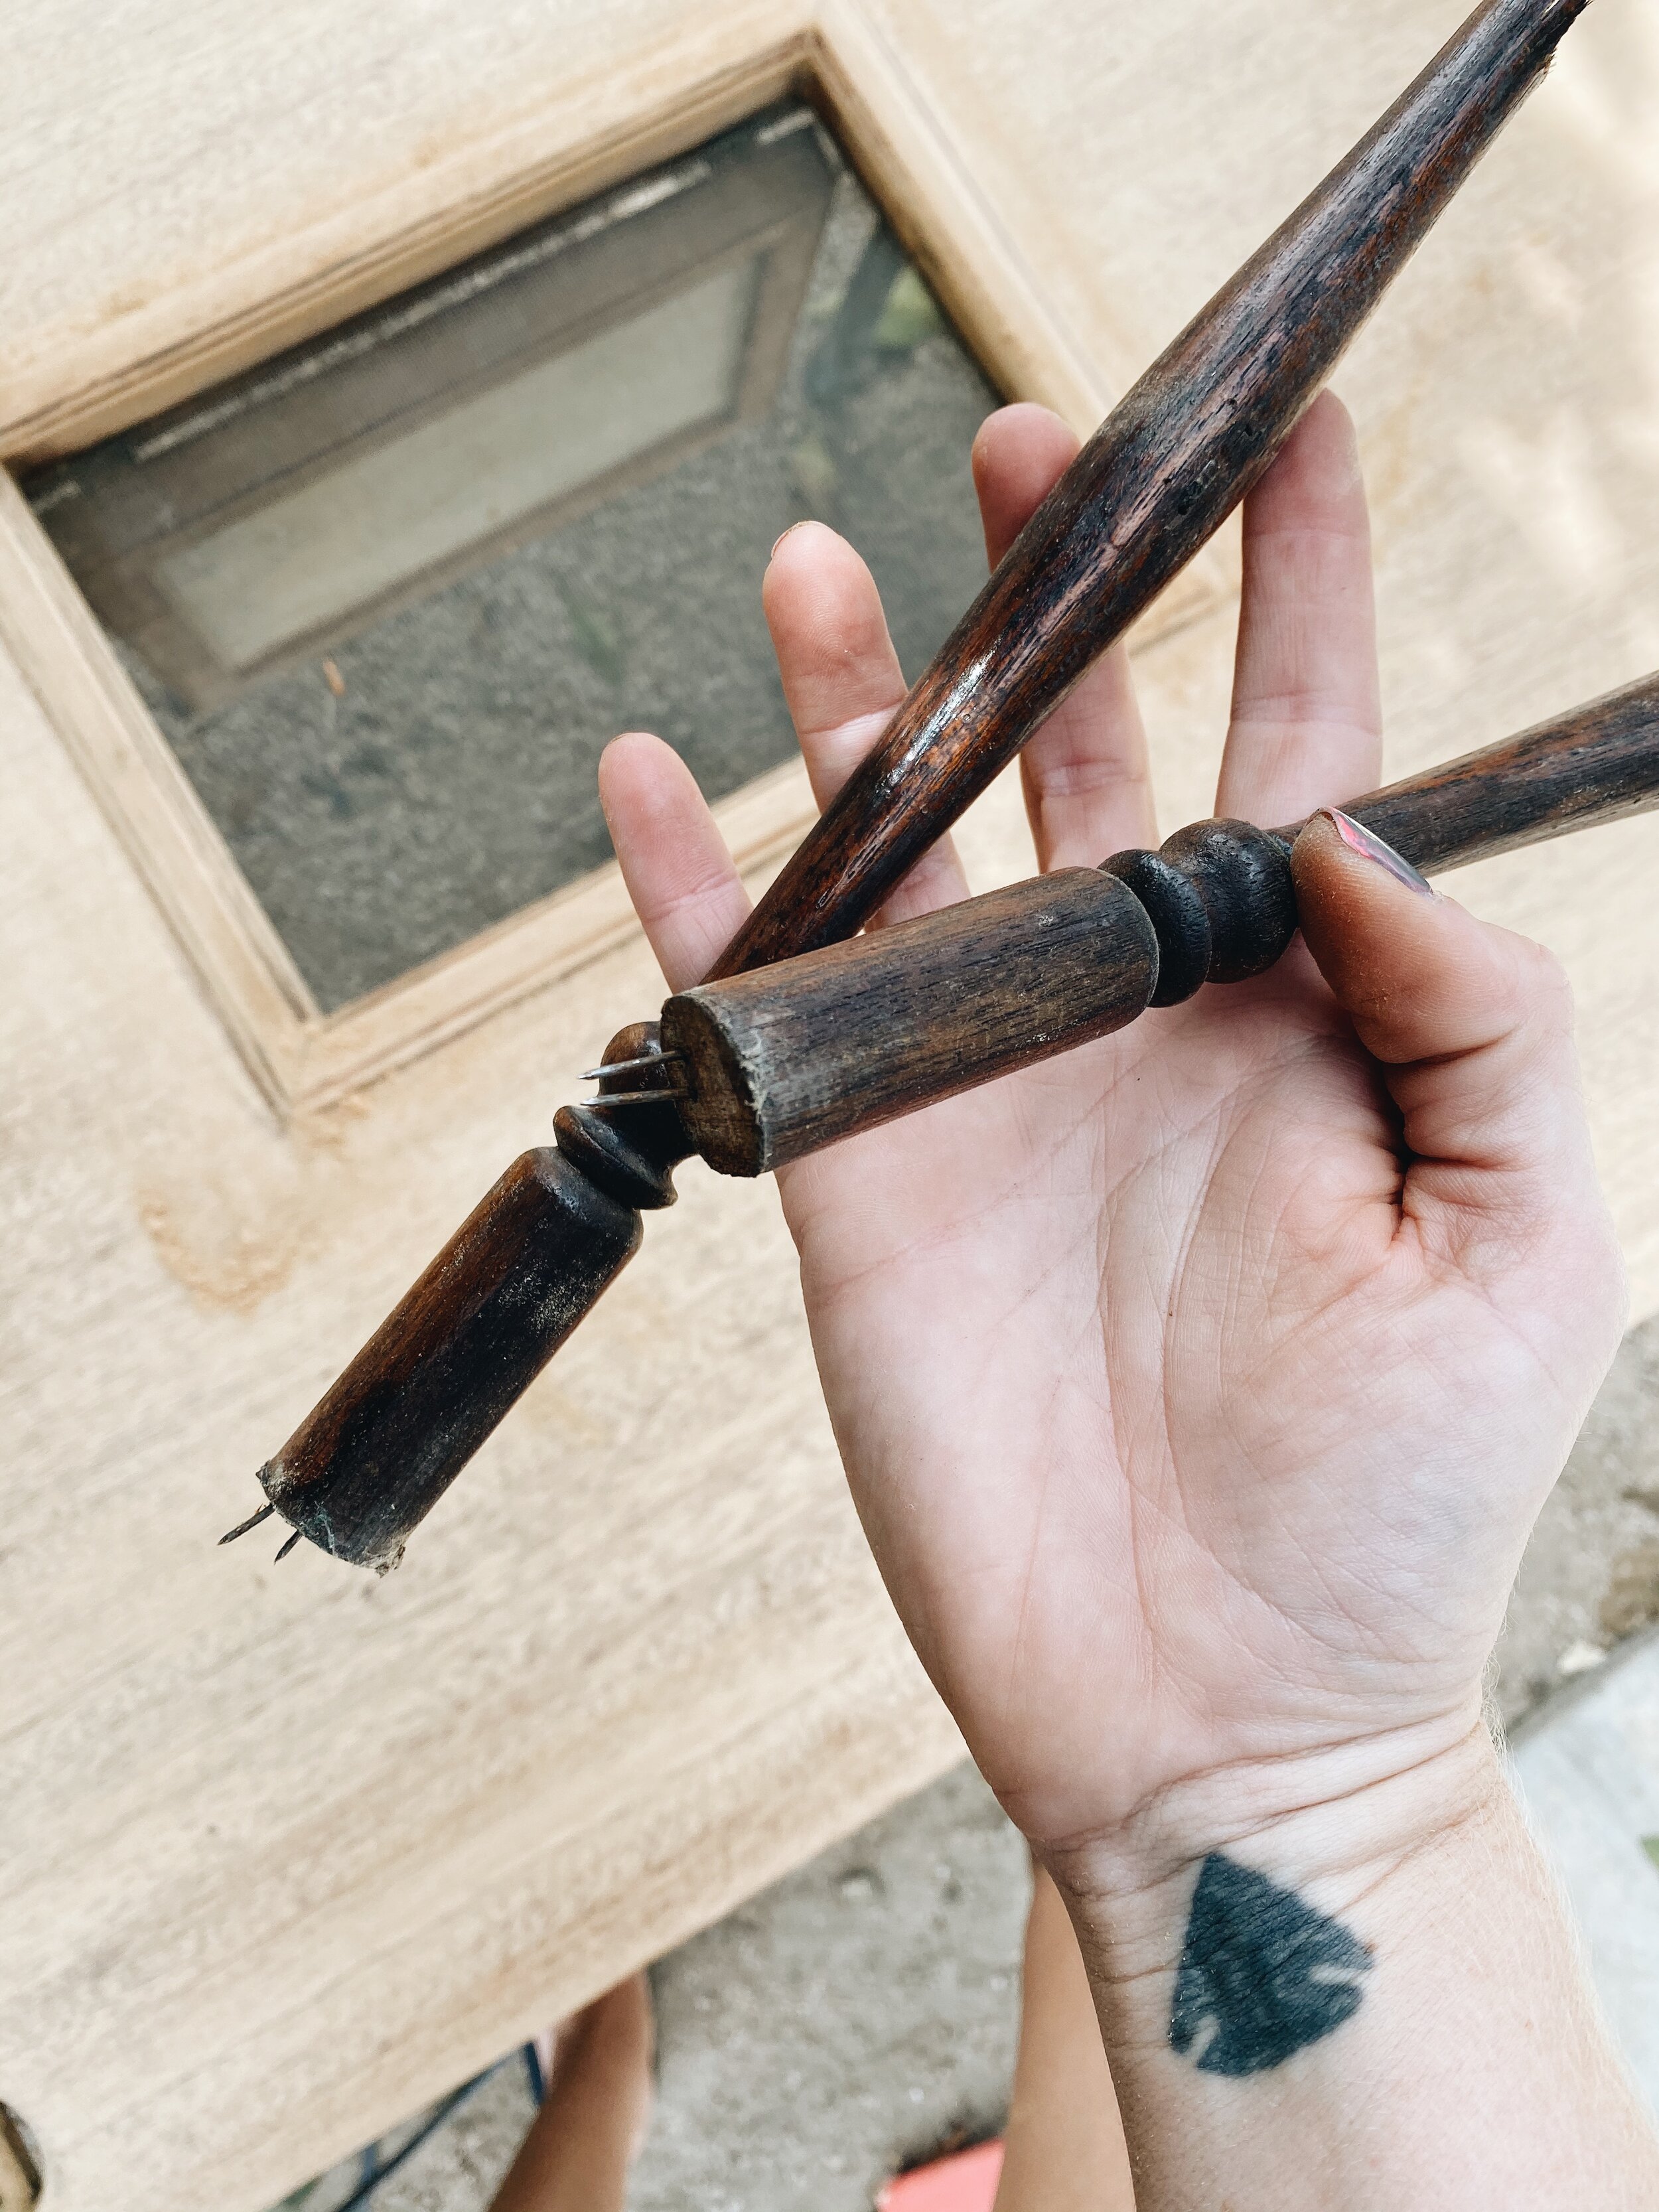
Ugh, and I hated those spindles!!
Luckily they popped right out. I also ripped out the old gross screen.
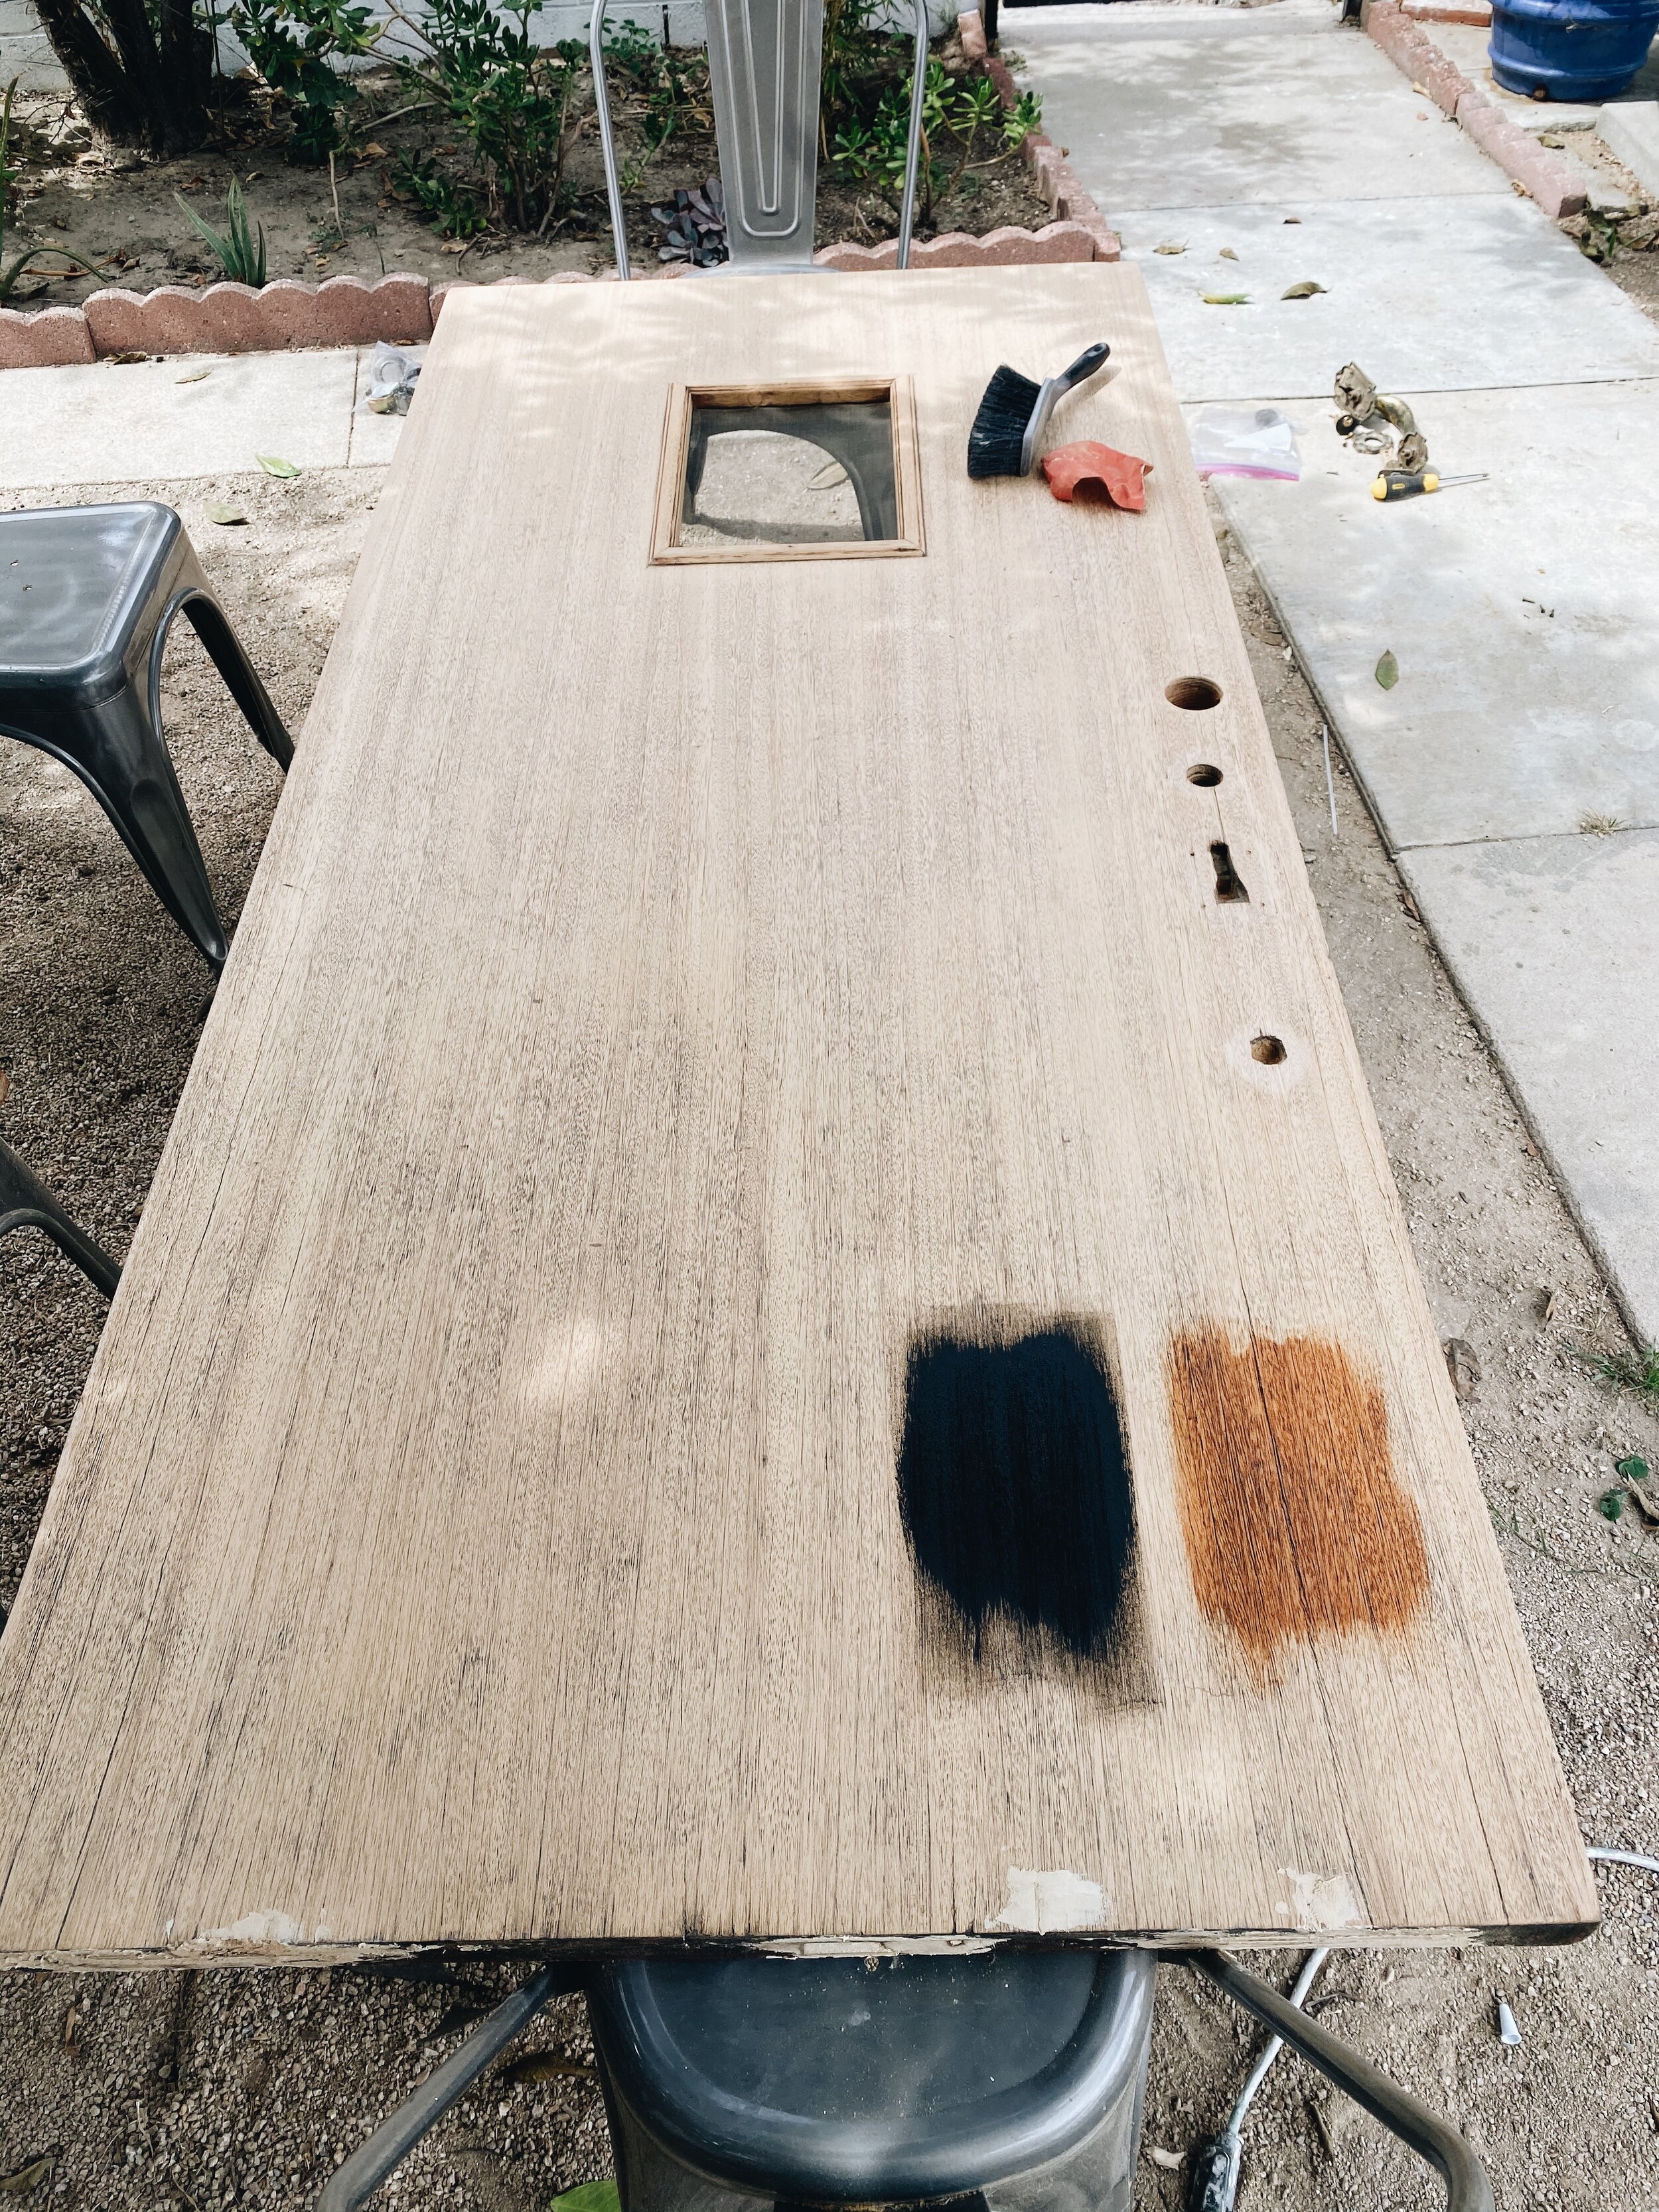
Decisions Decisions….
Natural or Black.
I was leaning towards natural, but after sanding, the door was in way worse condition than I thought. Natural showed every single imperfection and black hid everything. See all the wood filler on the bottom of the door? The door was basically hollow at the bottom, not sure from old termite damage or what, but I basically had to glue and fill it back together.
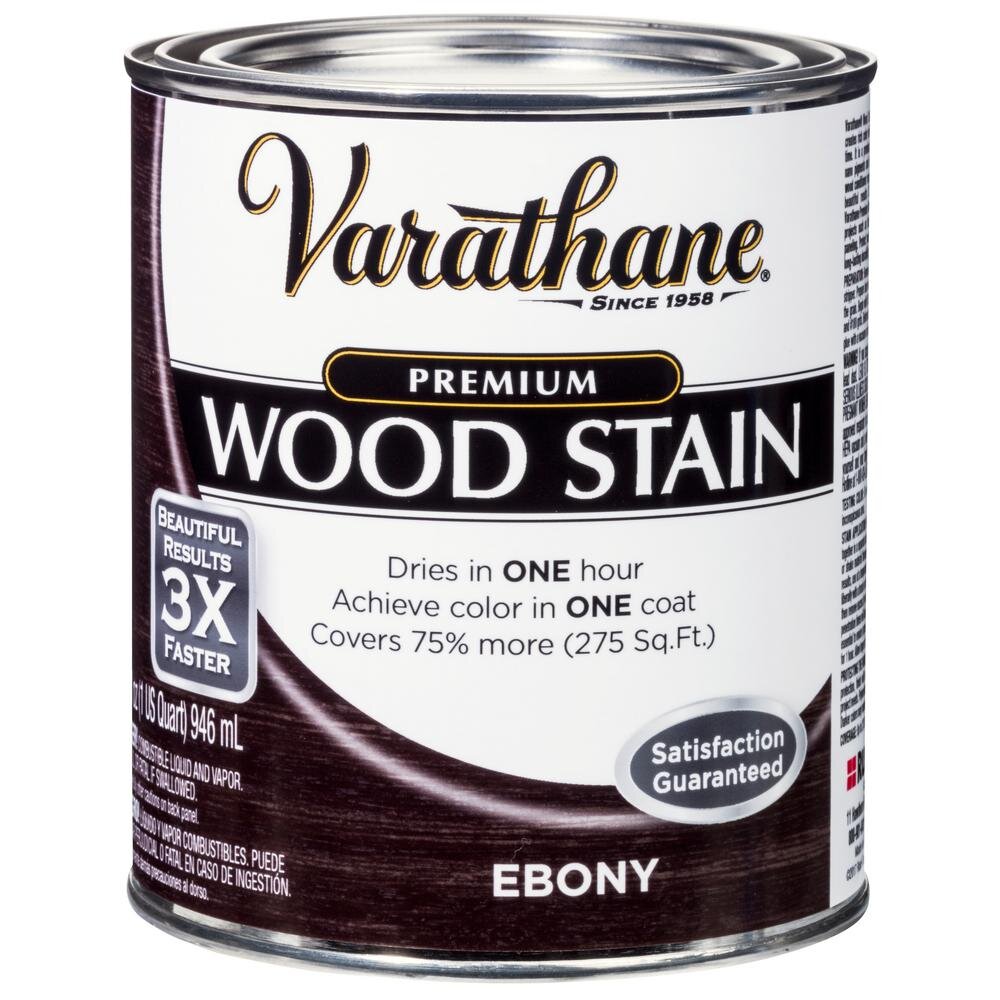
I stained the whole thing with a paint brush and the sample can (a really bad stain according to my paint guy at Home Depot, and probably shouldn’t have used a brush)!
The brush left brush marks, so I had to go over it with a t-shirt and paint thinner to try and get the marks out, but it didn’t really work.
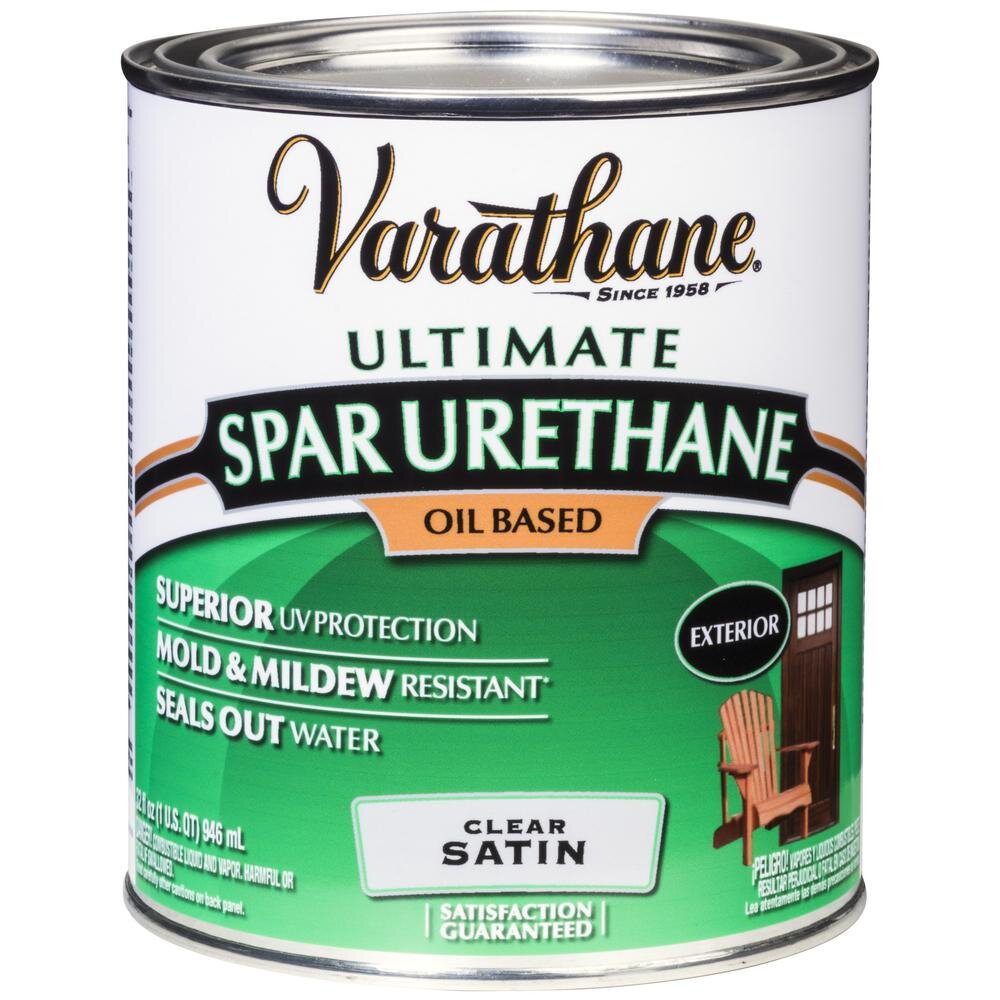
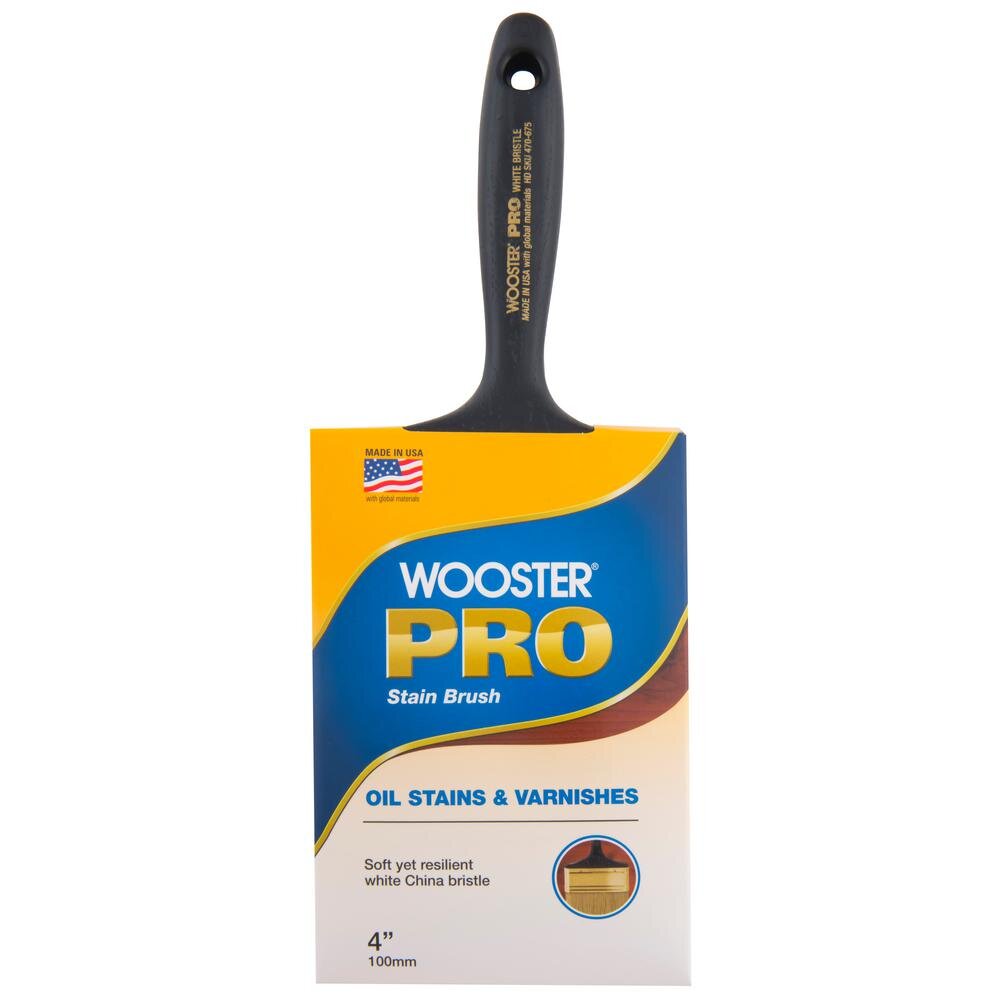
My paint guy suggested using three layers of Varathane Spar Urethane Sealer with the highest quality brush so it wouldn’t leave streaks.
It came out pretty shiny and it was pretty impossible to apply without leaving brush strokes, so I’m hoping I can buff it out somehow.
Letting the sealer dry, and I forgot that I still need to sand and stain the baseboard.
Next up putting the hardware back on.
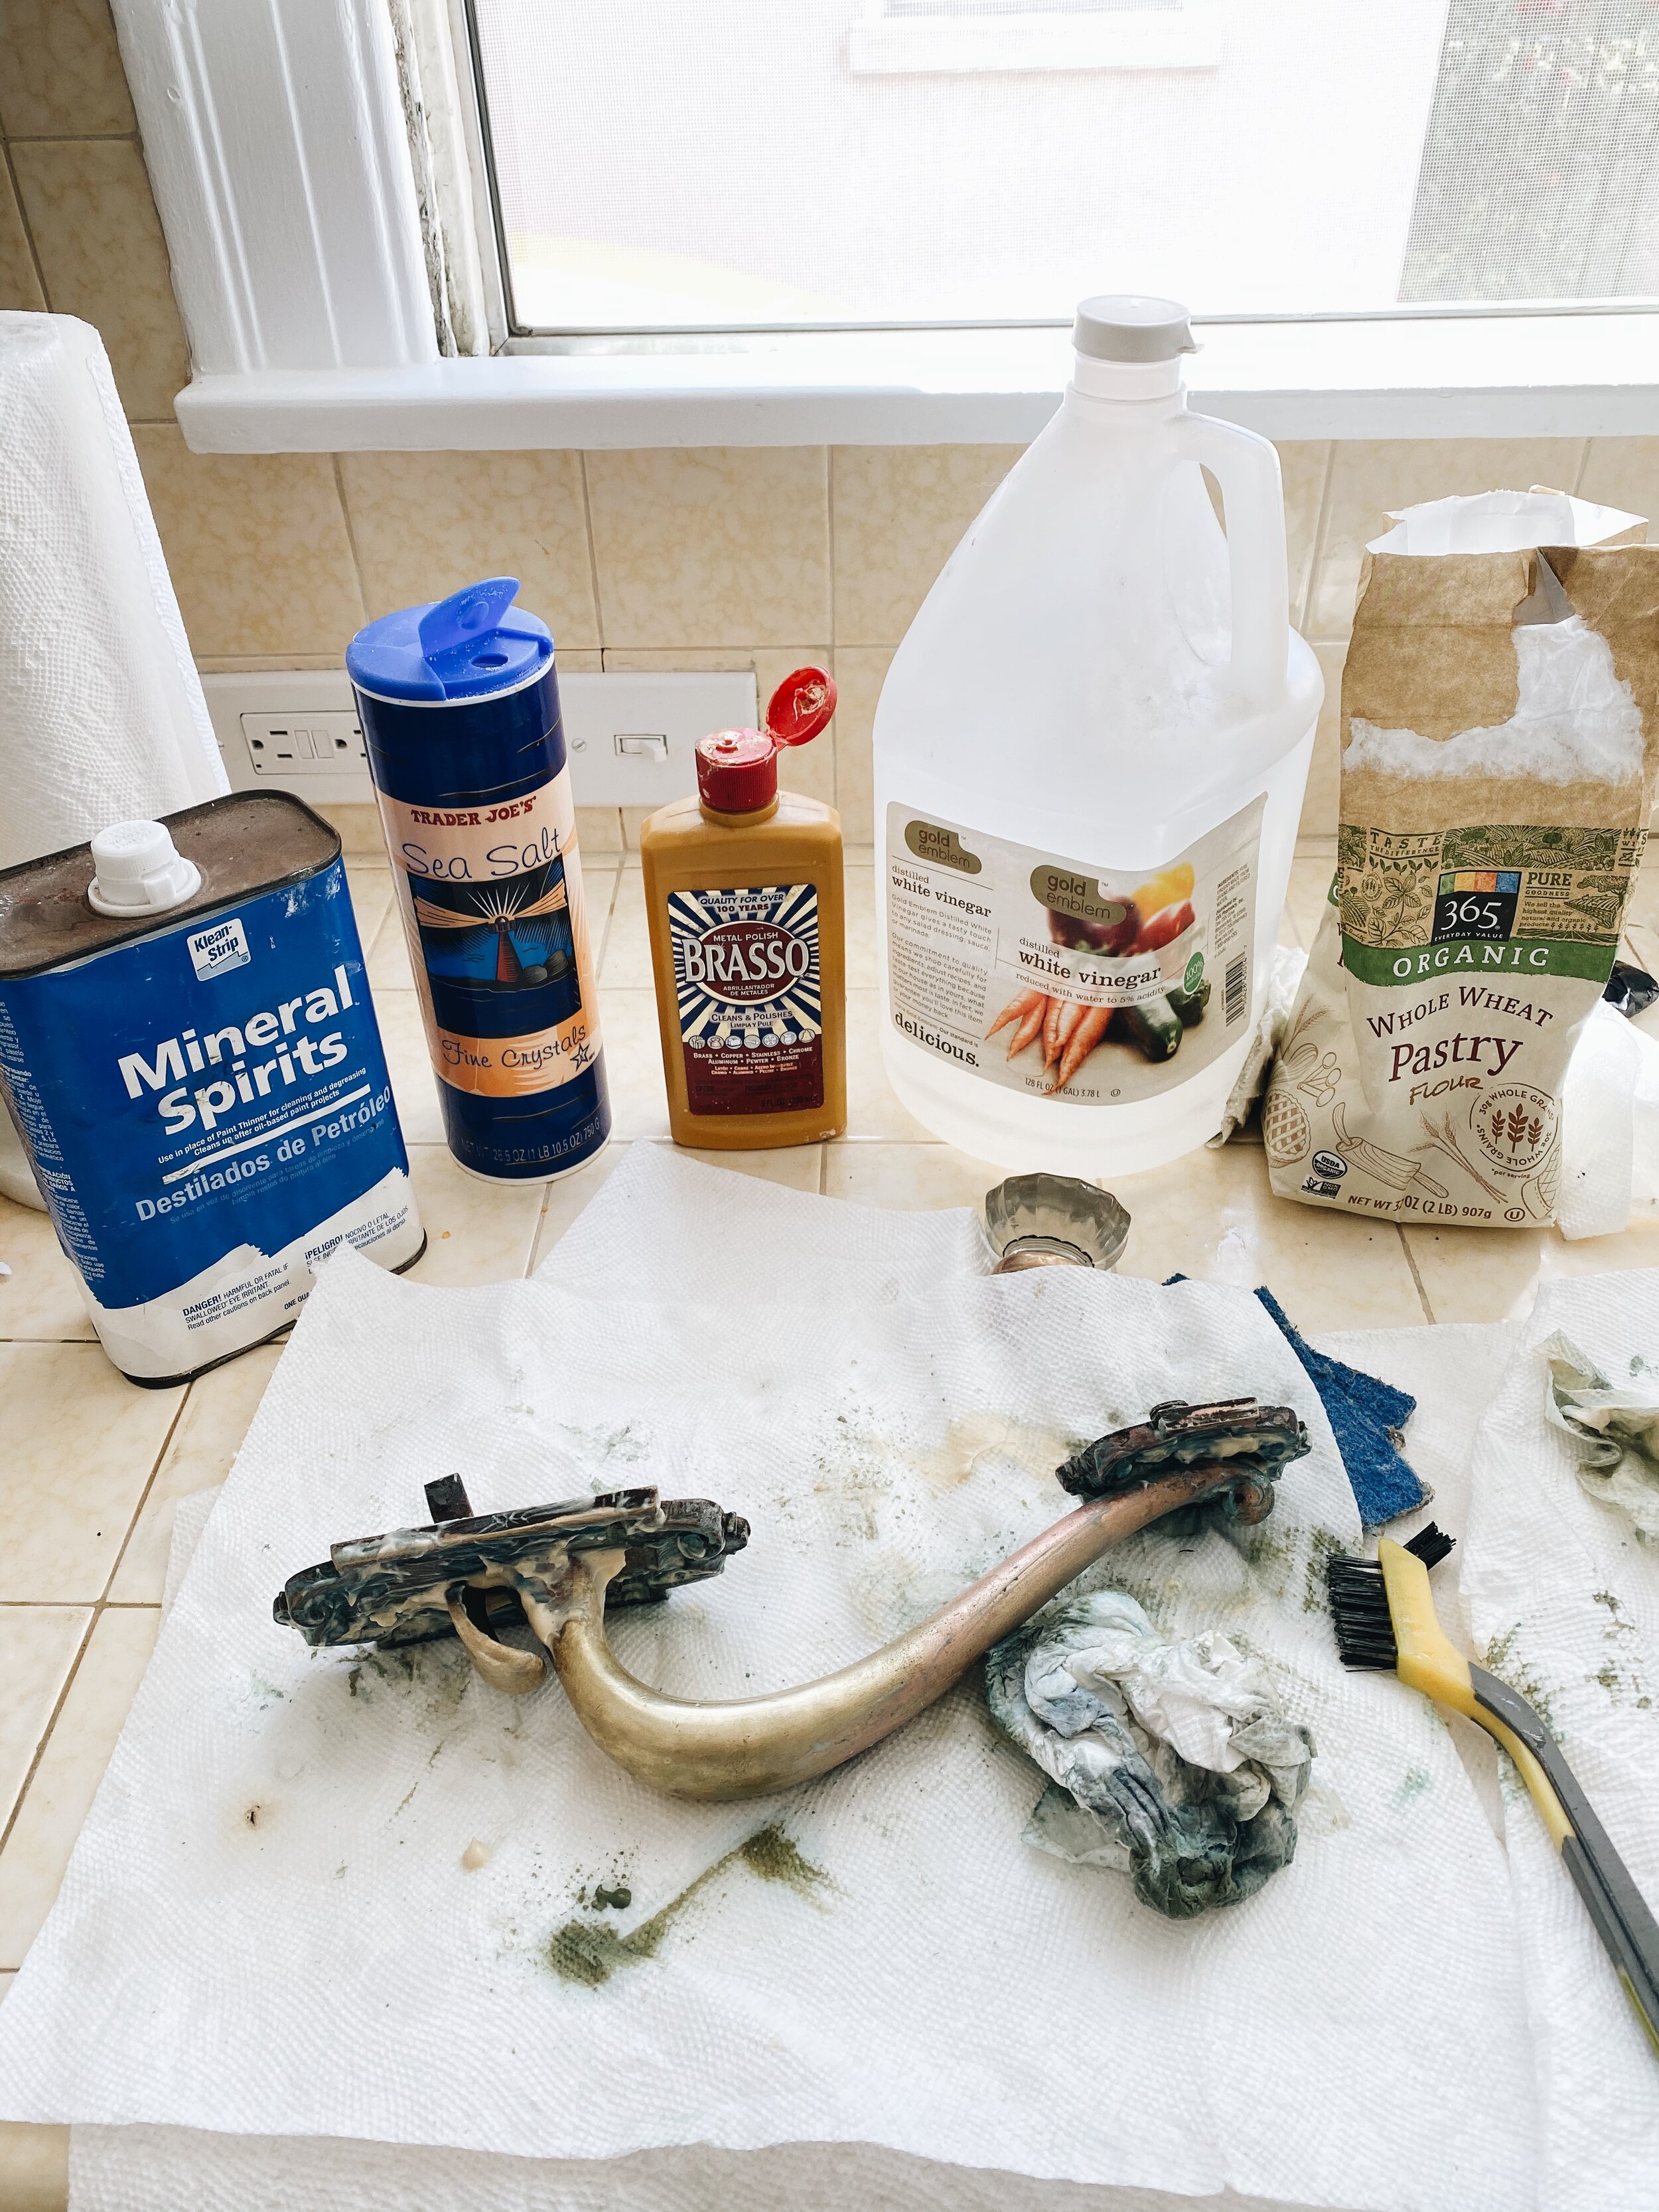
At first I tried to save the old handle. Only because it’s a 100 year old mortise lock and I couldn't find a decent replacement anywhere. I tried every trick from chemical to homemade concoctions (flour, vinegar & salt).
Nothing worked.
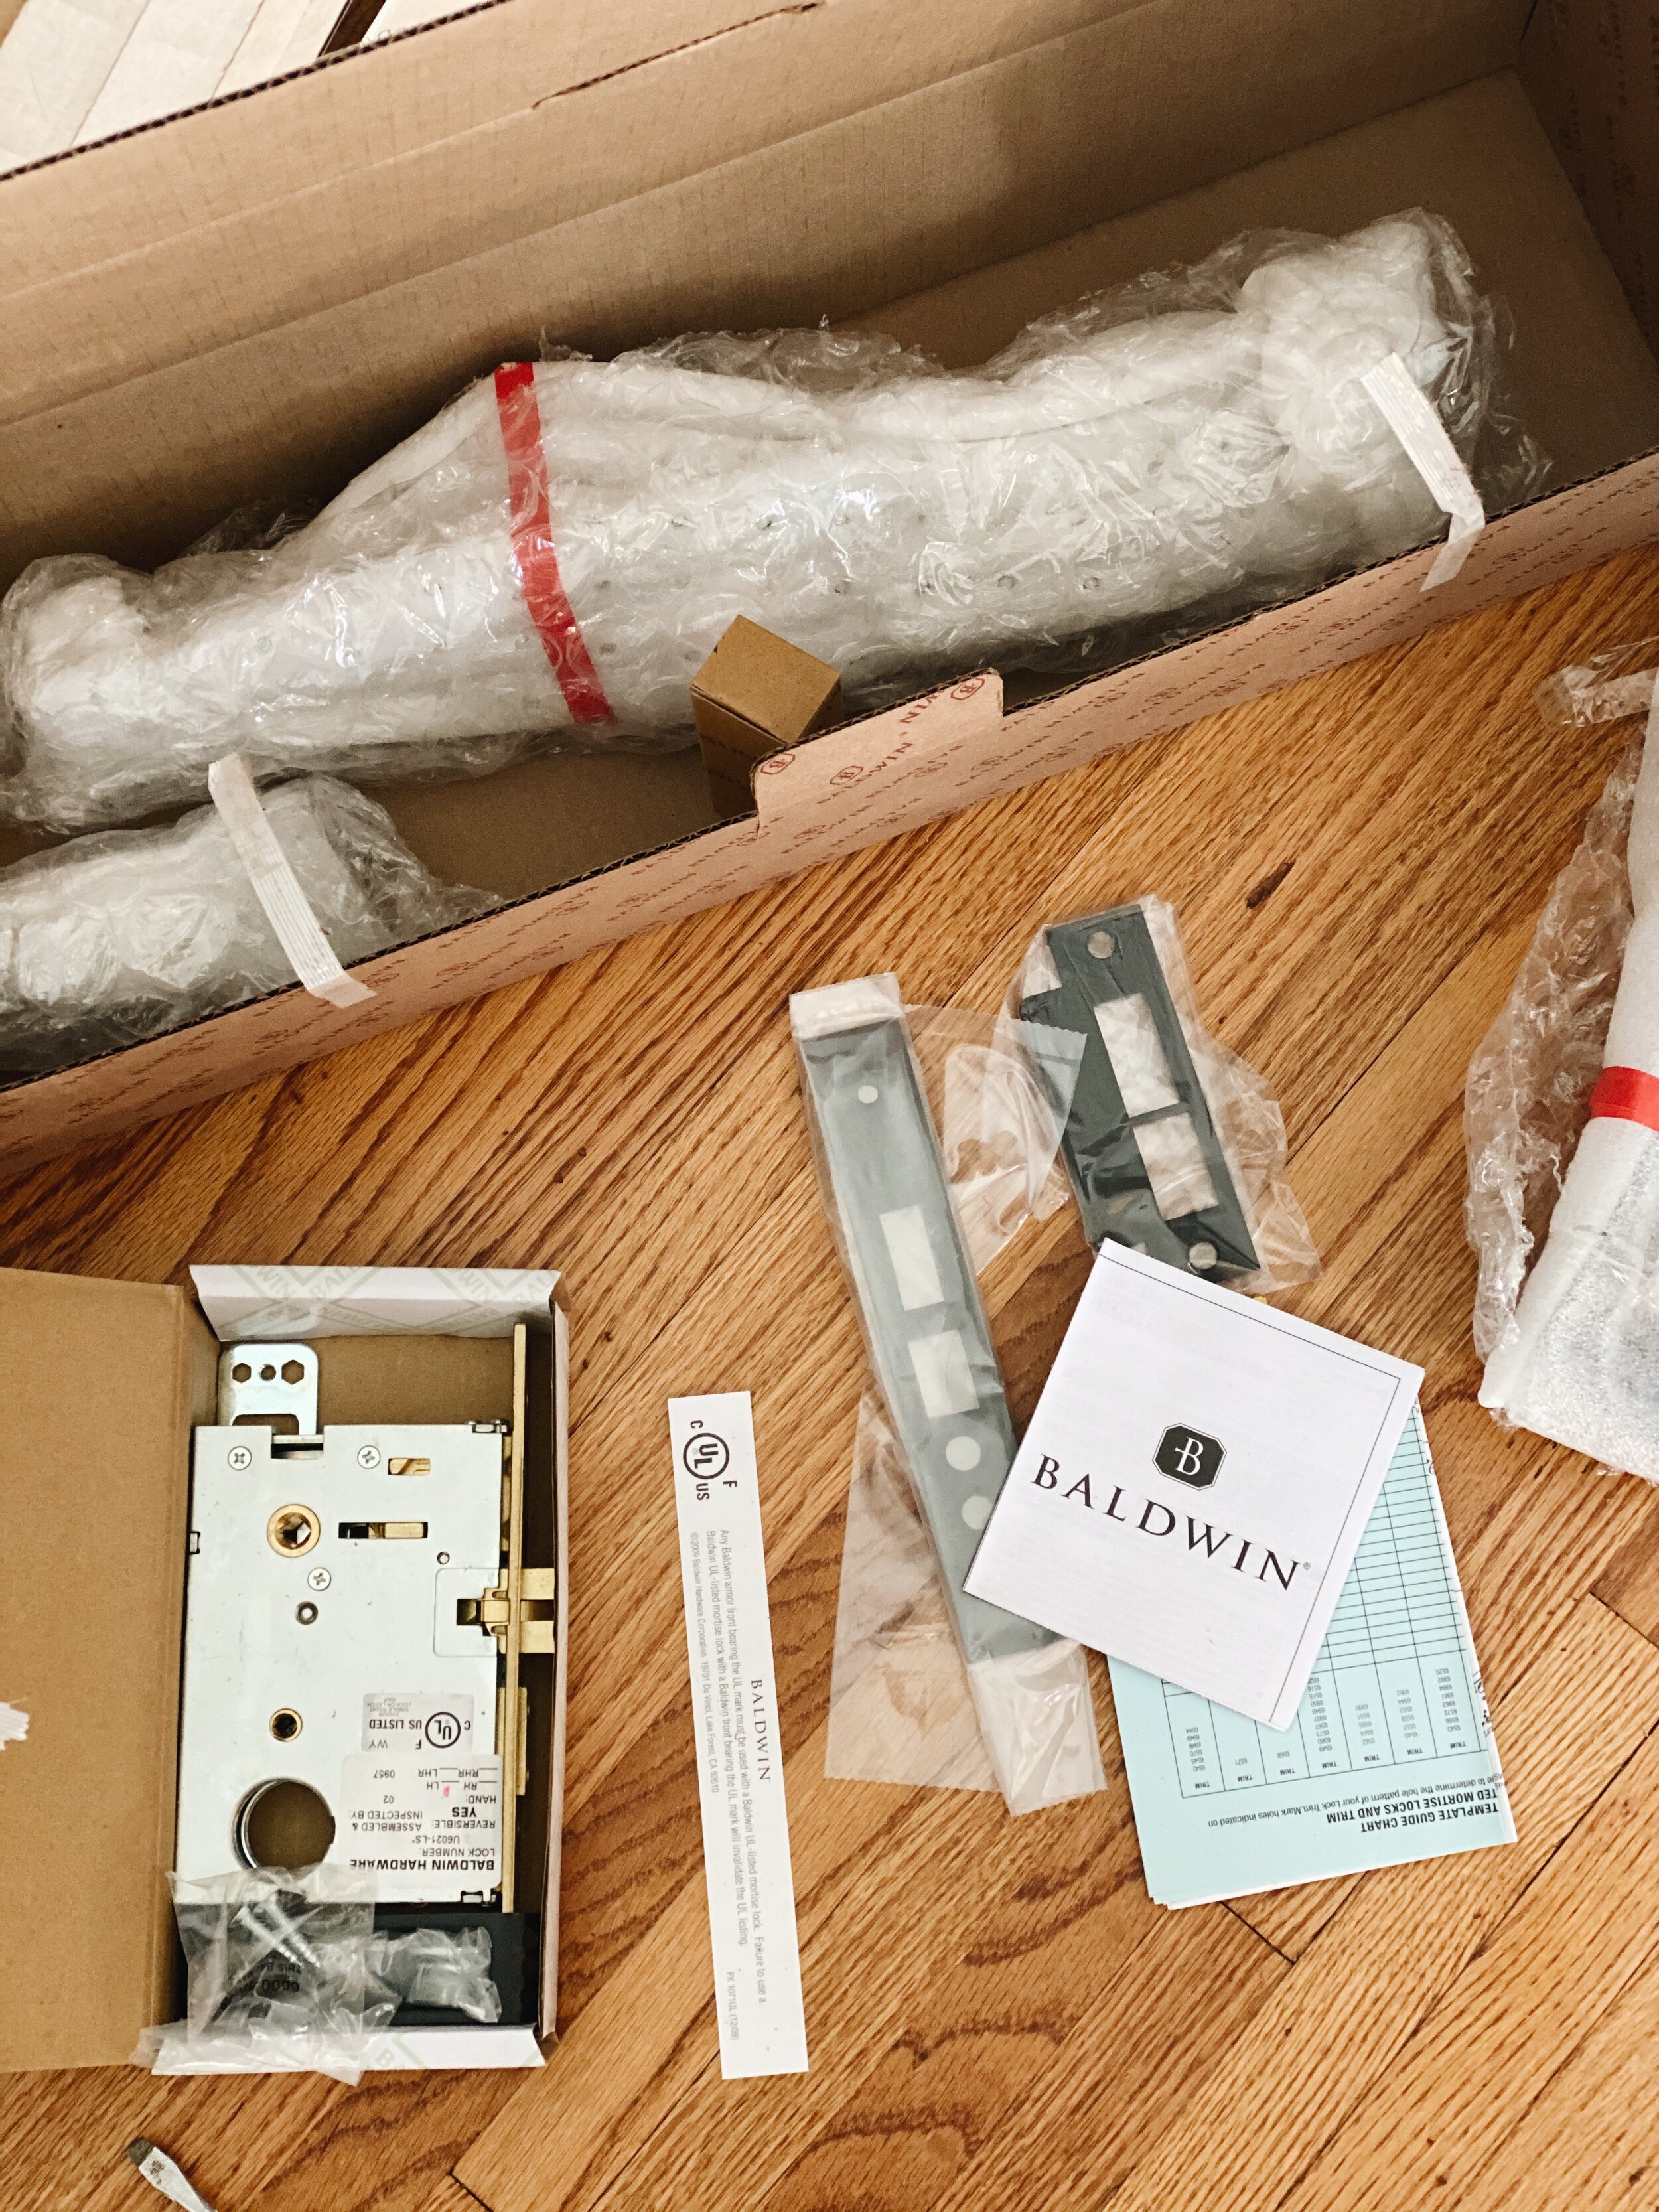
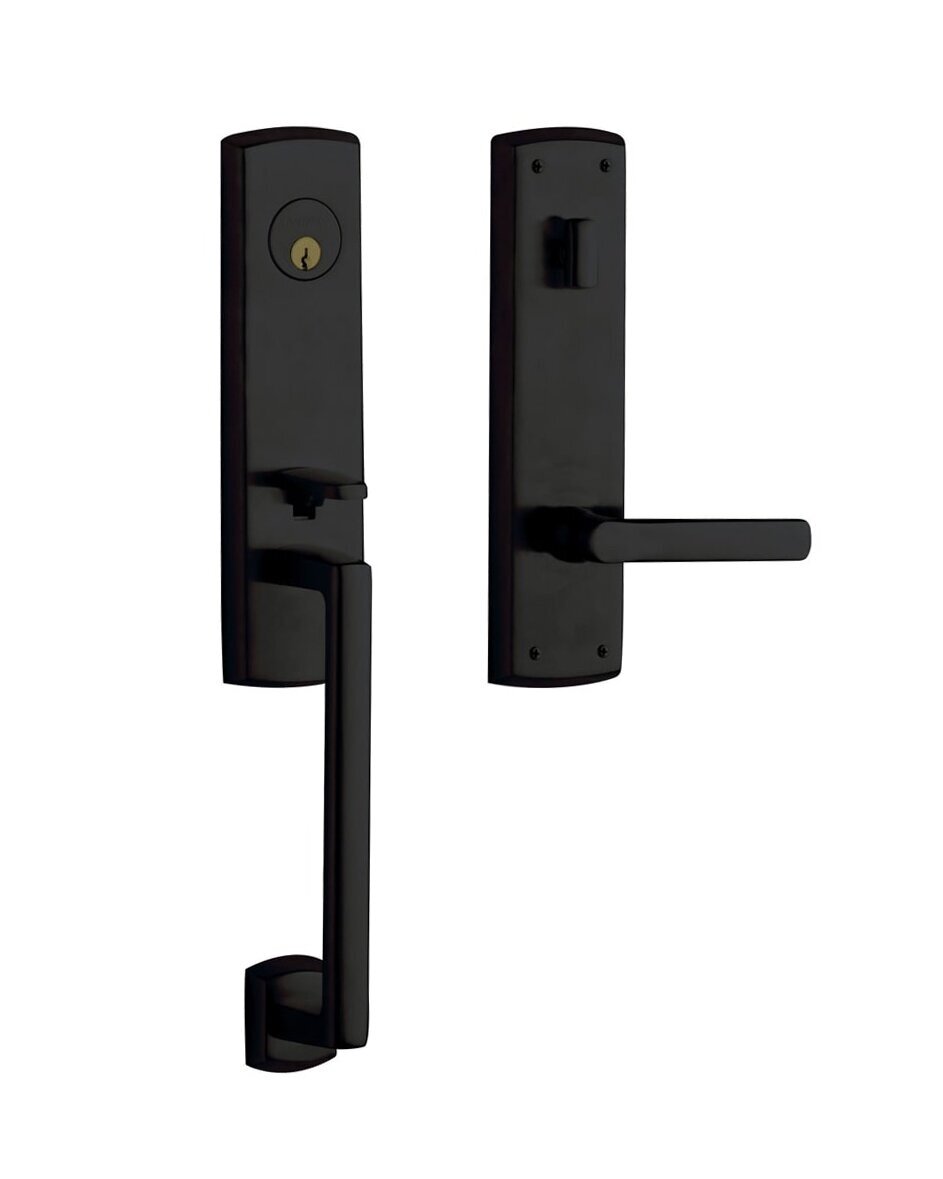
However, after searching and searching, I discovered that BUILD.COM has a great selection of modern & traditional Mortise handlesets. I just had to measure the backset and thickness of the door, which they totally walk you through on the website.
It took about four weeks to get because they are all special order. We had to use the backdoor for a month, but it was totally worth it.
My only suggestion here is do not attempt to install this yourself.
While I was able to get the old handle off, getting it back on and functioning and/or installing a new mortise lock 100% needs a professional.
Unfortunately I made a huge mistake and when our usual licensed locksmith was unavailable, I called the first person who had five stars on Google. They appeared to be legit and when I described the lock I needed installed they said they were incredibly experienced at installing them.
Long story short, he didn't know what he was doing, and was unlicensed. He drilled extra holes through my door that were off-center unnecessary, put the handle on crooked, charged me $350 and ended up leaving with the hardware not even on the door. A few days later, I called my usual locksmiths (who are licensed), to come and repair all of his mistakes and re-install the handle, which cost me another $250.
I had to fill in the holes with wood filler, and again, thank goodness I went with black because otherwise, you would see it, and the door would be ruined.
Lesson Learned. Wait for the right people and don’t be impulsive.
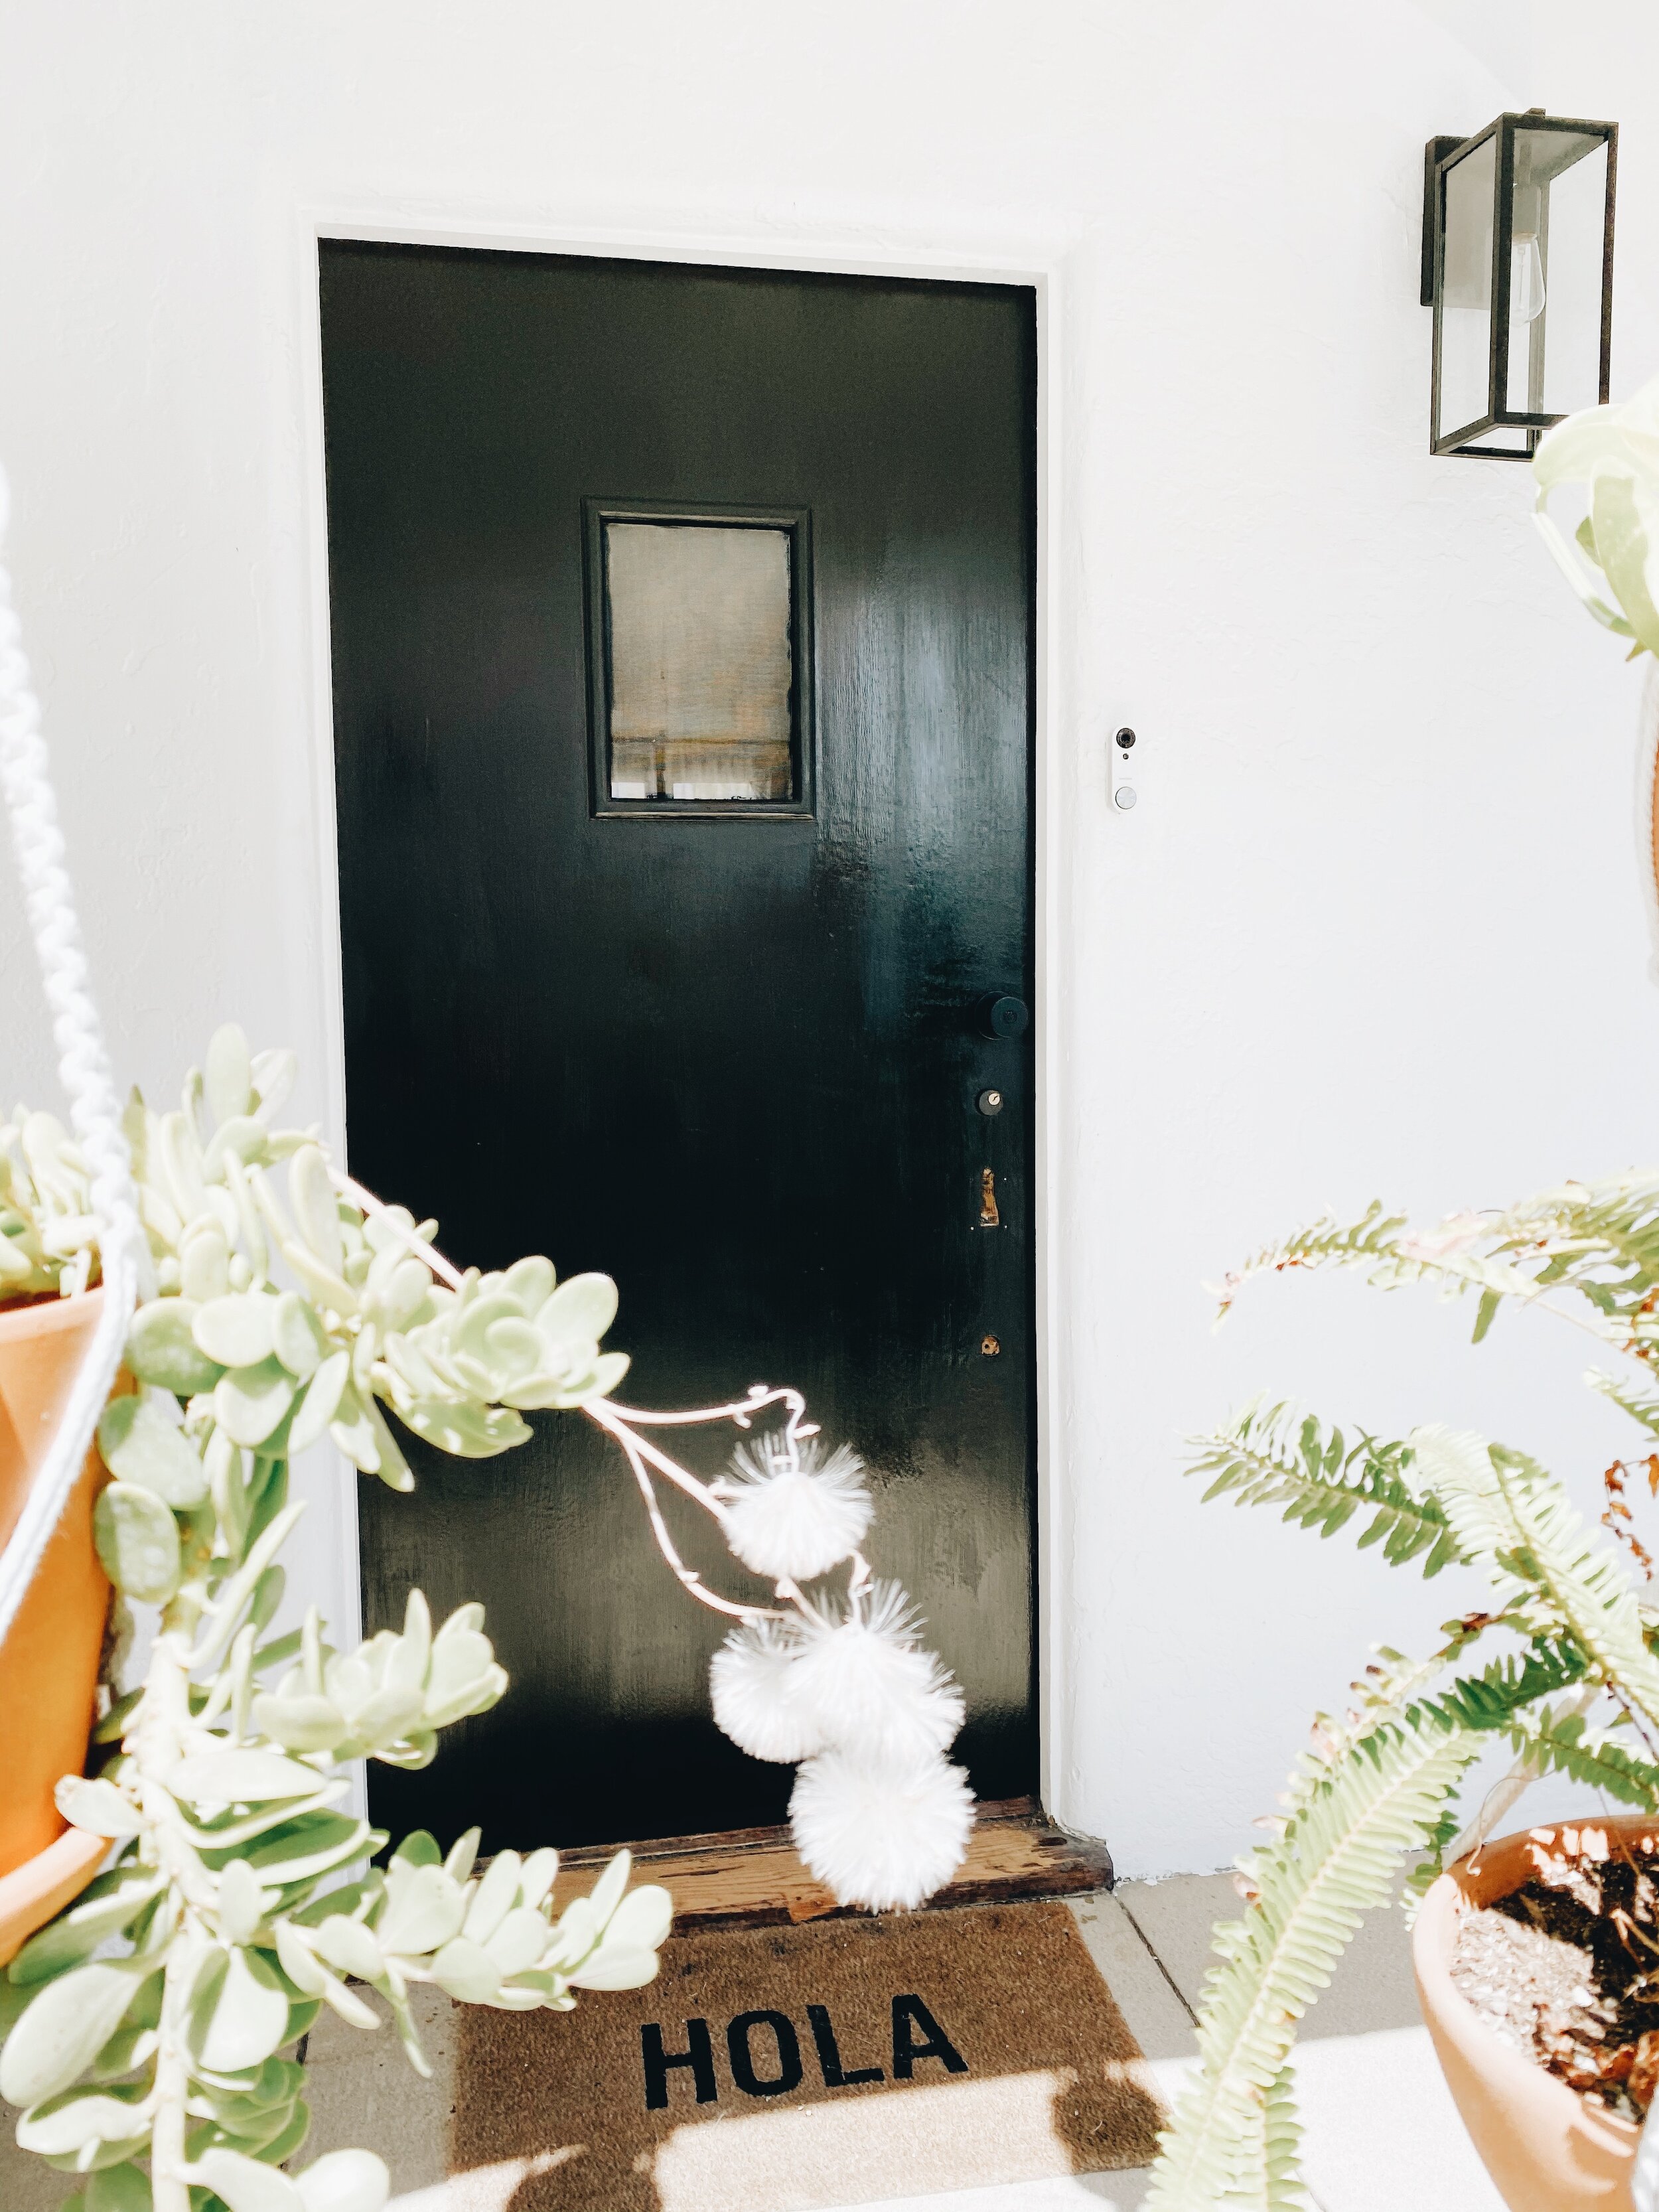
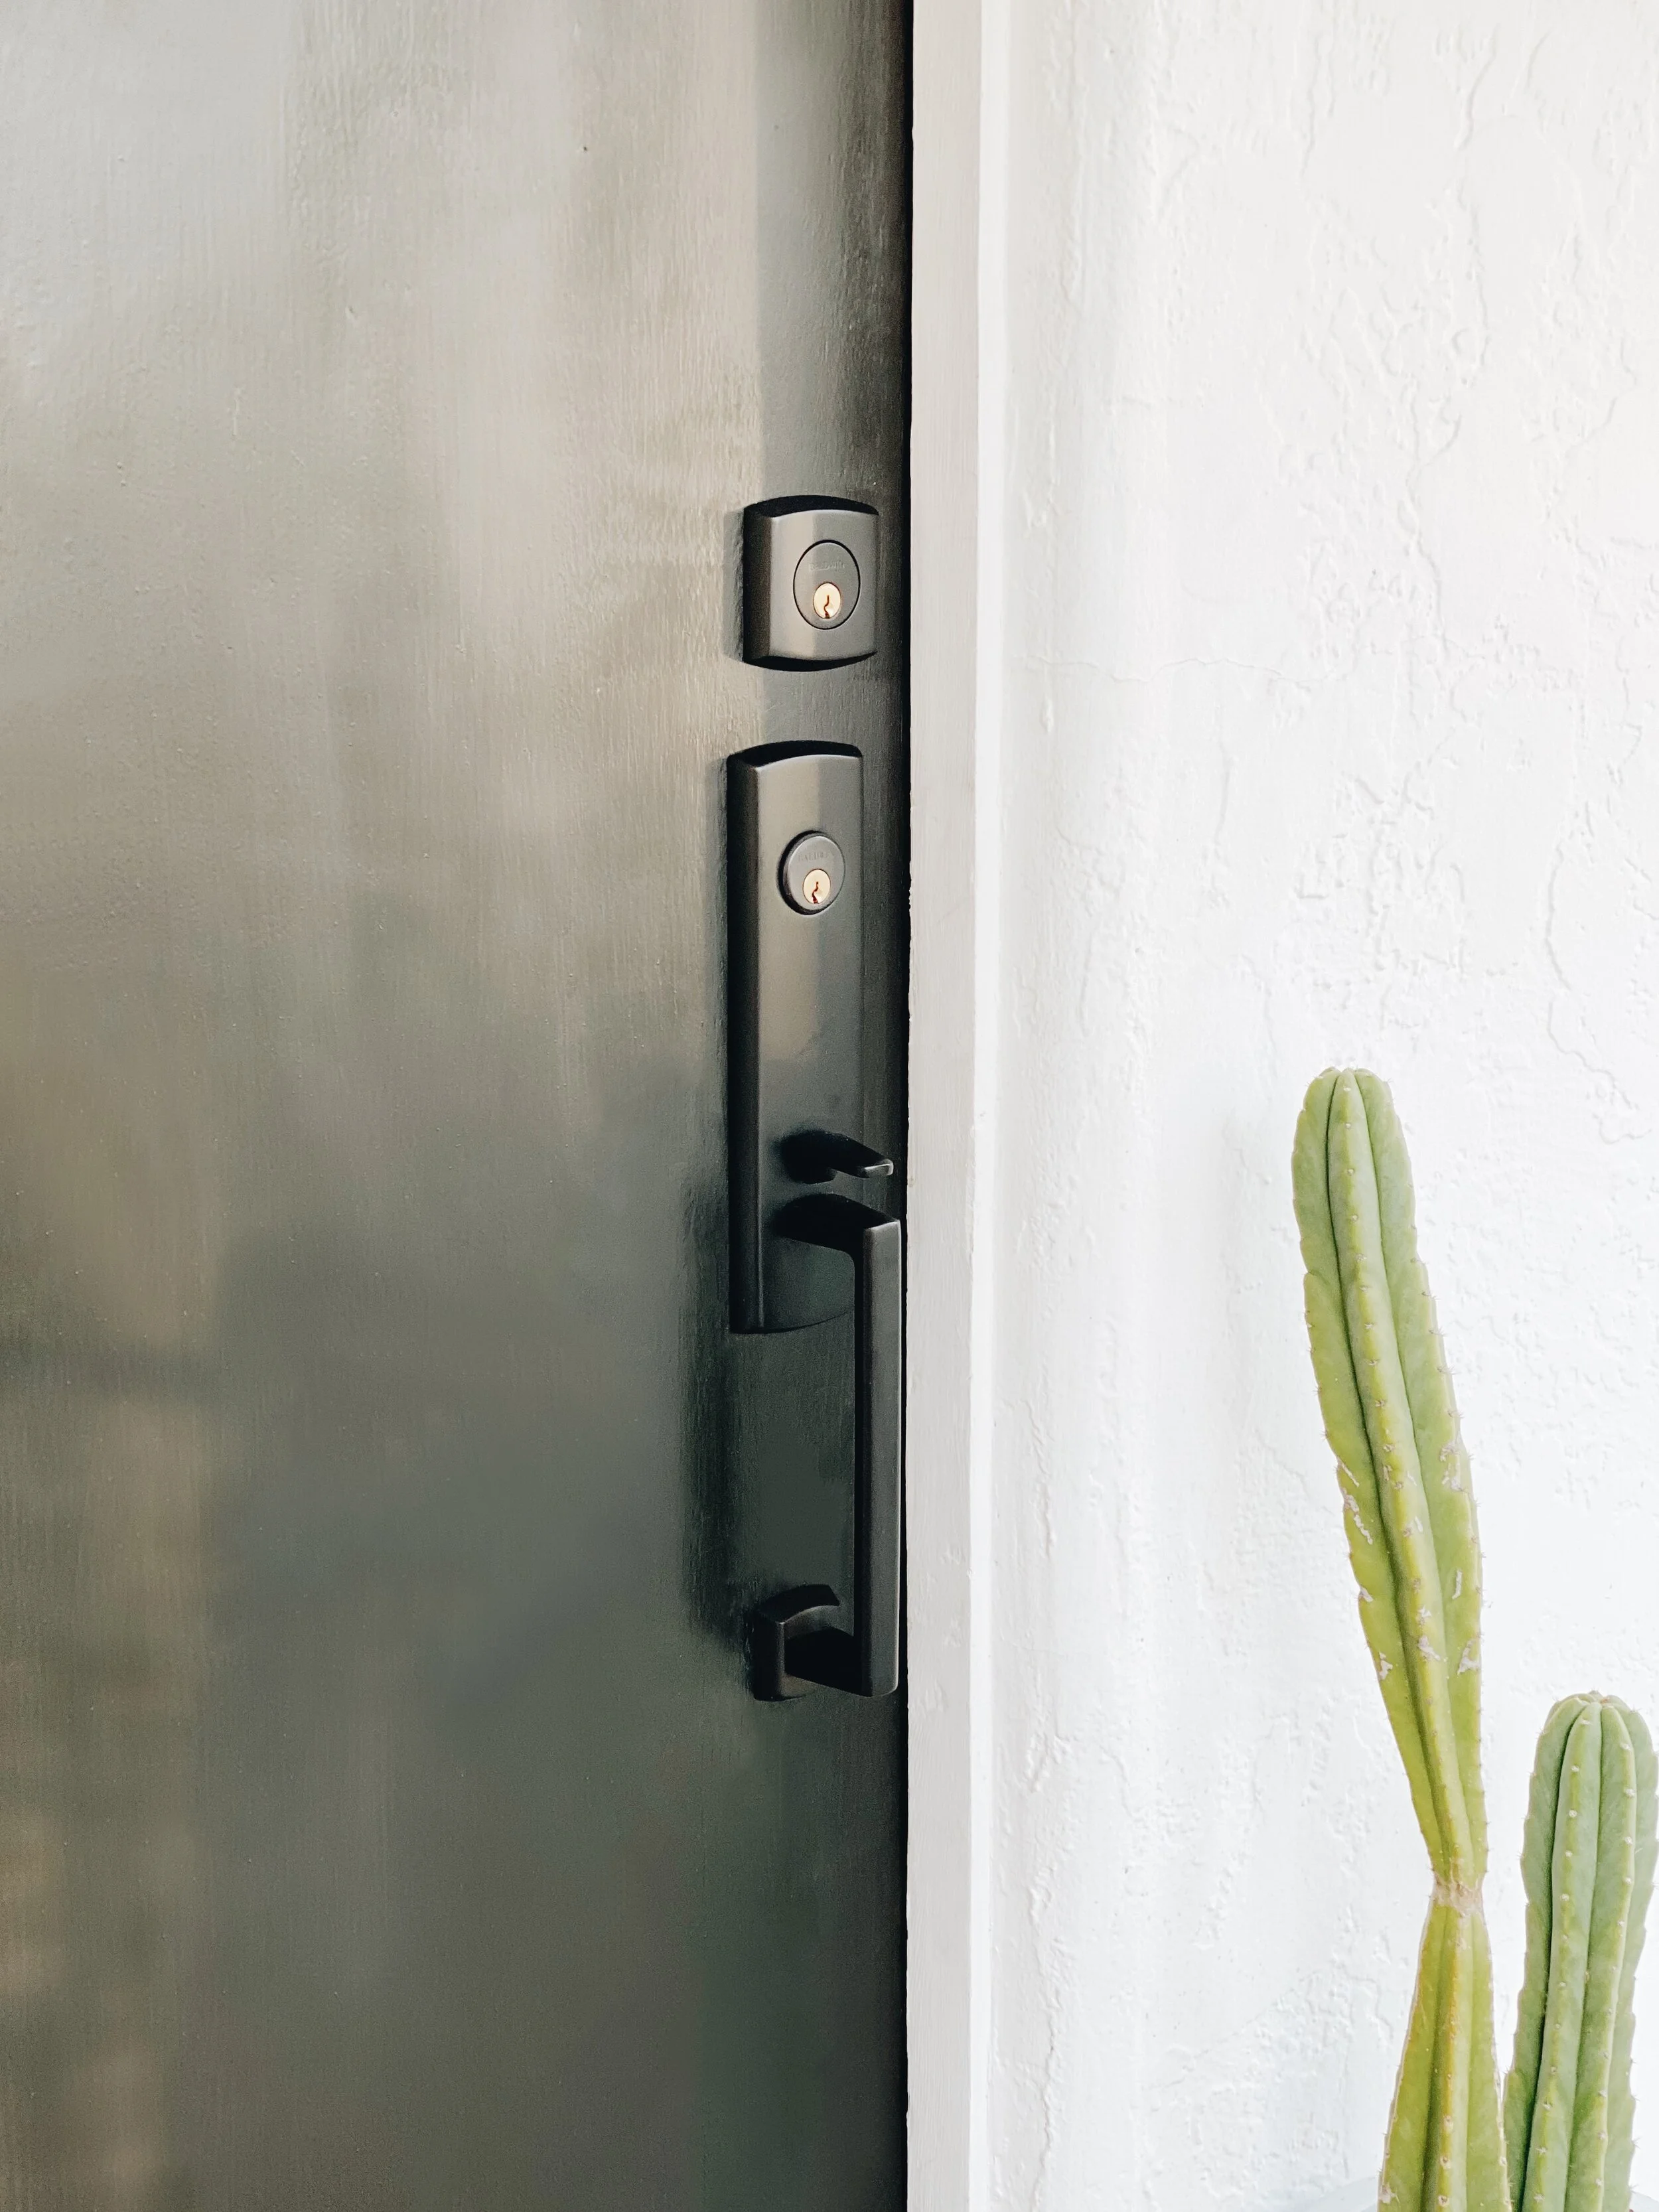
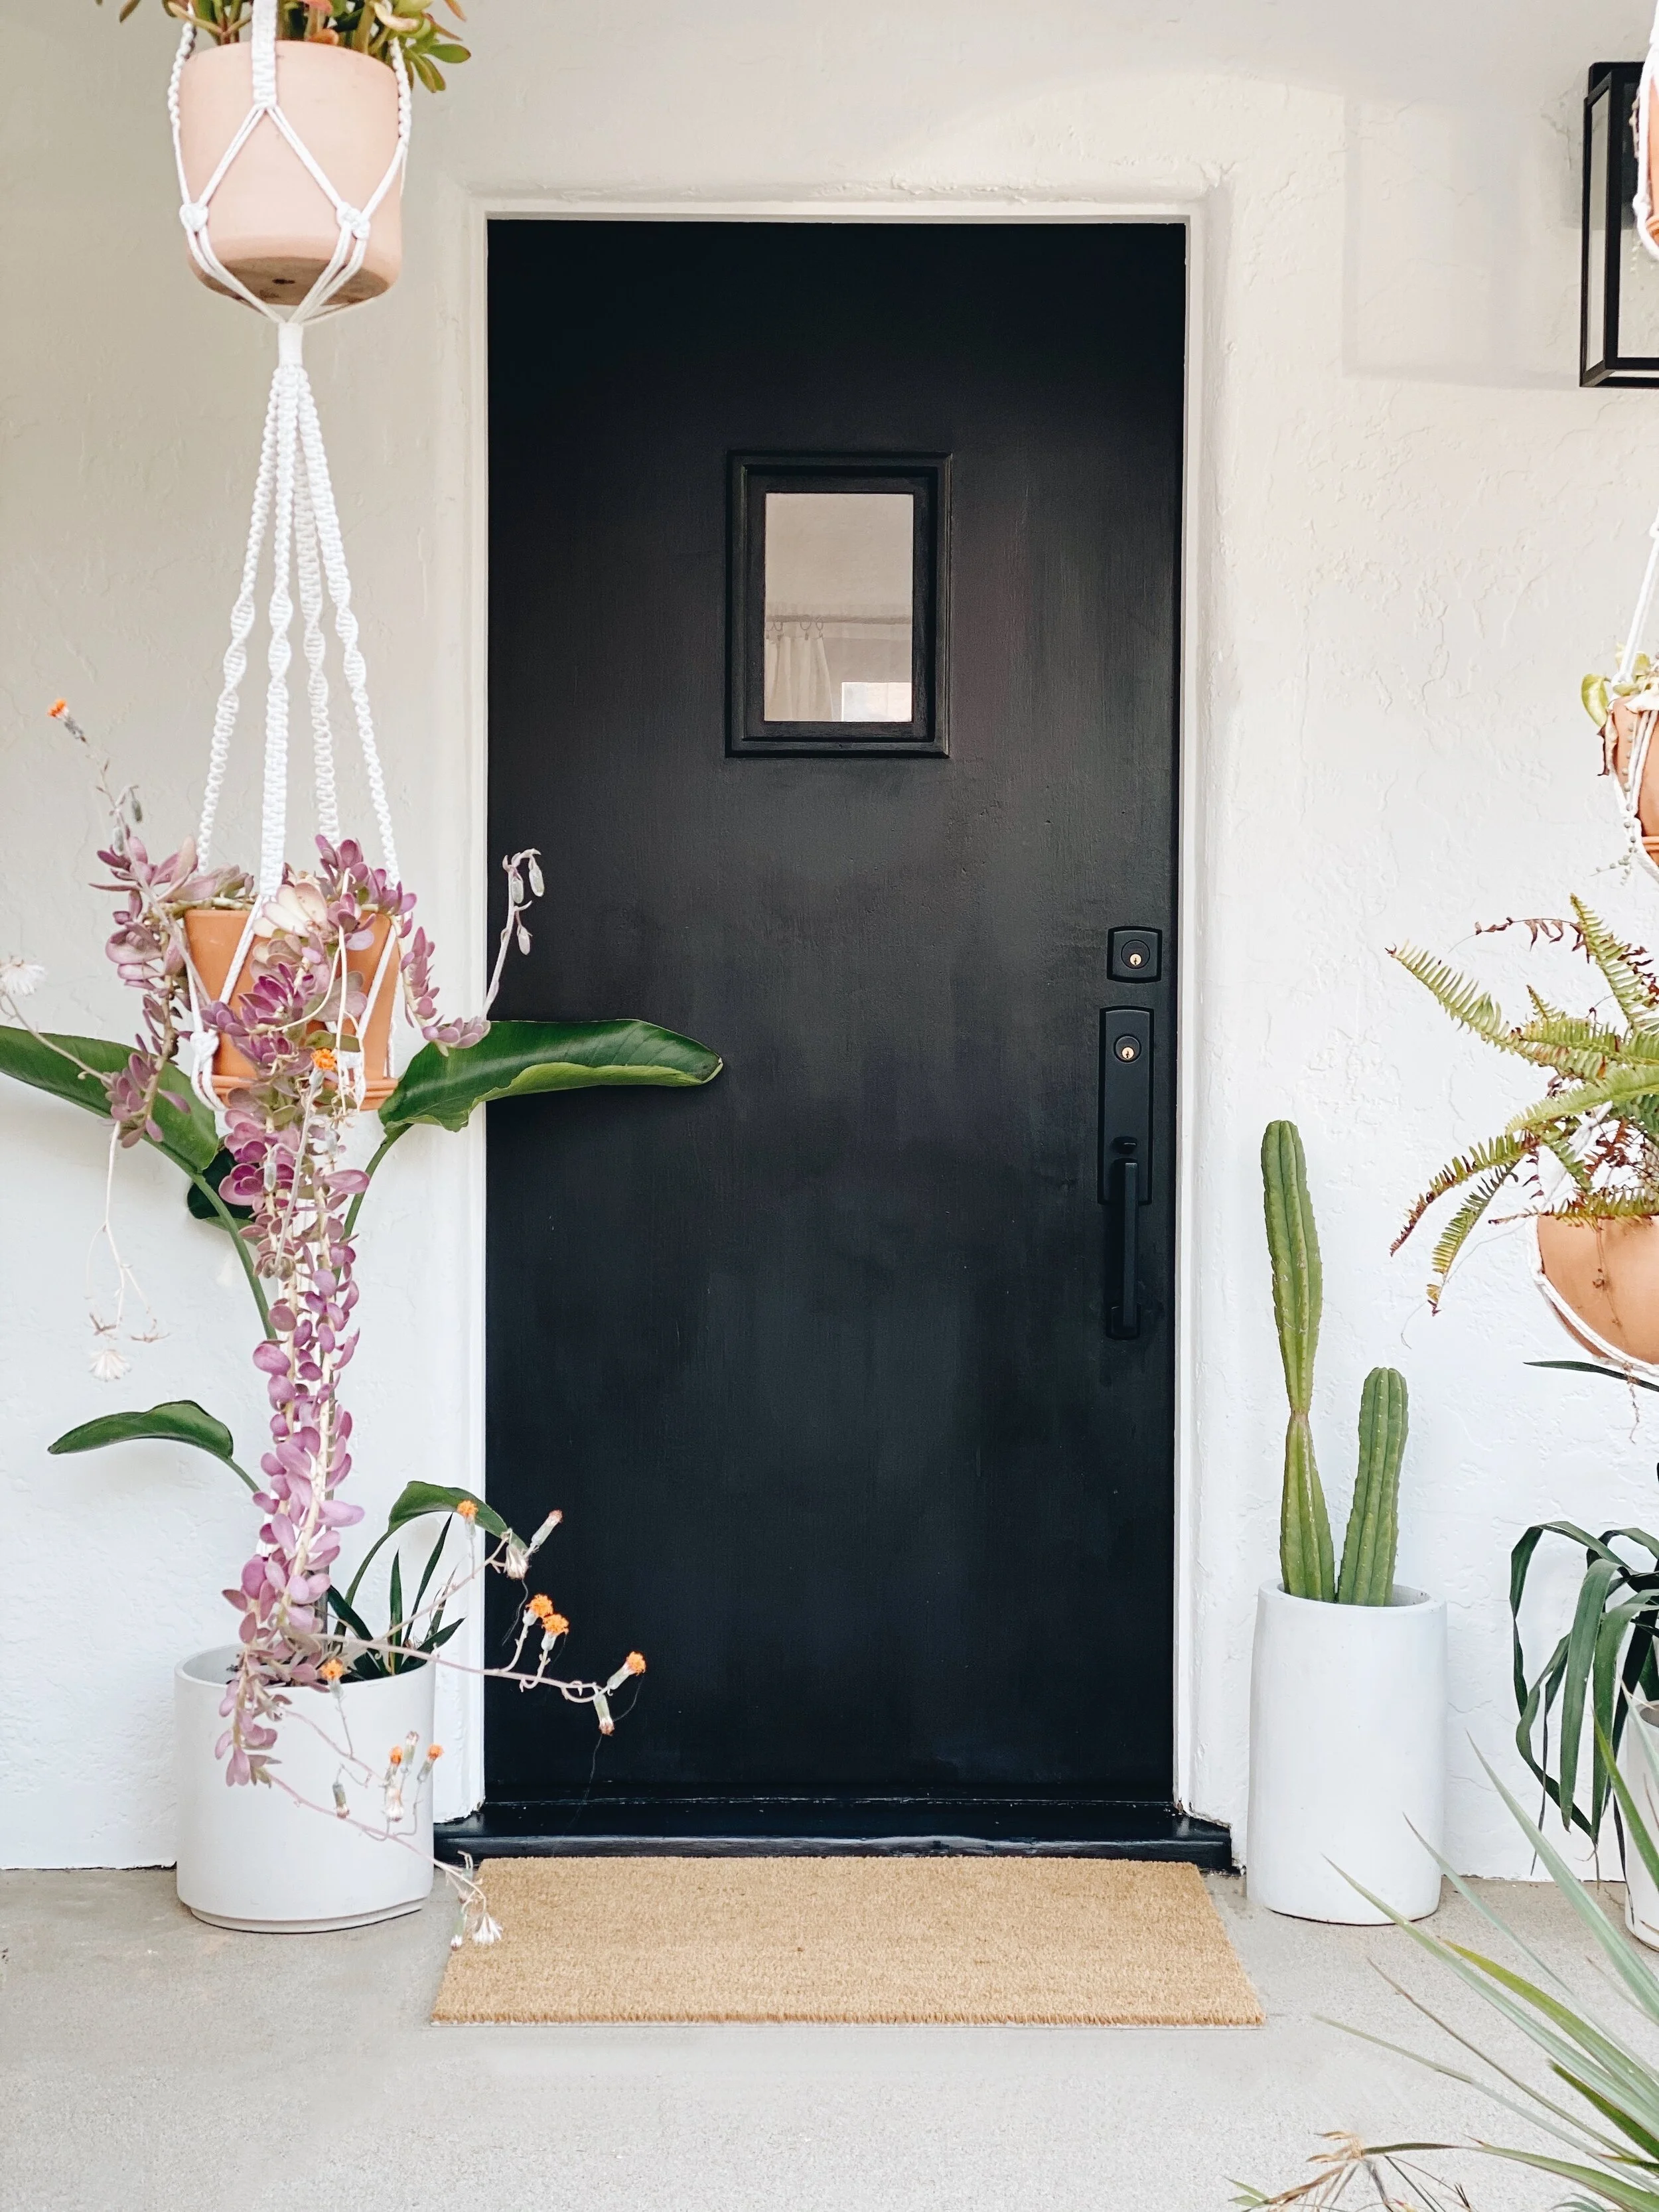
And look how pretty it came out!
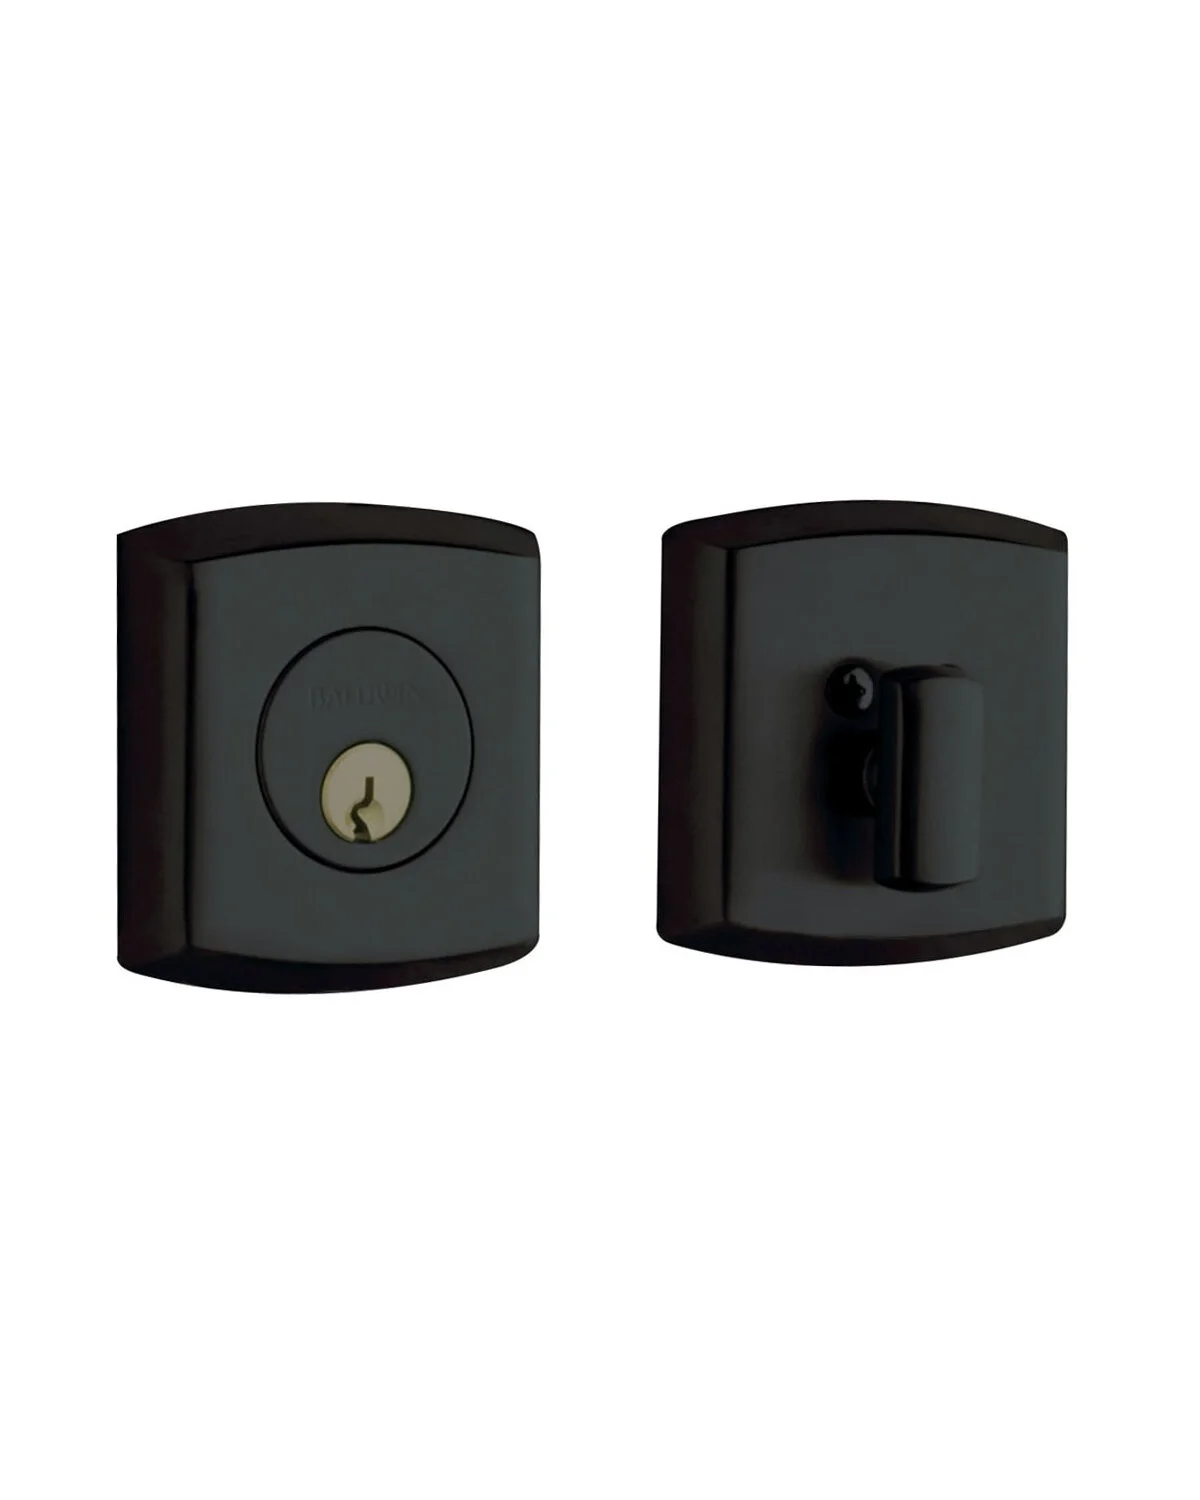
The deadbolt isn’t centered, but we had to work with the original hole which was already off-center. Lame.
But overall I’m obsessed.
BEFORE
AFTER
ITEMS USED IN THIS PROJECT
BALDWIN SOHO MORTISE ENTRANCE HANDLESET
SATIN BLACK
BALDWIN SOHO DEADBOLT
SATIN BLACK
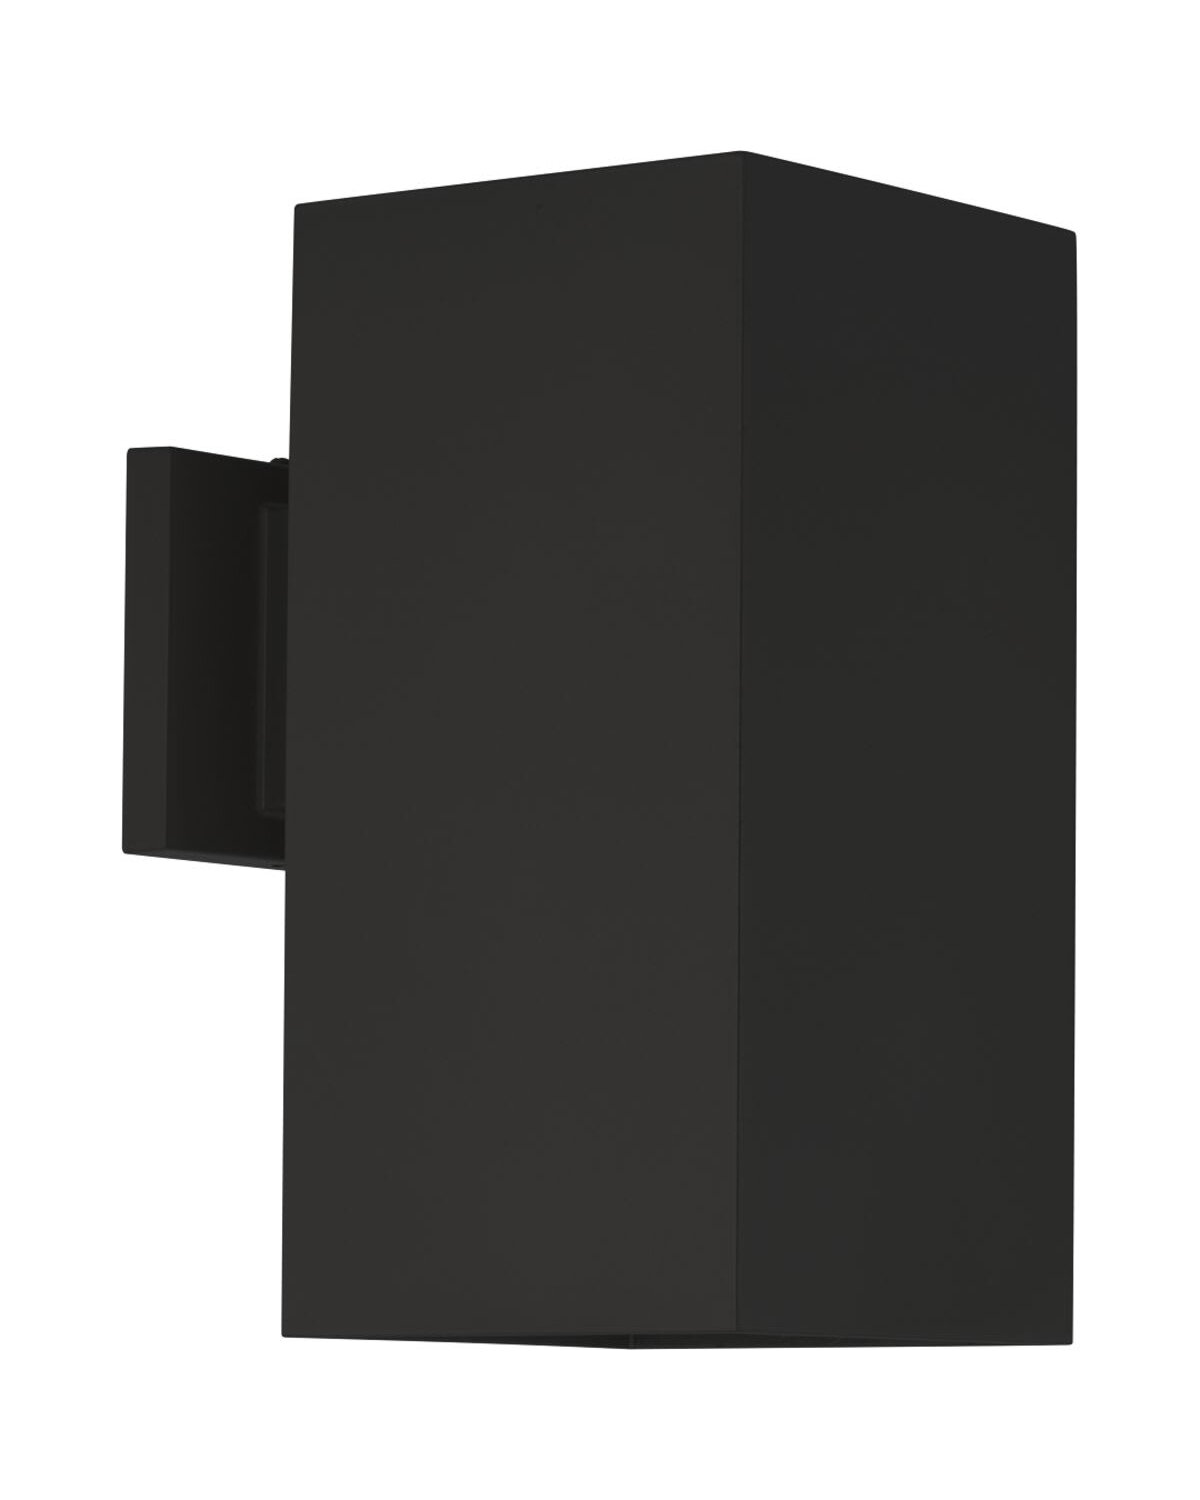
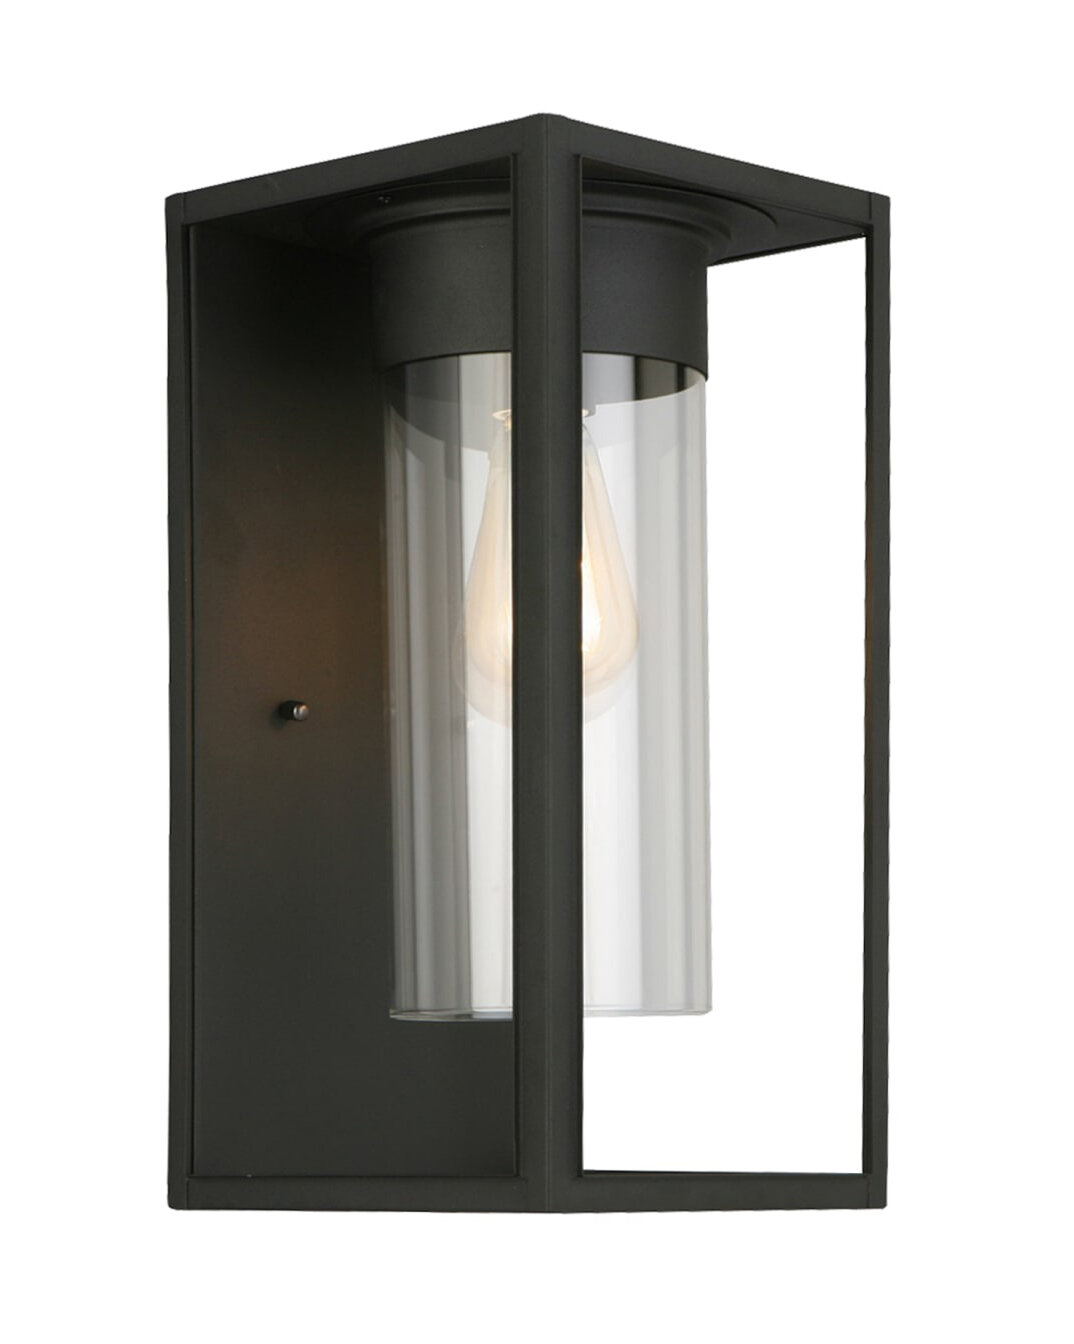
BELLEVUE 16” OUTDOOR WALL SCONCE
MATTE BLACK
STAINS & TOOLS


